
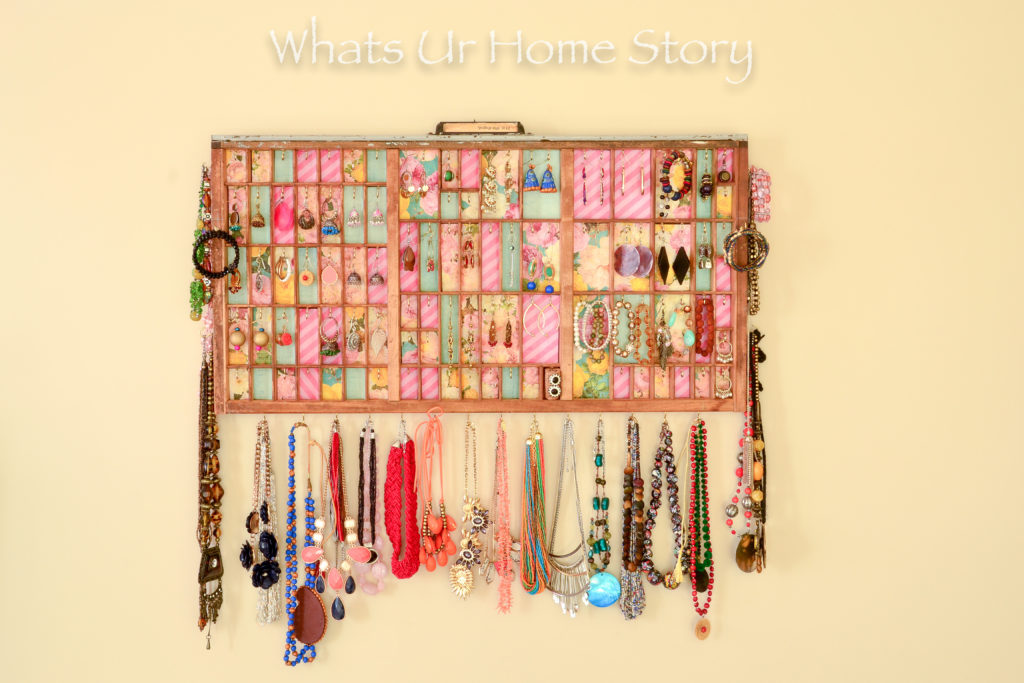
Would you believe me if I told you that this letterpress jewelry holder project has been in the making for exactly 4 years? I bought the tray at my first ever Old Lucketts Store Spring market for under $10 with the intention of doing something with it. A quick Google search after I came home and my ever growing collection of jewelry problem brought up the right solution…a jewelry holder! I know, this is the 4th one I’m making (after attempting one each from wood planks, old plates and a candlestick, and an old frame & chicken wire) but take a look at all those pieces! Even I didn’t know I had that many!!!!
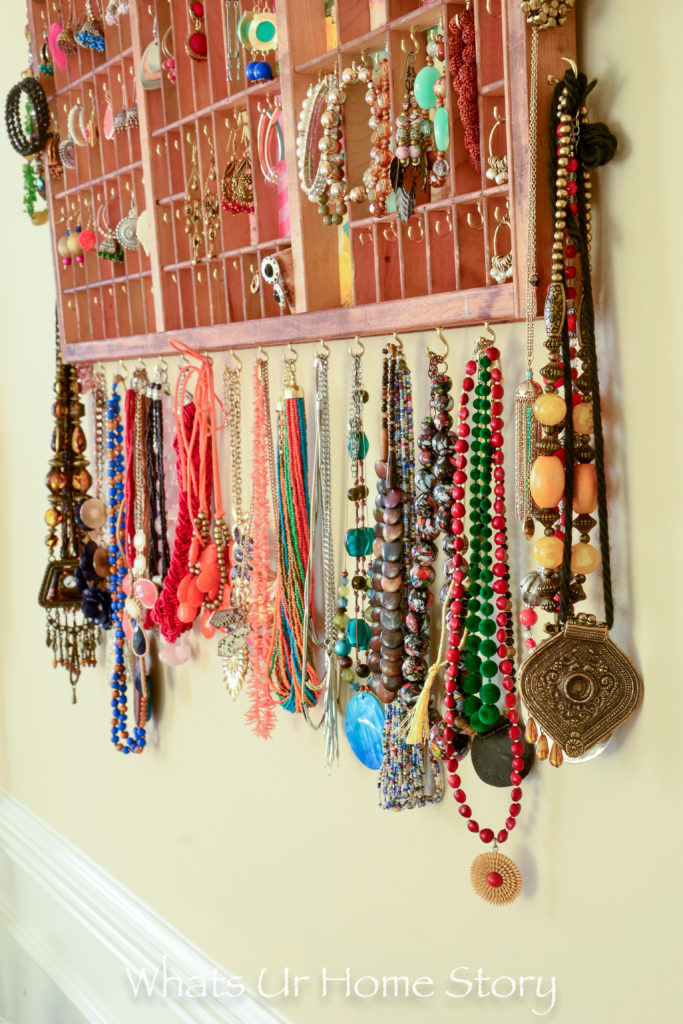
To tell you the truth, that revelation to me and more importantly to B (nope, he didn’t have to know 😛 ) is the only con of this project. 🙂 The biggest plus is that I can wear them more often now that they are right in my face.
There is even lots of extra room, which can only mean one thing….yes more shopping. 🙂
It is a pretty easy project but does take some serious amount of patience with all the paper cutting to fit those slots, drilling the small holes, and screwing those hooks in.
Materials
- Old Printer’s Tray
- Thick Card Stock – I used the leftover papers from the card stock book (from Michaels) that I used for the side table makeover project
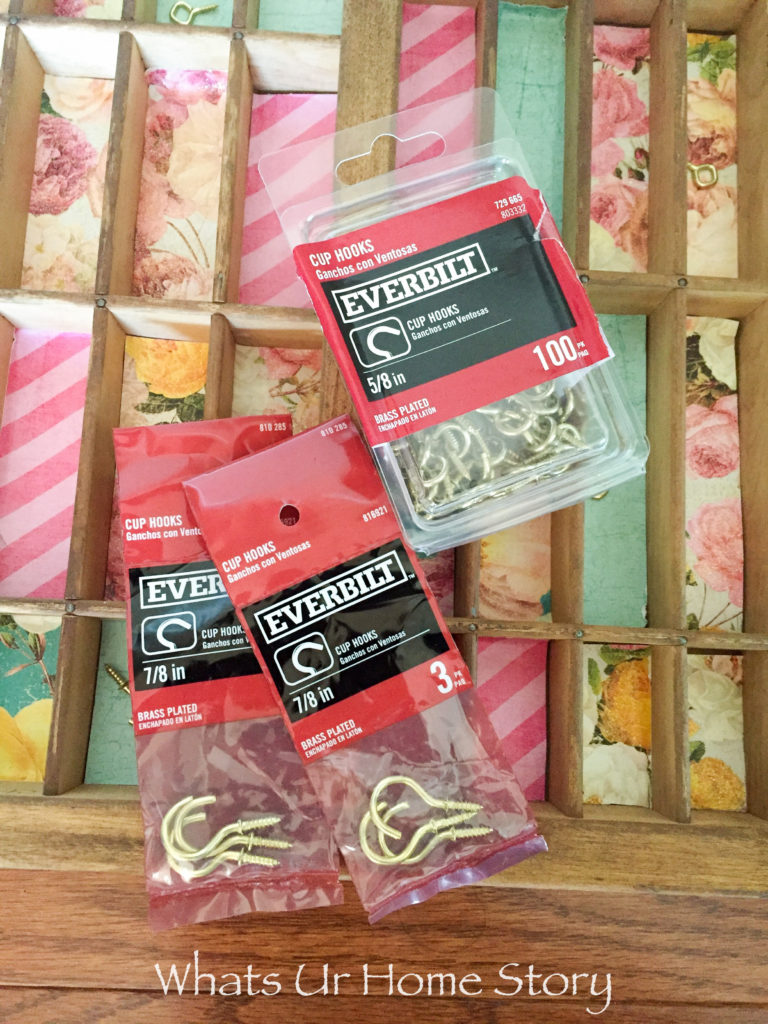
- Cup hooks – 5/8″ and 7/8″ and a few picture hooks
- Picture hanging hooks
- Drill
- Pliers
- Paper Cutter – this one is crucial or else it will tough to get the perfectly straight lines. Absolutely recommend the one I have from Amazon (affiliate link)

Tutorial
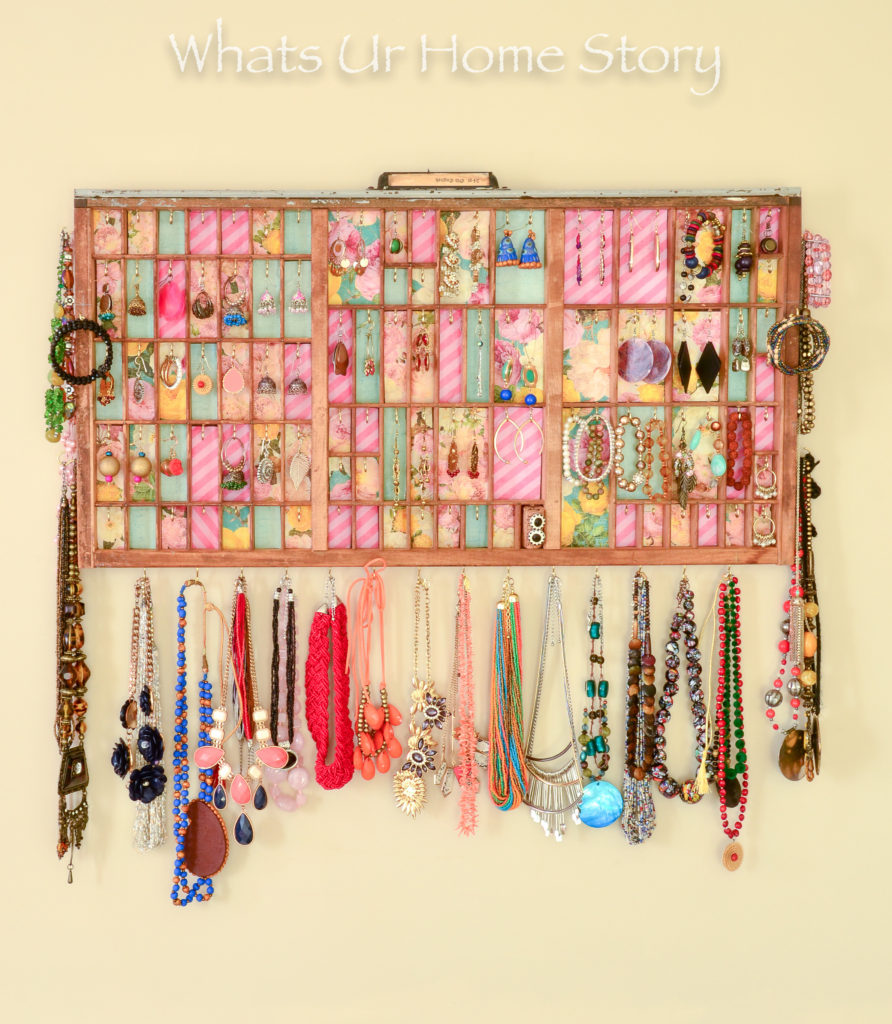
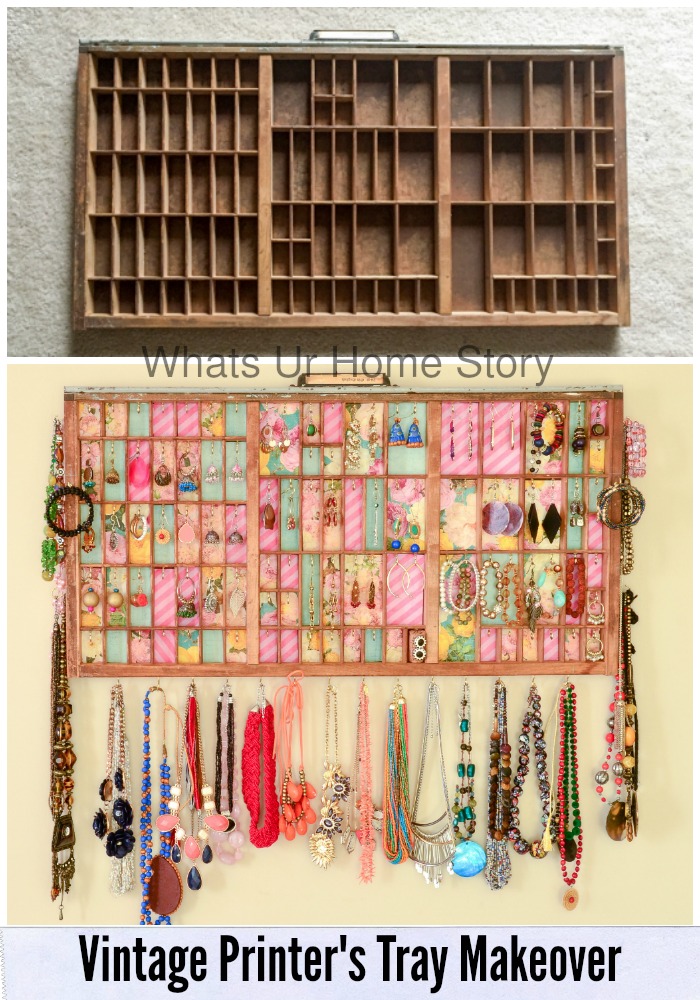
- If you remember we started out with a dusty vintage printer’s tray.
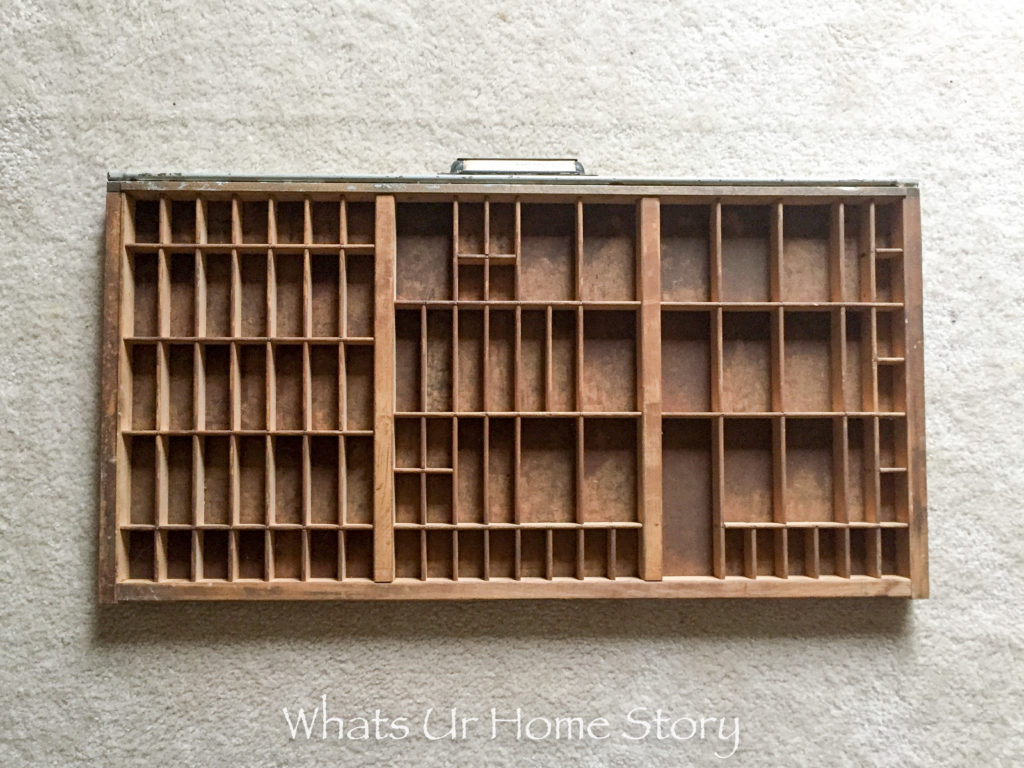
- Clean the tray with a damp cloth and house cleaner spray.
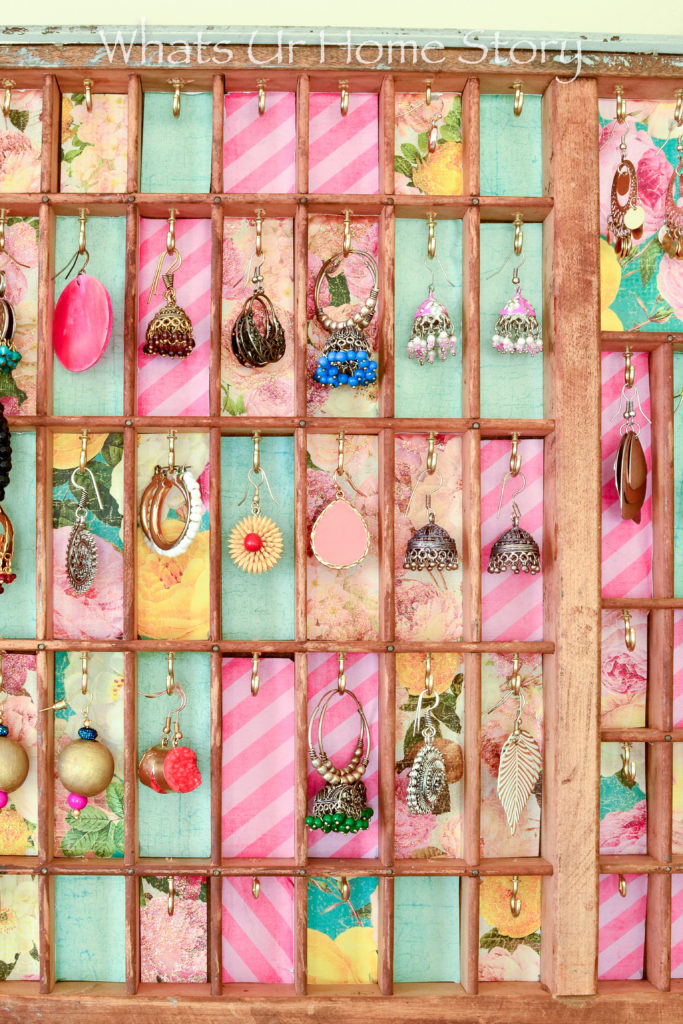
- Using the paper cutter cut the strips of card stock to appropriate size. I kept the piece of paper over each section, marked the ends with a pencil, and used that as a guide line to cut. From there a small amount of tweaking was all that was needed to get it just right. Most of these fit directly into the slot snuggly. So there was no need for glue but if you want to go the extra step you could use Mod Podge to glue them down.
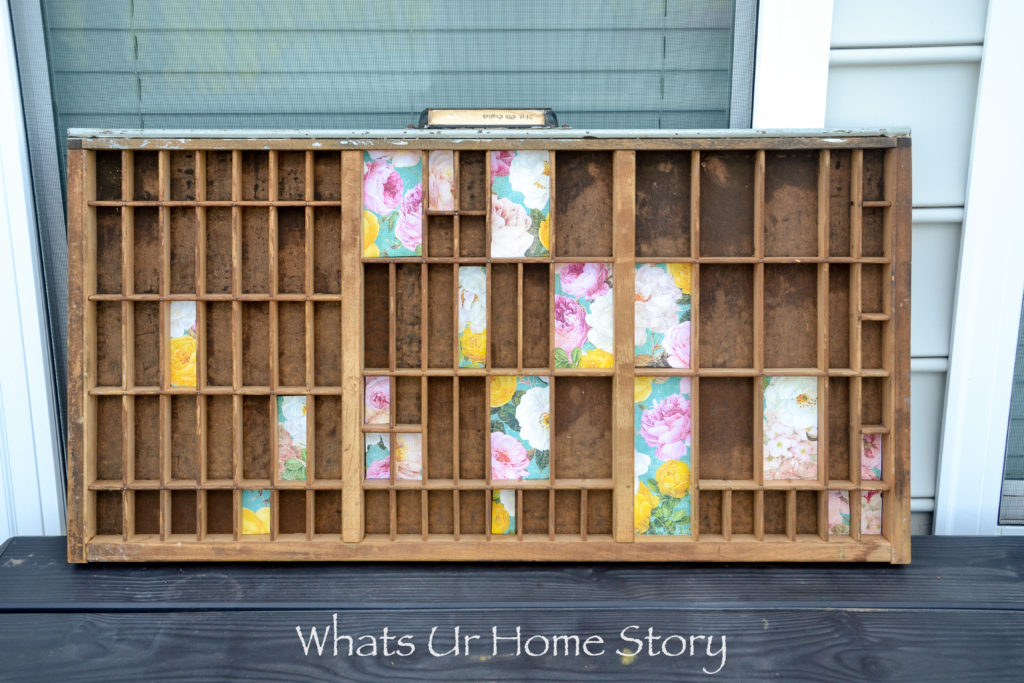
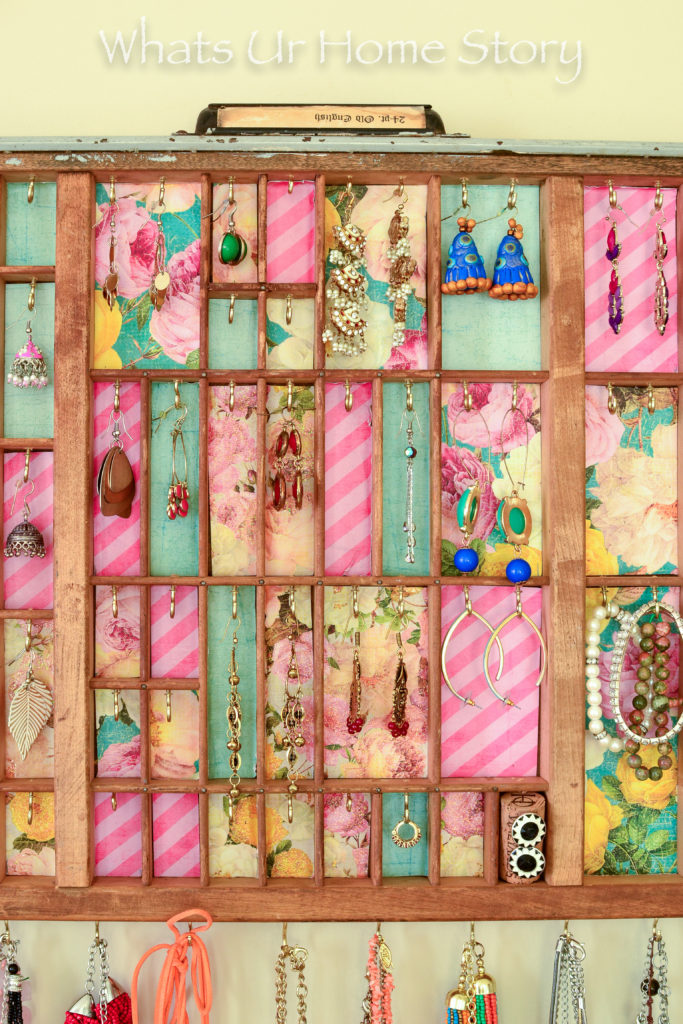
- Cover all the slots with the paper. I used 3 patterns, a floral, geometric, and plain.
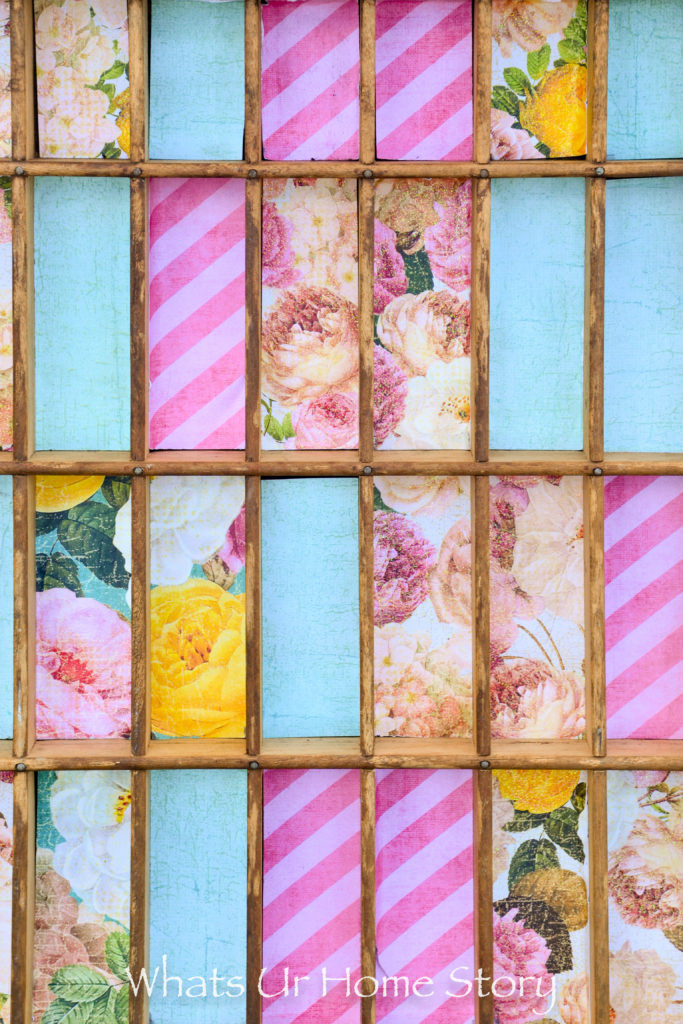
- There really was no rhyme or reason to the pattern. I just kept them where I thought it looked good.
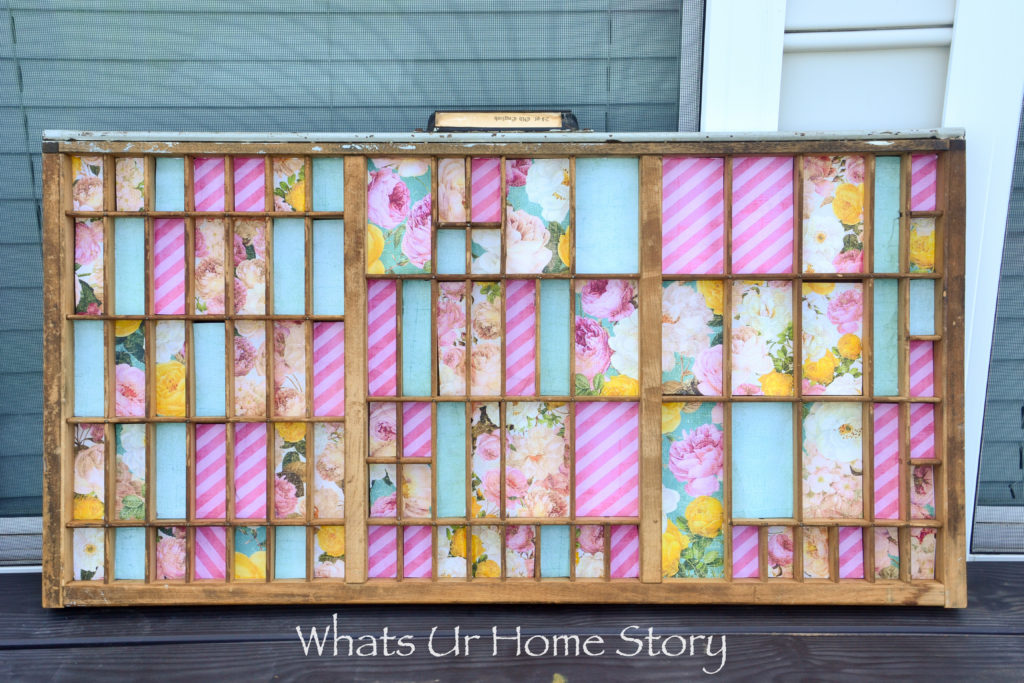
- Using the appropriate sized drill bit, drill holes into each cubby and with pliers screw the hooks in.
- Attach the picture hanging hardware on the back and your letterpress tray jewelry holder is ready for use.
And with that we are one step closer to my closet reveal. 🙂 One more project to go, yay!
How do you organize your jewelry?


This is so great, Vidya! You truly have more patience than I do!!
Lol! Thank you Sondra!
How did you handle the tips of the hooks? I would think they would go through the other side of the sections.