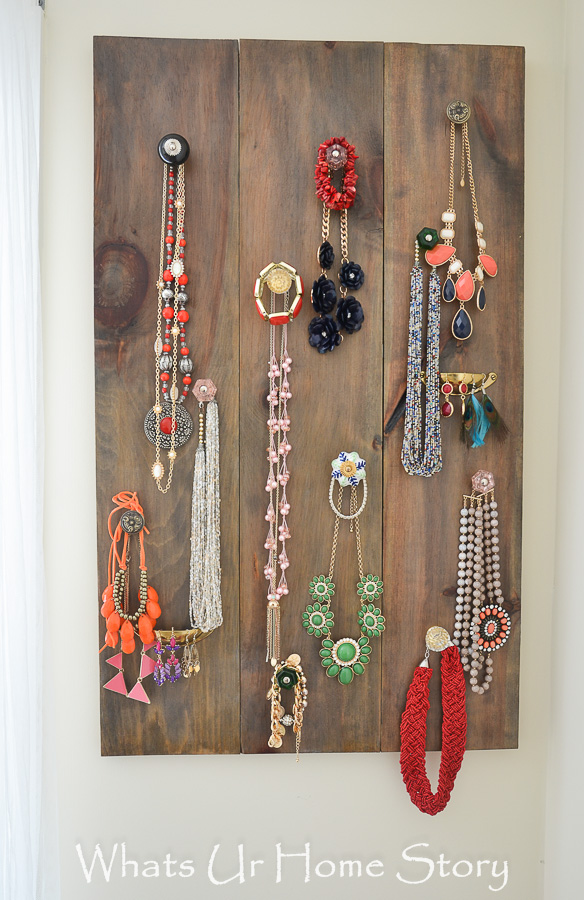
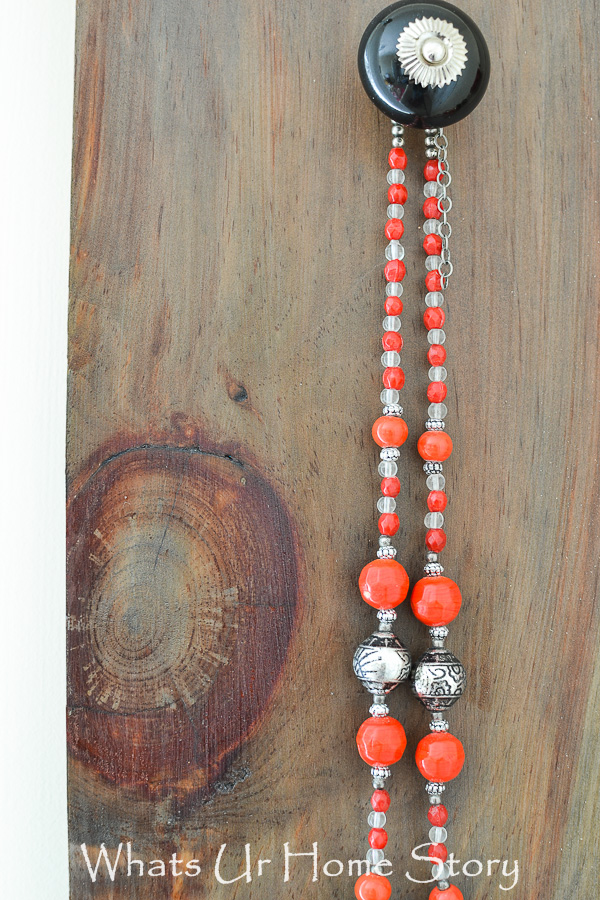
We have another project from my daughter’s room today, a DIY jewelry organizer made from wood panels, knobs, and pulls.
Before you start wondering, “How in the world does a 9 yr old have that kinda jewelry!” let me clear one thing what you see here is my jewelry not hers. Let’s just put it this way, once we finished the project I couldn’t help but wonder how my jewelry would look on it. You know at the off chance that it might not work in her room and I could take it. 😉
To my utter disappointment I realized that I’d need at least 2 more of these to hold all my necklaces let alone earrings (see my earring organizing solution here)! Looks like I have a jewelry problem to take care of first. Anyways my pieces did look so great on those D.Lawless Hardware knobs that I’m planning to make one (a giant one) for myself.
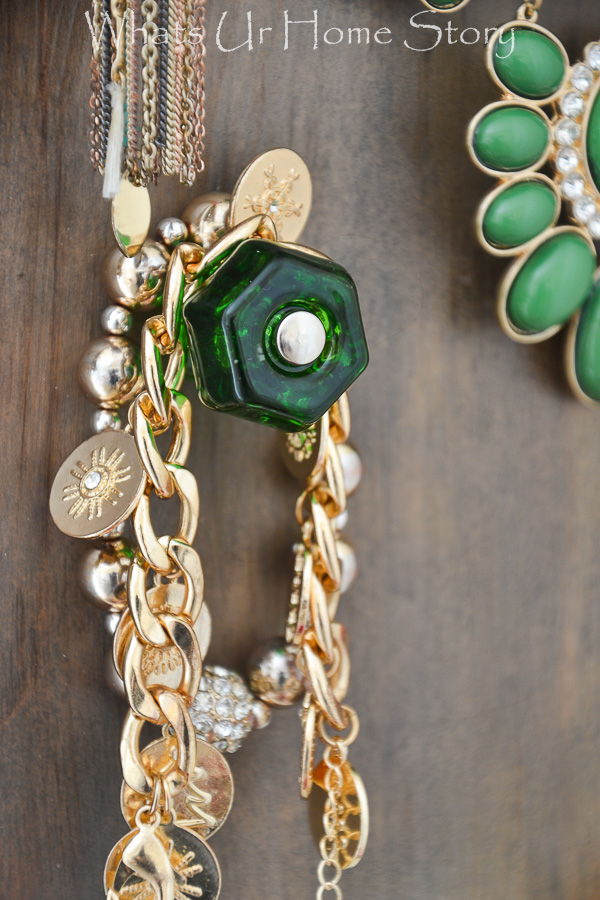
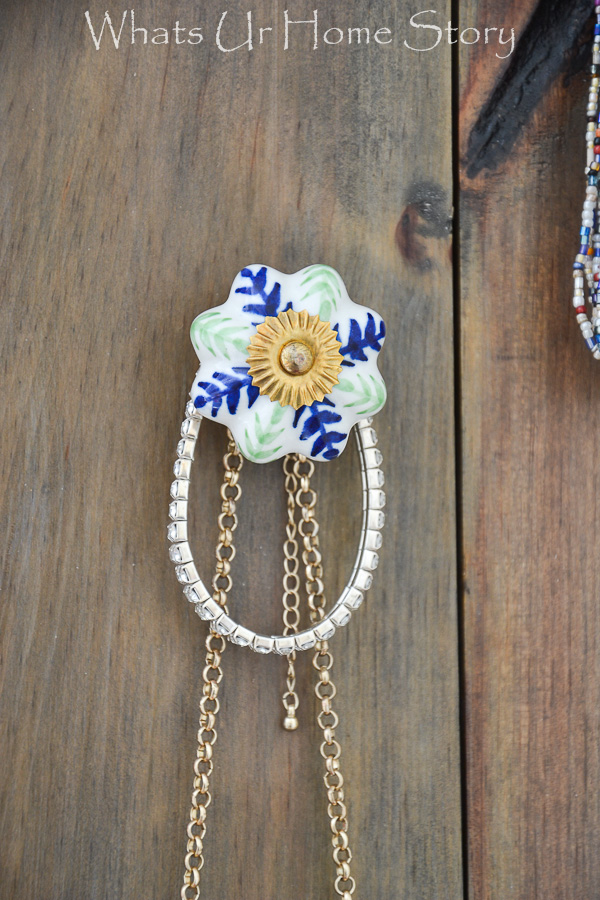
My favorite knob of all is this D.Lawless white ceramic blue and green leaves one in the middle.
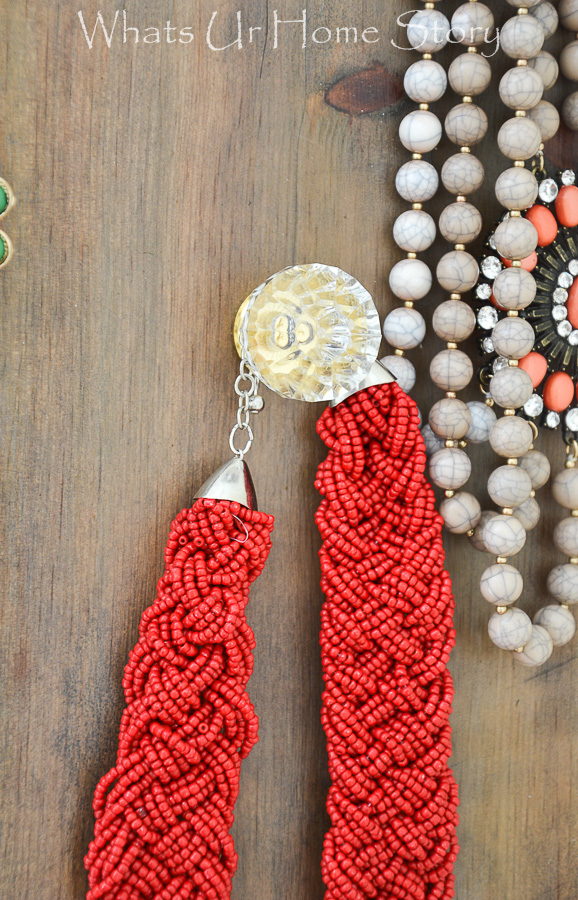
Closely followed by the diamond cut crystal clear acrylic knob that I also used for her side table makeover.
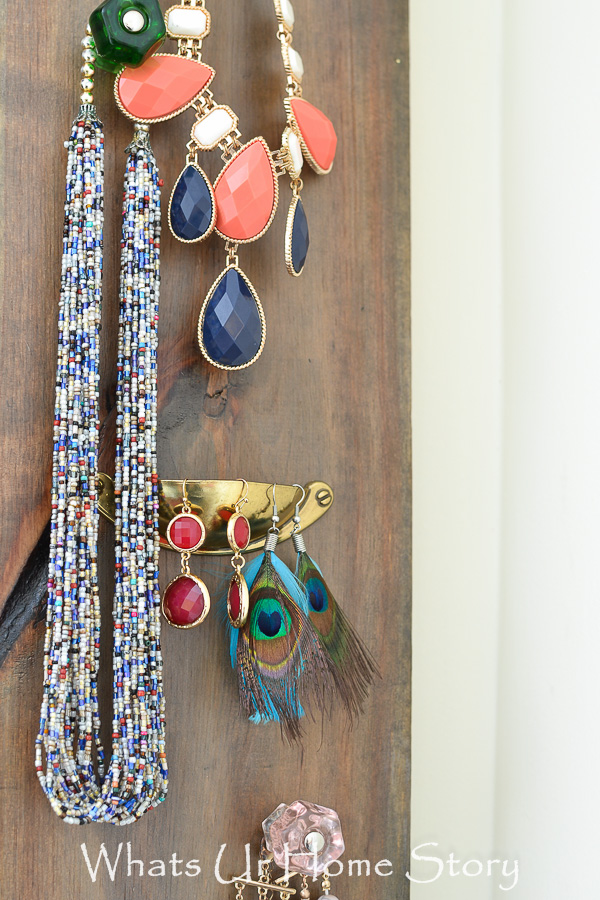
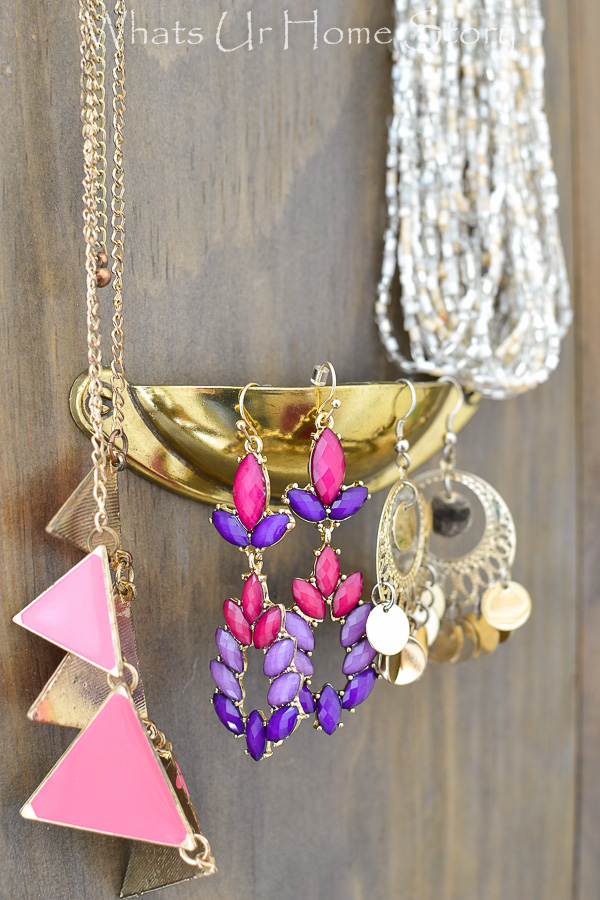
I turned the Antique English Cup pulls upside down and used them as earring holders. That way she could also use them to hold studs or hoops.
For a change of scenery here’s how the jewelry display looks like with my daughter’s jewelry. You can see at this rate she will catch up with me in a couple of years. 🙂
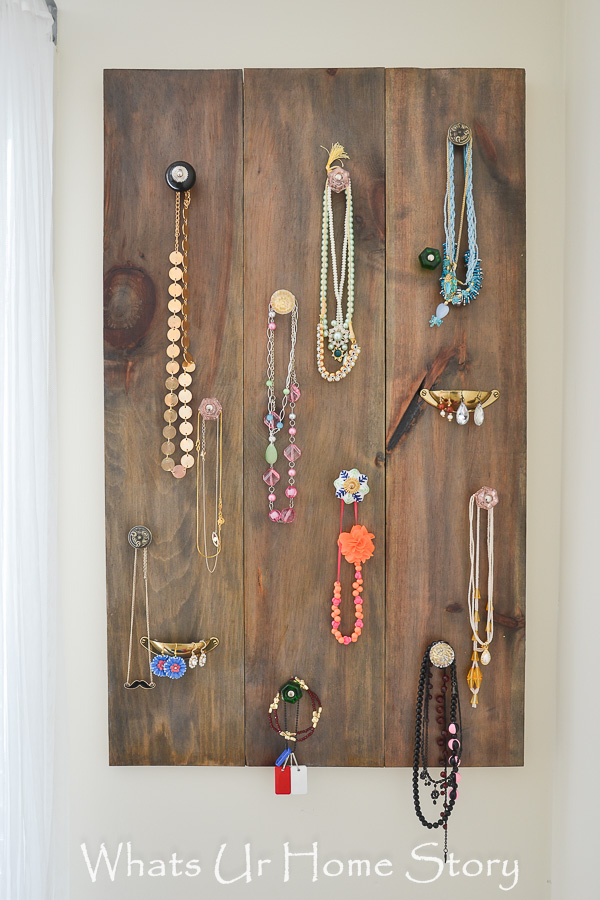
To make this 36″ x 21.5″ jewelry display you’d need;
Materials
3 – 1″ x 8″ wood panels that are 4ft long cut to 3ft (I was limited on how long I could go in that space). These were on sale at Home Depot for under $2 each. I used one of the leftover scrap pieces to make the Beyoutiful art in her room.
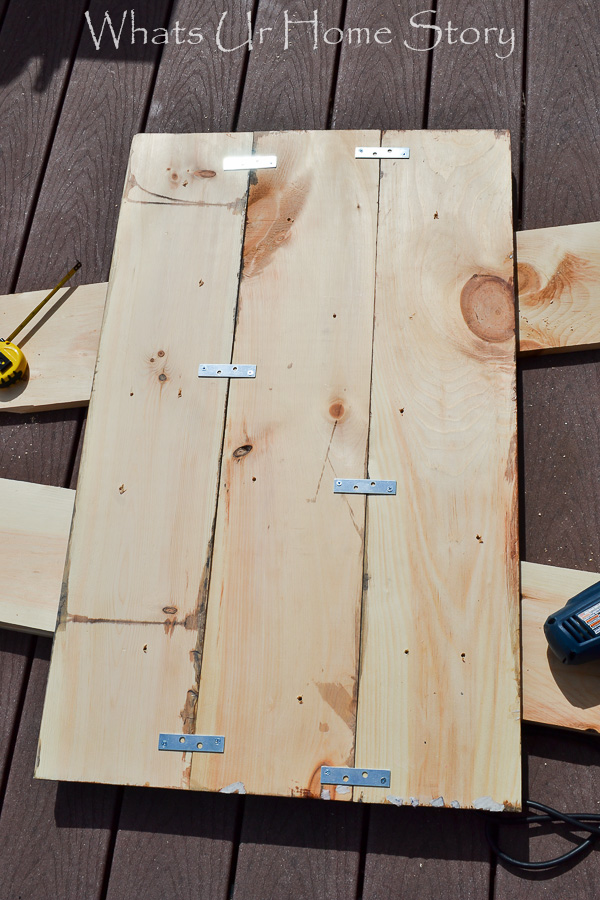
6 – 3″ Mending Plates, corresponding screws
2 – 8″ Mending Plates, corresponding screws
Screws depending on whether your knobs came with them or not
Washers, Nuts – In case the knob screws are too long
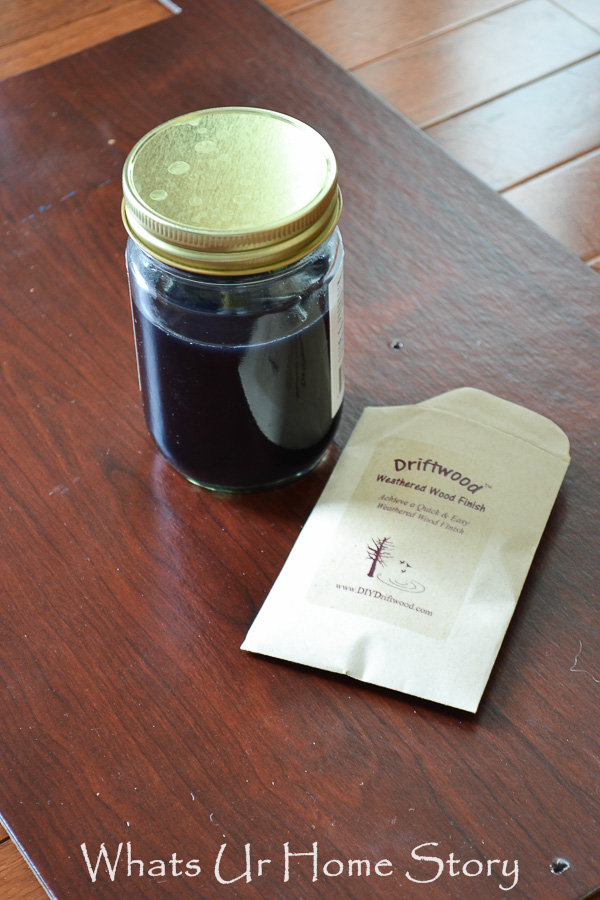
1 Driftwood Weathering Finish packet – This was part of my Haven conference swag that I’d used to make the JOY sign earlier.
Foam Brush
Medium grit Sand paper
Picture Hanging Hardware
Method
- With the medium grit sand paper lightly sand the good side (the side you’ll be working on) of the wood panels. This will break up/ take off the protective coating on the panels, which will in turn help the DIY driftwood finish adhere better.
- Mix the Driftwood weathering finish packet with water as per instructions.
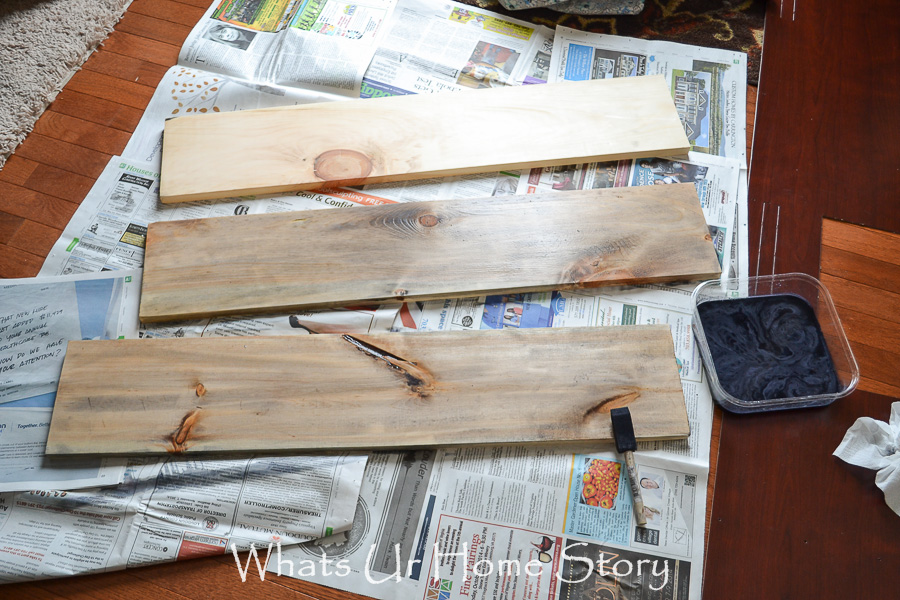
- Place the panels over your work surface aka. on a heap of old newspapers in your family room and brush the finish on. In the pic below the first panel does not have any coat on while the other two have a coat of the driftwood finish on.
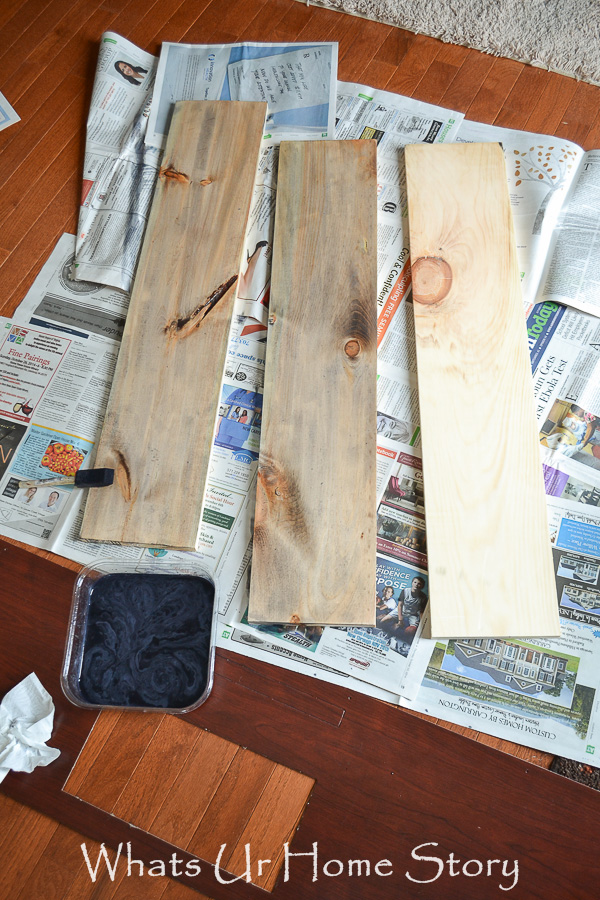
- You can see the color difference even better in the below pic.
- After 2 coats the panels were looking a lot darker from where we started. Make sure to coat the sides too as these will be visible.
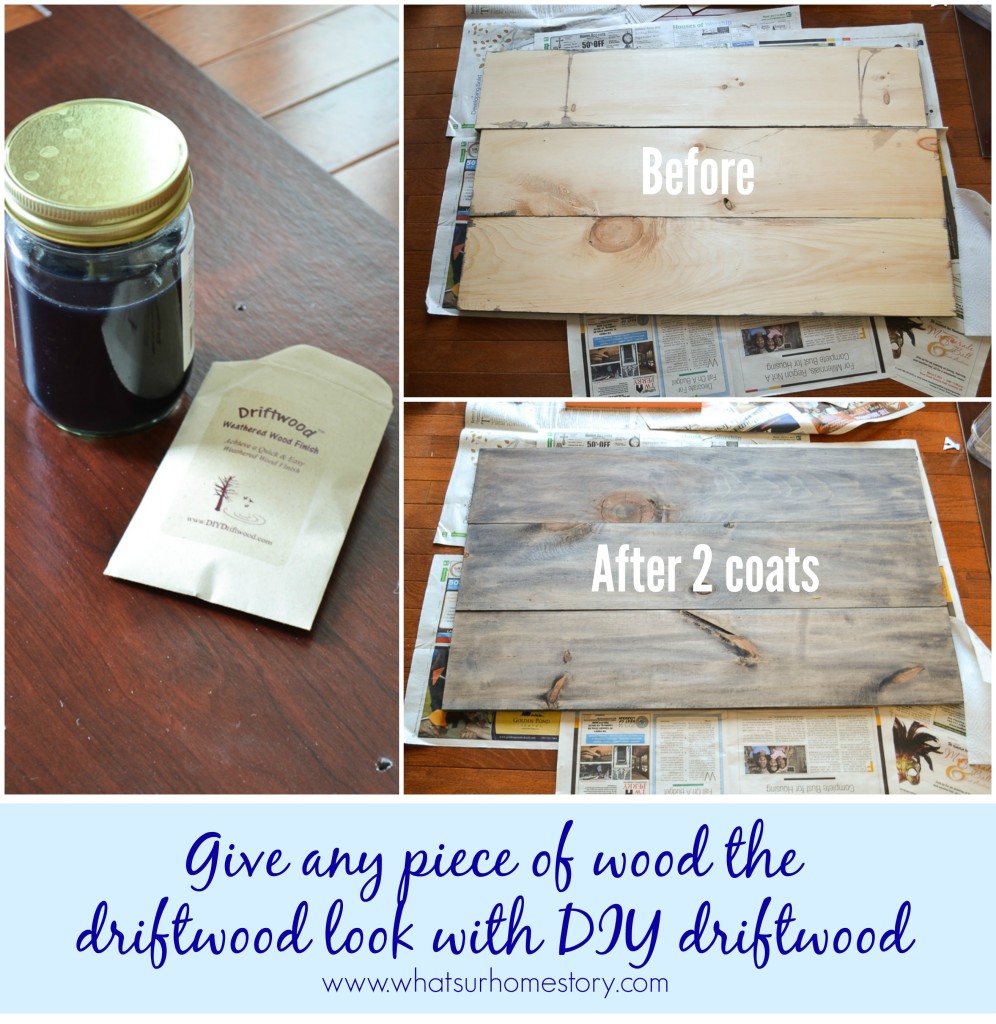
- I wanted the piece to be darker so I added two more coats (4 coats in all). I think the extra 2 coats made all the difference. Love how the driftwood finish brings out the knots and dents in the wood.
- Once the panels are dry turn them upside down and screw on the mending plates. This pic is before we screwed on the longer mending plates.
- Arrange the knobs on the piece till you are pleased with it. This took a few tries for me (bad IPhone pic alert).
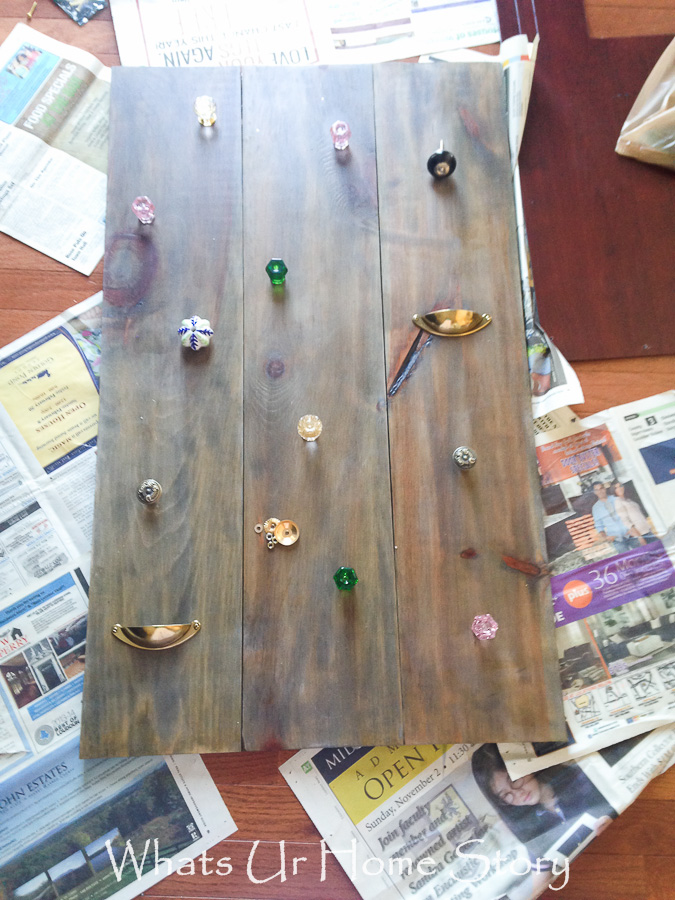
- Once you’ve the arrangement down, mark the spots, and screw the knobs and pulls on.
- Hang in the room with picture hanging hardware.
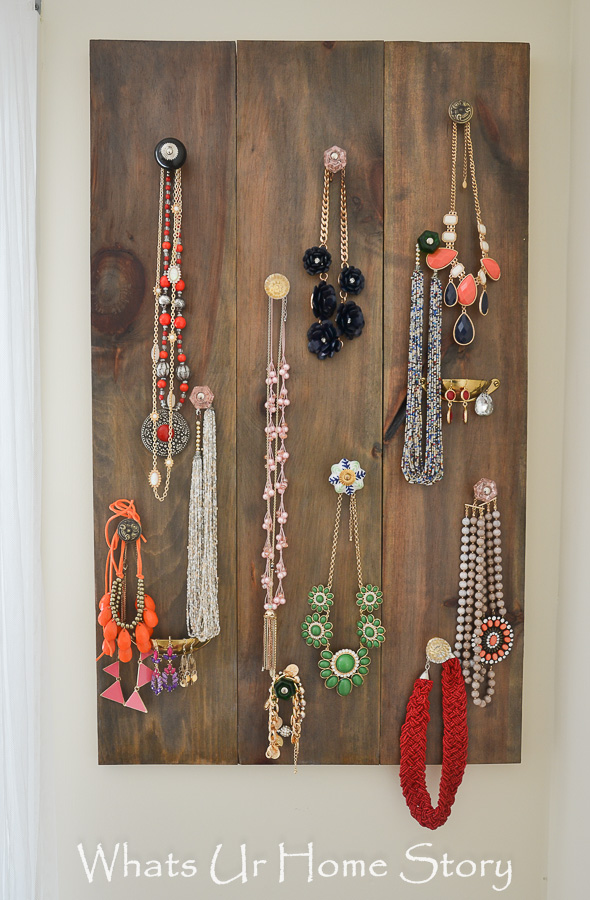
Neat right? I can’t get over how good my jewelry looks on it. 🙂 Time to redo my closet?
*D.Lawless provided me with the knobs and pulls to review but as always all the opinions are mine.


Awesome. I love how all the different knobs live together so elegantly there. You have a great eye Vidya, choosing those would not have been easy.
Thanks! Really cool! I like the way the ceramic knobs go with the glass knobs! Talk to you soon!