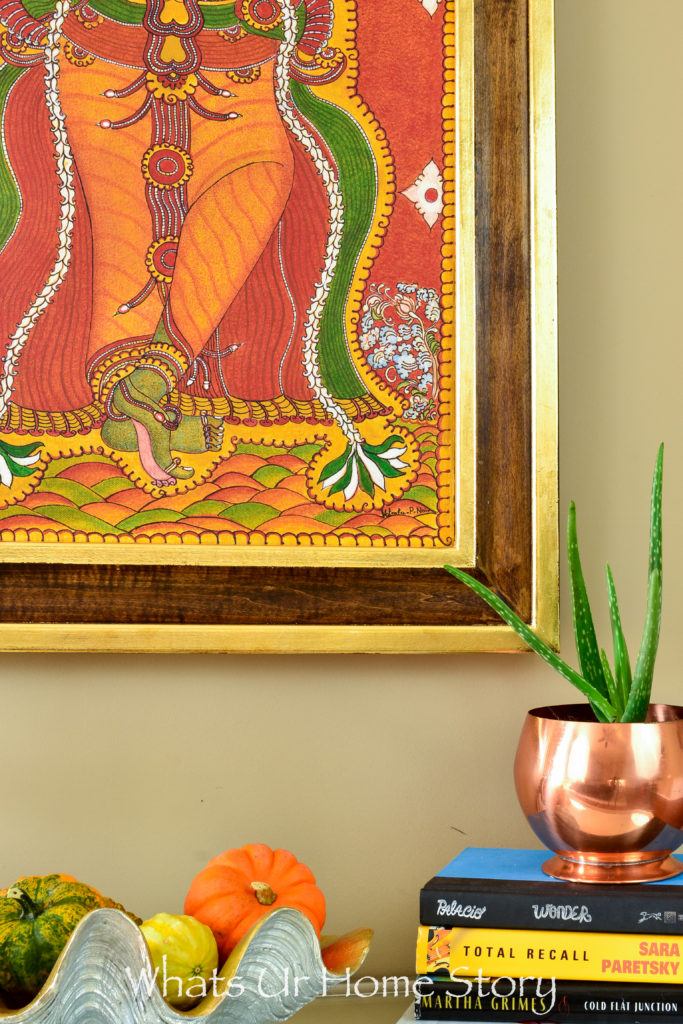
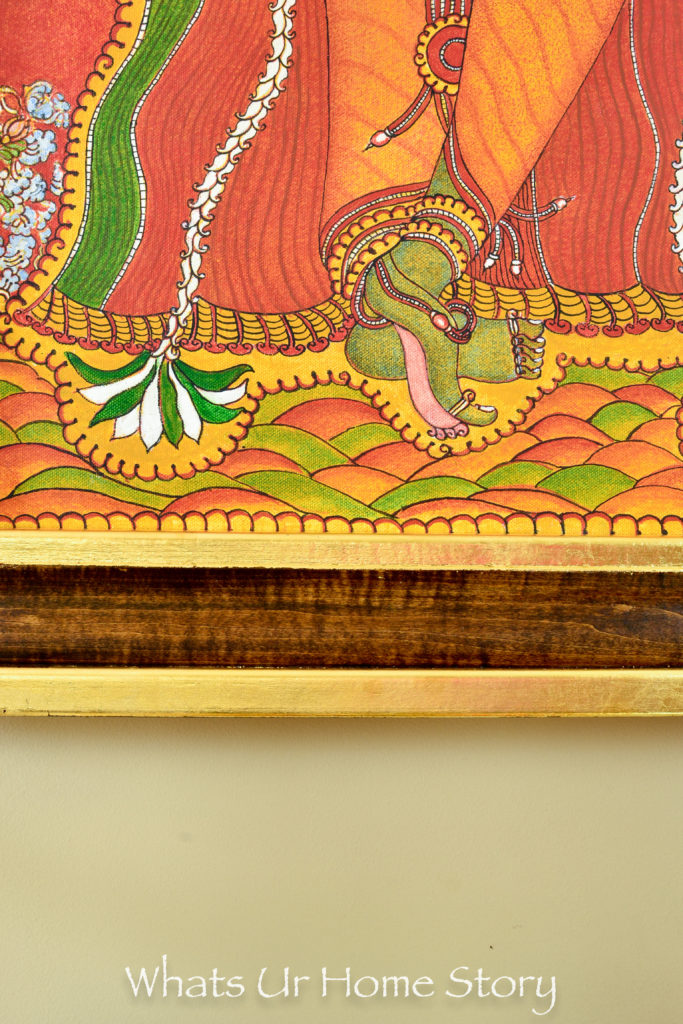
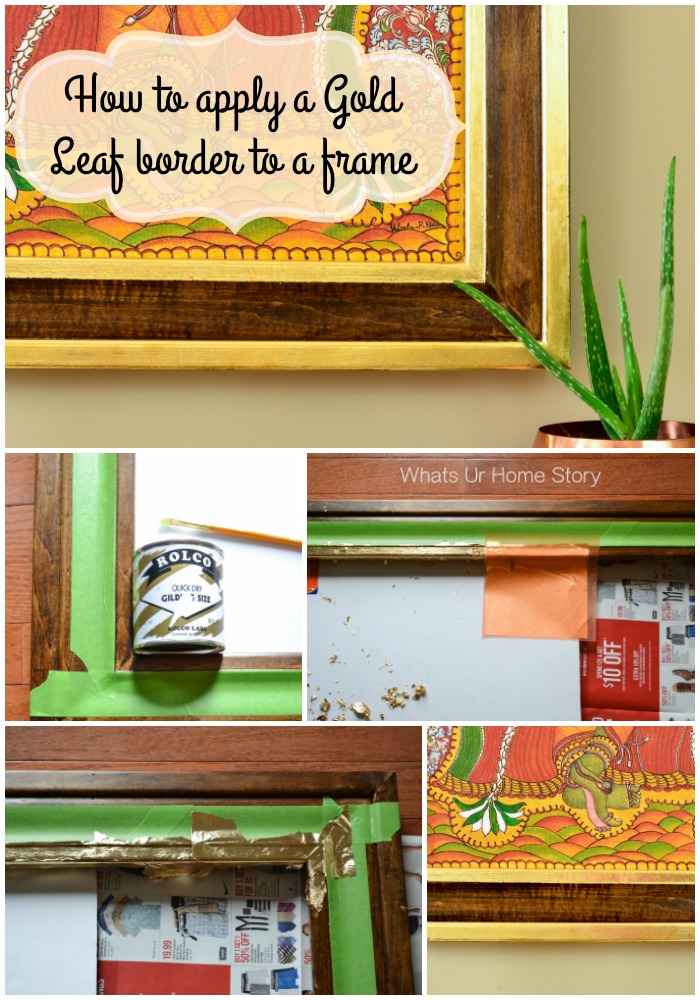
The final post of our DIY frame is here! I tell ya, this was a long project where we made a stretcher bar for the canvas, stretched the canvas painting that my mom painted, built the frame from scratch and even added a gold foil border. A lot of effort but totally worth it! On this project too I ran into issues, which by now if you know me is the norm around here, especially with the gold leafing step but made an excellent recovery as you can see.
Even though I’d tried gilding frames before this was my first time using the gold foil. The actual process of applying the gold foil or leaf is very easy and forgiving. Where I had trouble was when I tried to seal it. A lot of folks recommend clear shellac or varnish or even Mod Podge to get a clear non yellowing finish. I went with Liquitex Matte Varnish that I regularly use to seal acrylic artwork and to my surprise it left a milky white film over the gold leaf. It was so bad that I had to redo almost all the parts where I had applied the varnish. Second time around I left it as is without sealing. I know, it is not ideal as it will collect dust and I’ll have to clean it eventually wiping some of the gold leaf off. So as soon as I get some down time I’ll be sealing it with the Speedball Mona Lisa Spray Sealer, which seems to have great reviews on Amazon.*
Materials
- Gold Foil/Leaf Sheets – 1 pack
- Gold Foil/ Leaf Adhesive – I used Rolco that I bought on a yard sale group. Here is something similar.*
- Painter’s Tape
- 2 Medium Soft Bristle Brushes
Tutorial
- Work on a covered surface so you can catch and reuse any extra foil pieces that fall off from your project.
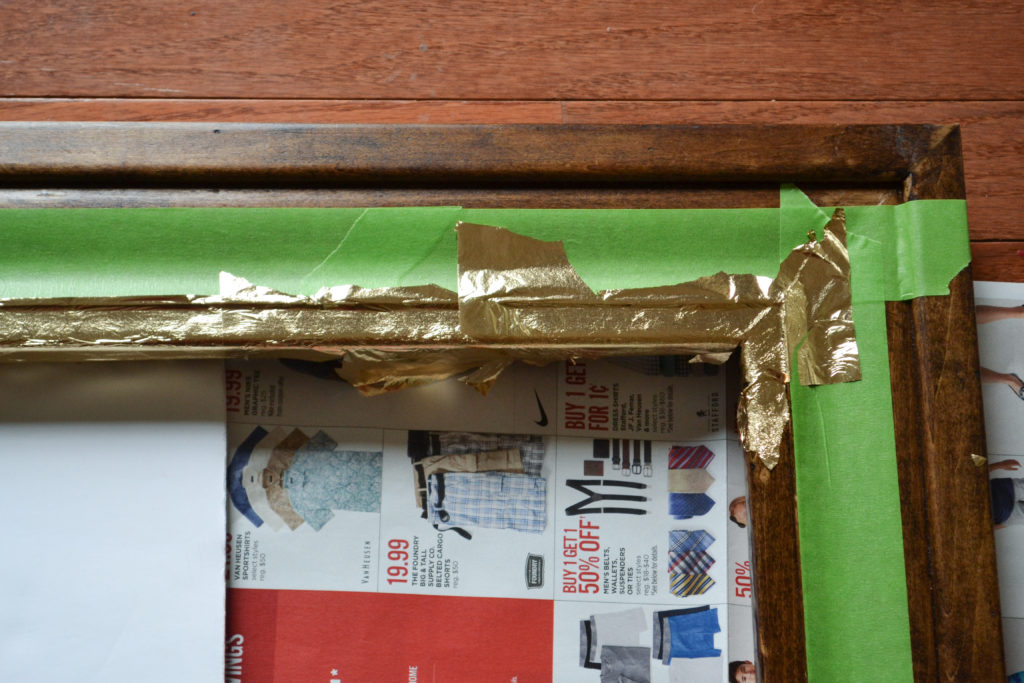
- Tape off the part of the frame that you want to gold leaf.
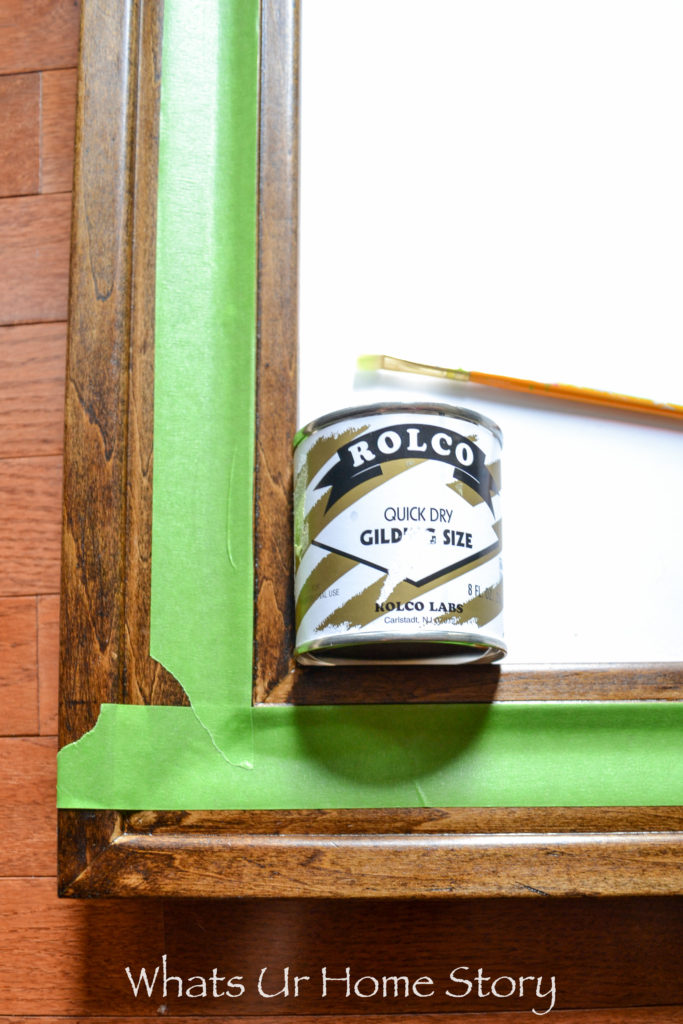
- With the brush apply the adhesive to a small area. Wait as per the packing directions.
- Gently place the foil over the area where you applied the glue.
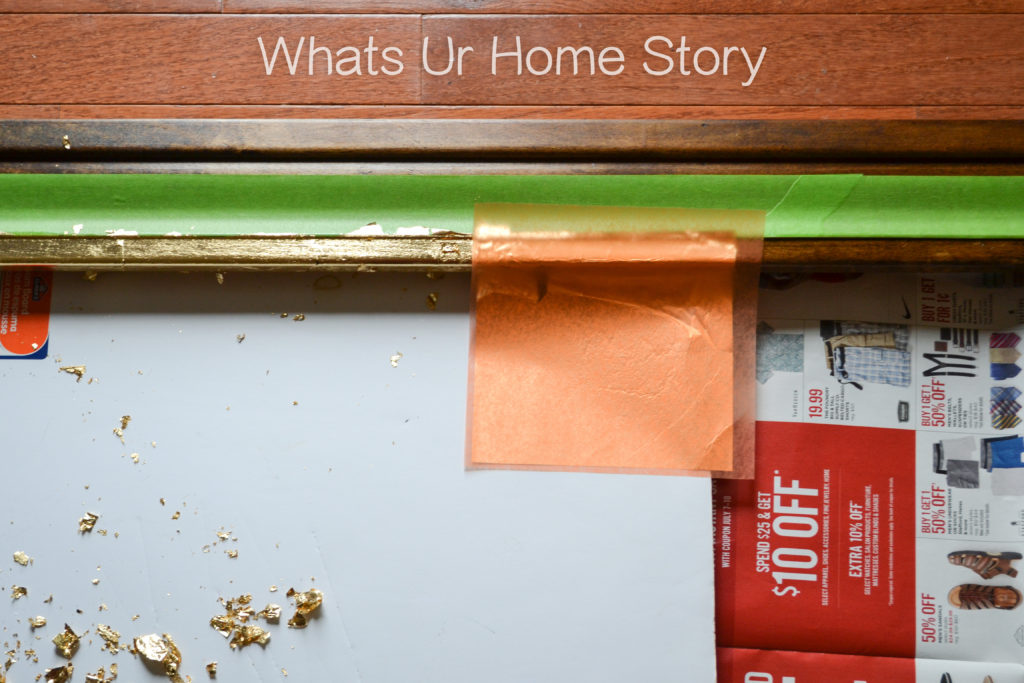
- Gently press the paper down applying even pressure making sure that all the adhesive is covered.
- Now slowly lift the paper off.
- You will be left with extra gold foil all around where there was no glue (since you are doing a narrow frame) like this.
- Take the second brush (dry) and gently rub against the gold foil. Any extra foil should fall down.
- Don’t worry if you don’t have good coverage, it is a very forgiving project. When I removed the extra foil this is how mine looked.
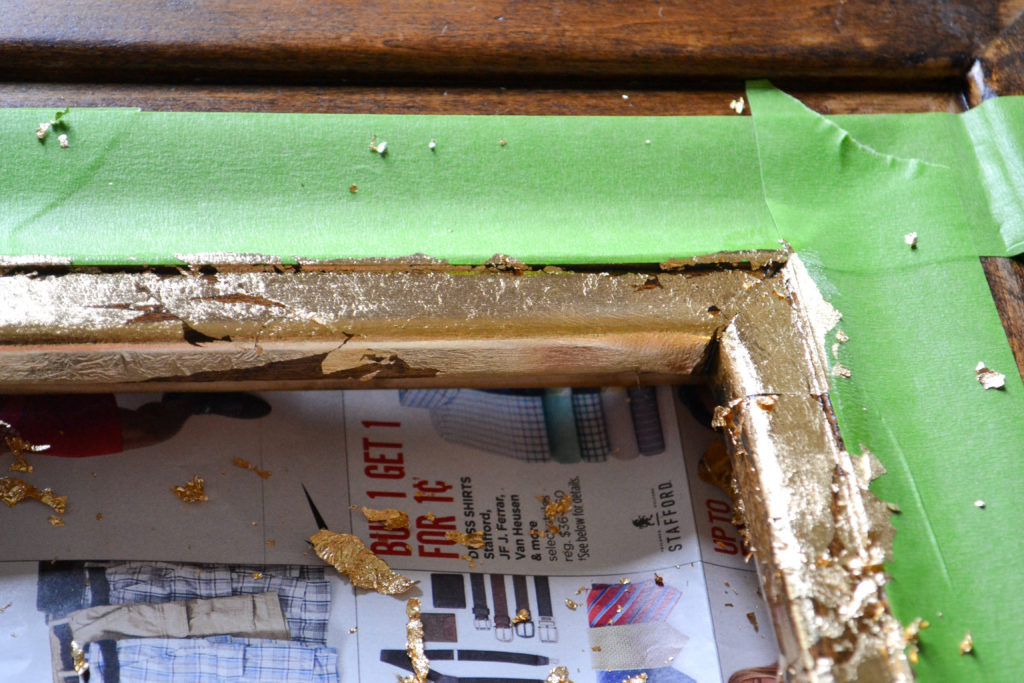
- For any area that looks bare apply the adhesive again only in that area and repeat with the foil. You can use the pieces that fell off when you brushed initially. Brush off any excess and repeat till you have a nice smooth finish.
- Move to the next area and repeat.

- Once you are done you should end up with a clean finish like this.

- Carefully remove the painter’s tape to reveal a clean edge.
- Tape off the next border and repeat for a double border effect.

- To seal – please see my comments in the initial part of the post.
Pretty simple, right? Yes, it is time consuming to go back and fill in any left out areas but you cannot beat the sheen and classic look of gold leaf. No paint can match that effect.
Have you tried gold leafing?
(affiliate link)


Leave a Reply