DIYs, Recipes, Furniture, Art - Whatsurhomestory

Your family's story through your home

  • Home
  • My Story
    • Contact
  • Our Home
  • Tutorials
    • DIY & Crafts
    • Furniture Makeovers
    • Sewing
    • Gardening
    • Room Makeovers
    • Home Tours
  • Holiday/Seasonal
    • Christmas
    • Winter
    • Spring
    • Summer
    • Halloween
    • Fall / Thanksgiving
    • Parties
    • Indian Holidays
  • Recipes
  • Advertise
    • Privacy Policy
    • Features

DIY Glitter Marquee Letter

September 2, 2016 By Vidya Leave a Comment

DIY Glitter Marquee Letter

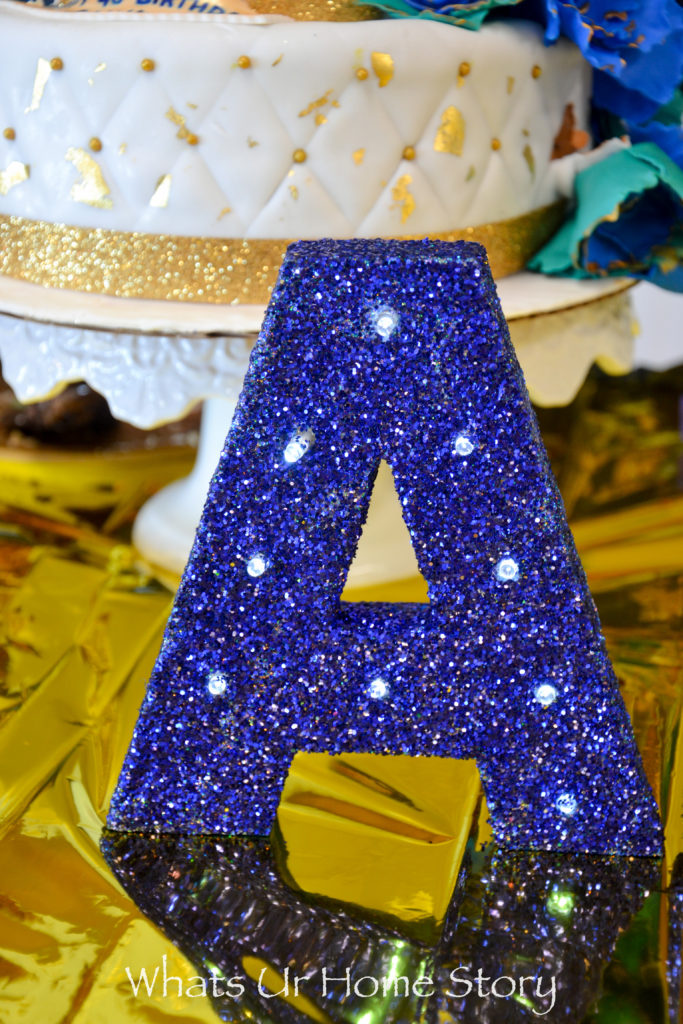
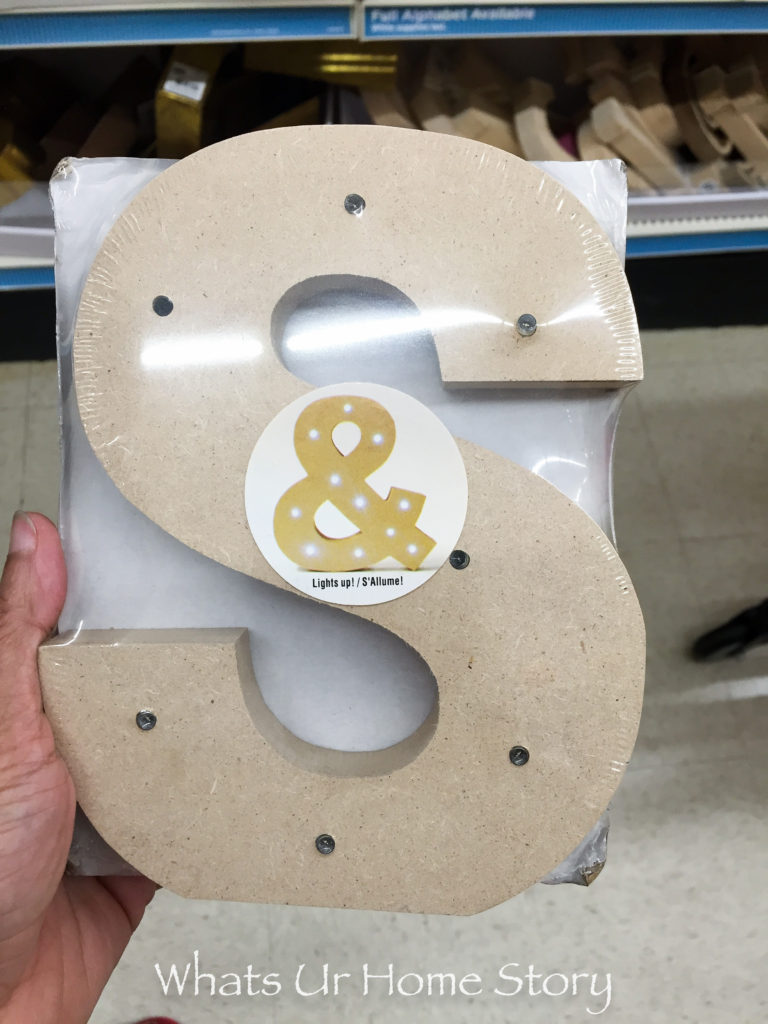
You know those projects that are happy accidents? Well this glitter marquee letter was one such. My original plan was to get a paper mache letter like the one I used for my STAR marquee sign and paint it in peacock colors or something for the peacock party decor but then I saw this marquee letter on 80% clearance at Michaels for around $2! The only problem was it was nowhere as pretty but rather a plain looking piece of fake wood.

DIY Glitter Marquee Letter

Here’s how the journey to the world of glam started for this unassuming marquee letter.

DIY Glitter Marquee Letter

Materials

  • DIY Marquee Letter
  • Mod Podge
  • Glitter – color of your choice
  • Craft paint – color of your choice
  • Paper plate
  • Brushes
  • Paper towels

Tutorial

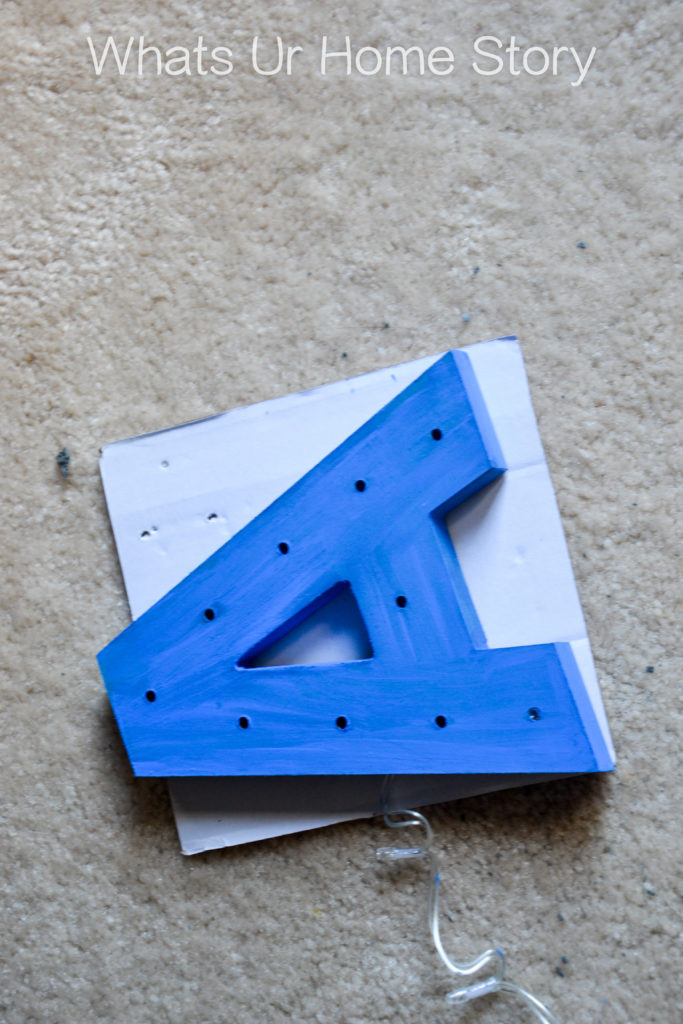
  • Start by taking the lights out of the marquee letter

DIY Glitter Marquee Letter

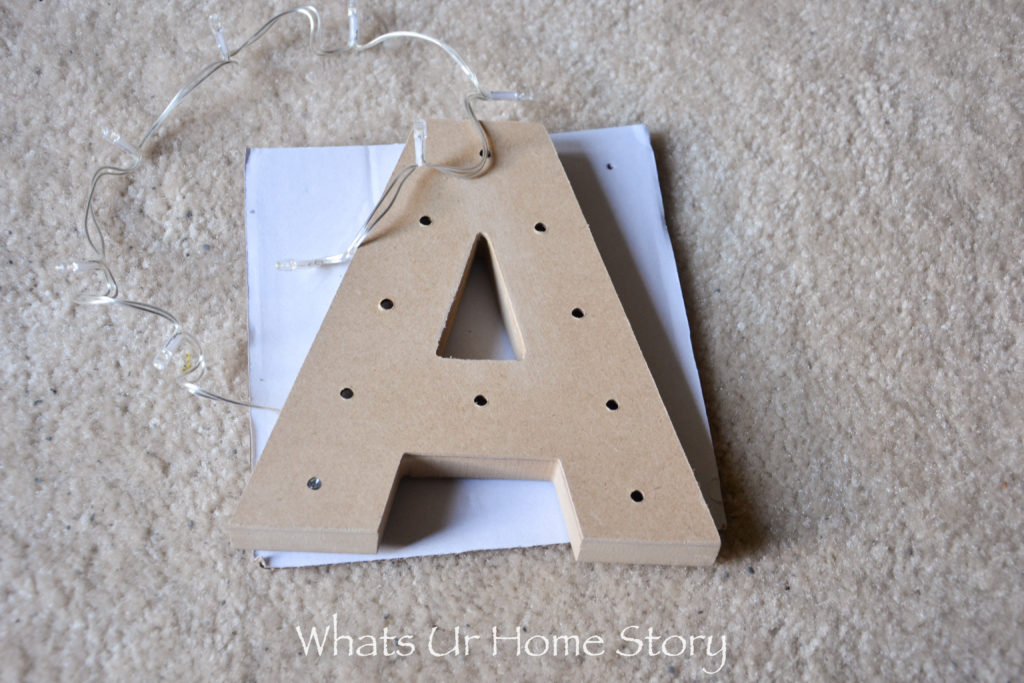
  • Apply a coat of craft paint in the color of your choice. I use a blue paint that I had. This extra step will give a richer color and more depth to your marquee letter post glittering. Let it dry.

DIY Glitter Marquee Letter

  • With the another brush apply a coat of Mod Podge, place the letter over the paper plate, and sprinkle glitter over the Mod Podge till the letter is evenly coated. See my glitter cap shoe post for step by step instructions with pictures on this process.

DIY Glitter Marquee Letter

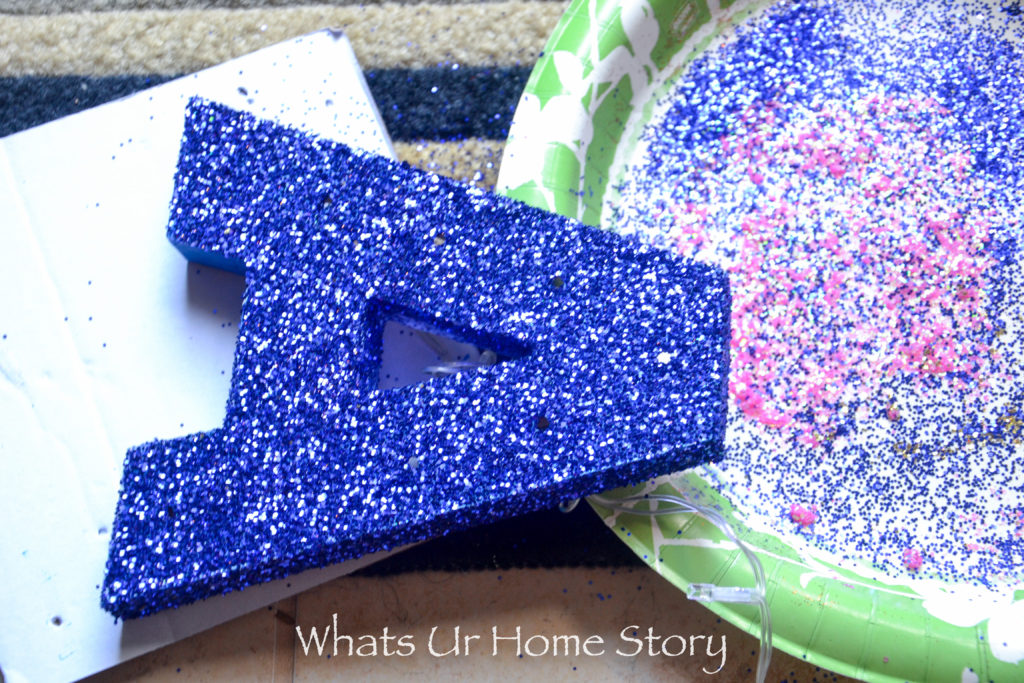
  • Repeat the previous step one more time till the letter is completely coated with glitter. Don’t forget to glitter the sides and the top.
  • If you wish you could seal the glitter with another coat of Mod Podge. I just applied this final coat only to the sides as that is where we would hold the letter. This way at least the glitter wouldn’t get on the hands of folks who held the letter.
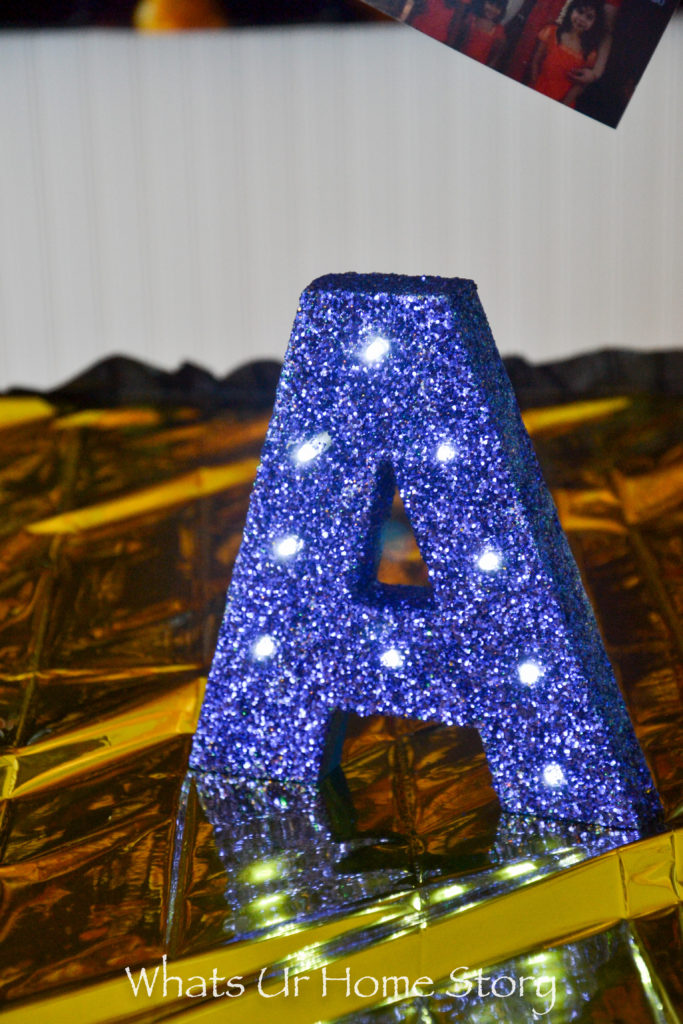
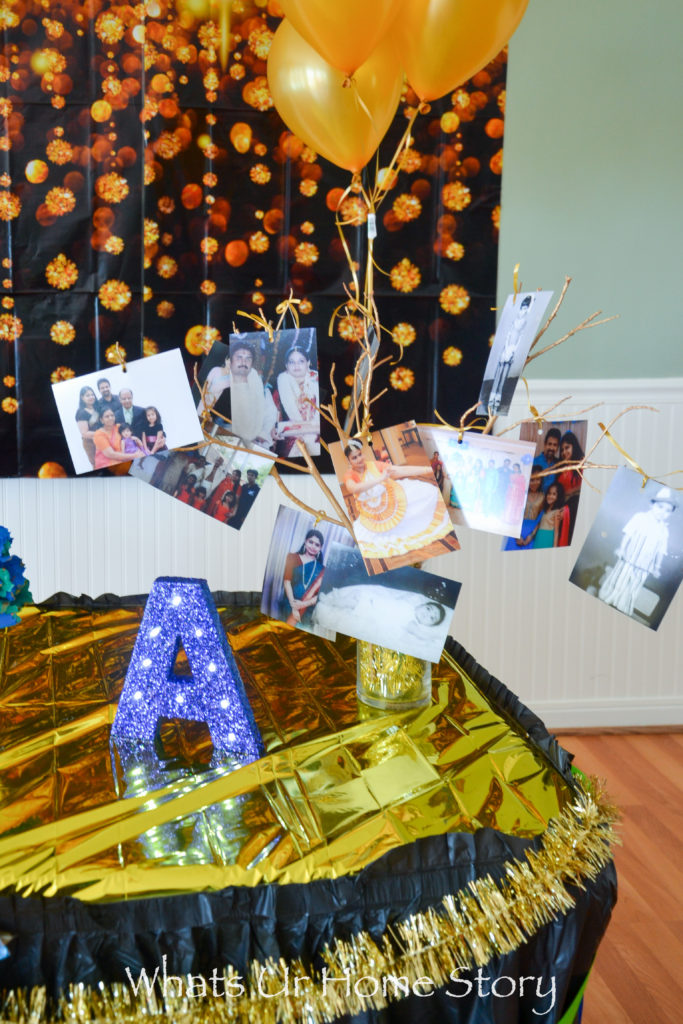
  • Once the Mod Podge/ glitter is completely dry press the lights back on to the letter.
  • Switch on the lights and enjoy!

DIY Glitter Marquee Letter

Wasn’t that a fun little project?

← Neutral and Eclectic Home Tour Part 2 Kit Kat & Caramel No Bake Cheesecake →
« Neutral and Eclectic Home Tour Part 2
Kit Kat & Caramel No Bake Cheesecake »

Leave a Reply Cancel reply

Your email address will not be published. Required fields are marked *

Hi! I'm Vidya, an IT professional by day, a mom to my 2 darling monkeys, a wife, a home maker, an avid gardener and home decor/ DIY enthusiast round the clock, and a blogger in my free time. Read More…

  • Facebook
  • Instagram
  • Pinterest
  • Twitter
  • YouTube
subscribe img

Categories

Love this outdoor space with a beautiful red and blue outdoor decor with a flamingo pillow, metal tray side table, and loads of green plants

Finally the long overdue post, our new screened in porch reveal. This space has undoubtedly become our favorite room in the house now. To tell you the truth, I was against the idea of ripping apart our good size deck and replacing it with a screened in porch but B insisted that this was the…

Read More »

Archives

Features

Features

Networks

POPSUGAR Select Homemarthabadge1
  • Facebook
  • Instagram
  • Pinterest
  • Twitter
  • YouTube

HOME | MY STORY | OUR HOME | TUTORIALS | HOLIDAY/ SEASONAL | RECIPES | TIPS & TRICKS | ADVERTISE | PRIVACY POLICY | FEATURES | SITEMAP
DIY, Crafts, Recipes, Gardening – Whatsurhomestory.com COPYRIGHT © 2020 WHATS UR HOME STORY

Like What You See? Subscribe to Receive WUHS Posts via Email!
Your information will *never* be shared or sold to a 3rd party.