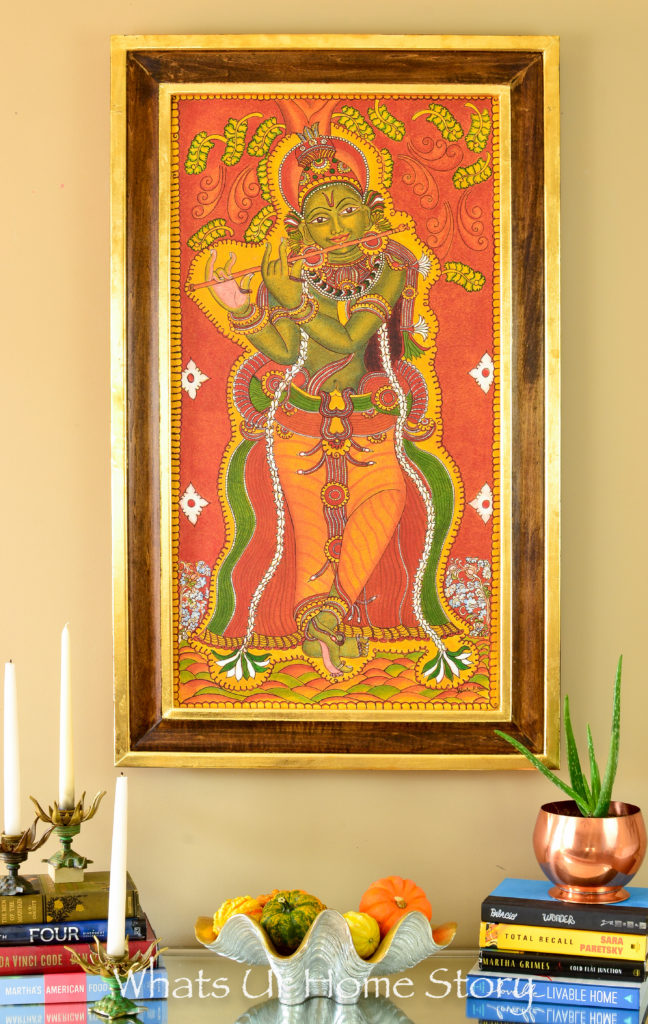
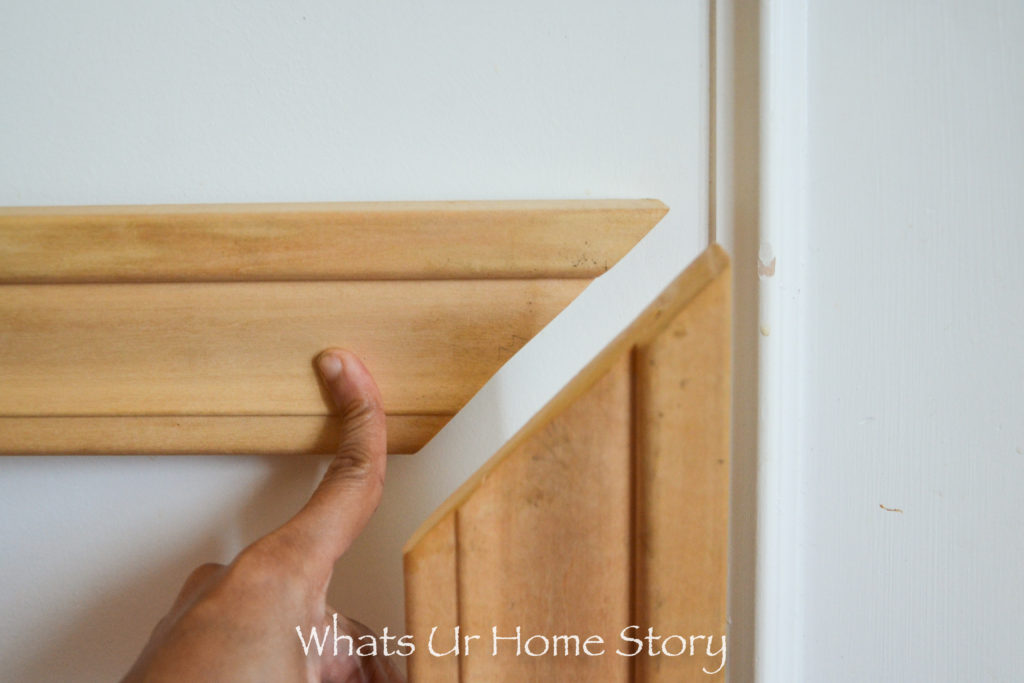
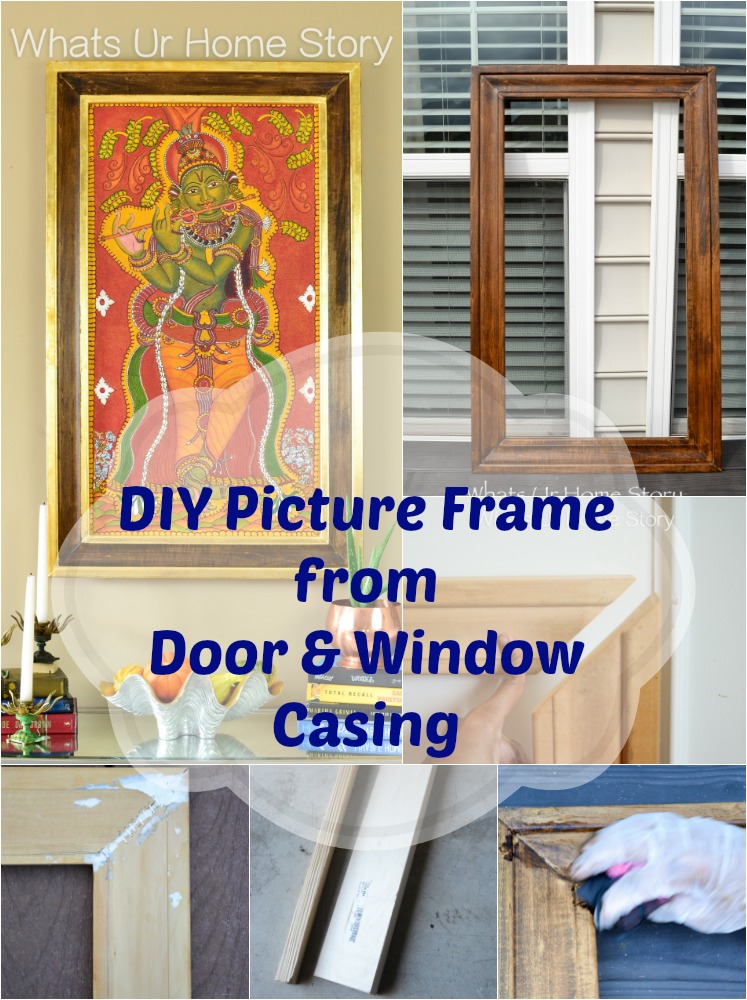
Part 2 of the DIY picture frame tutorial is here! Last time I told you how my mom’s traditional Indian mural painting was an odd size and we had to build a custom canvas bar so we could stretch the canvas ourselves. With that step done we proceeded to make the frame. The easiest way to make a DIY picture frame is to use picture frame molding, available at most hardware stores. We did indeed buy this molding (only one style was available at our local Home Depot) and make another frame but that particular style (the one on the right below) was not wide enough for what we had in mind for this painting.
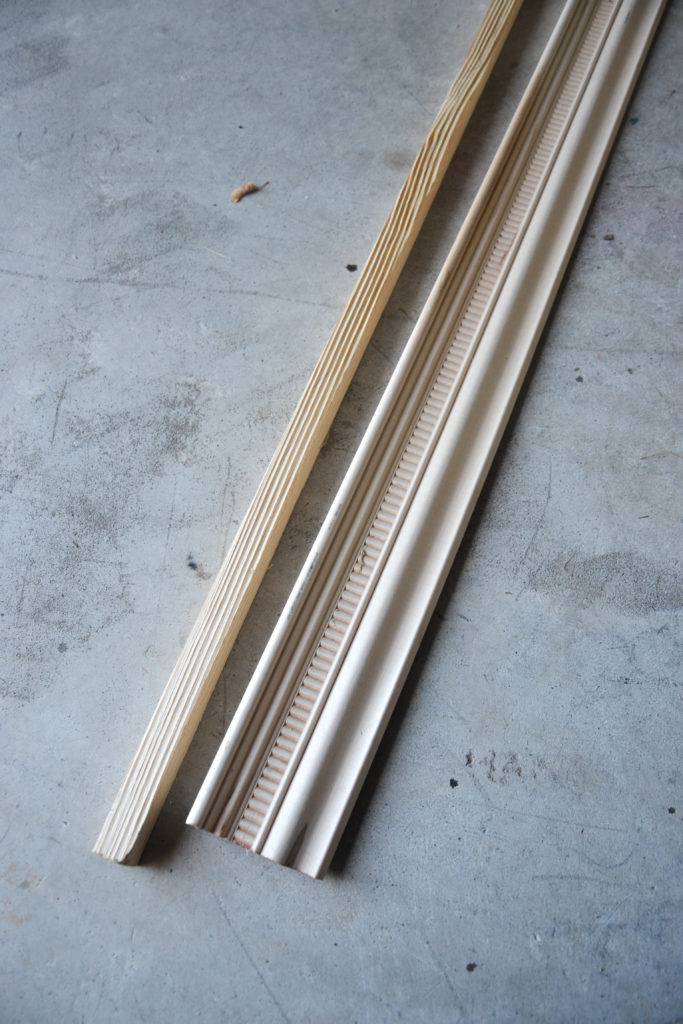
These have a built in notch for the canvas to rest. Since we opted for using a Prime MDF Door and Window Casing instead we had to make the notch ourselves with a furring strip board (the thin strip in the picture above). So the frame is slightly raised from the wall, which adds to the custom look.
MATERIALS
- 19/32 in. x 2-1/4 in. x 84 in Prime MDF Door and Window Casing – Home Depot
- 2 in x 2 in x 8ft Furring Strip Board – Home Depot
- Miter Saw
- Staple Gun
- Tiny screws
- Wood Glue
- Clamps
- Pencil
- Long Ruler or Tape
- Damp Cloth or Paper Towel
- Very Fine Grit Sand Paper
TUTORIAL
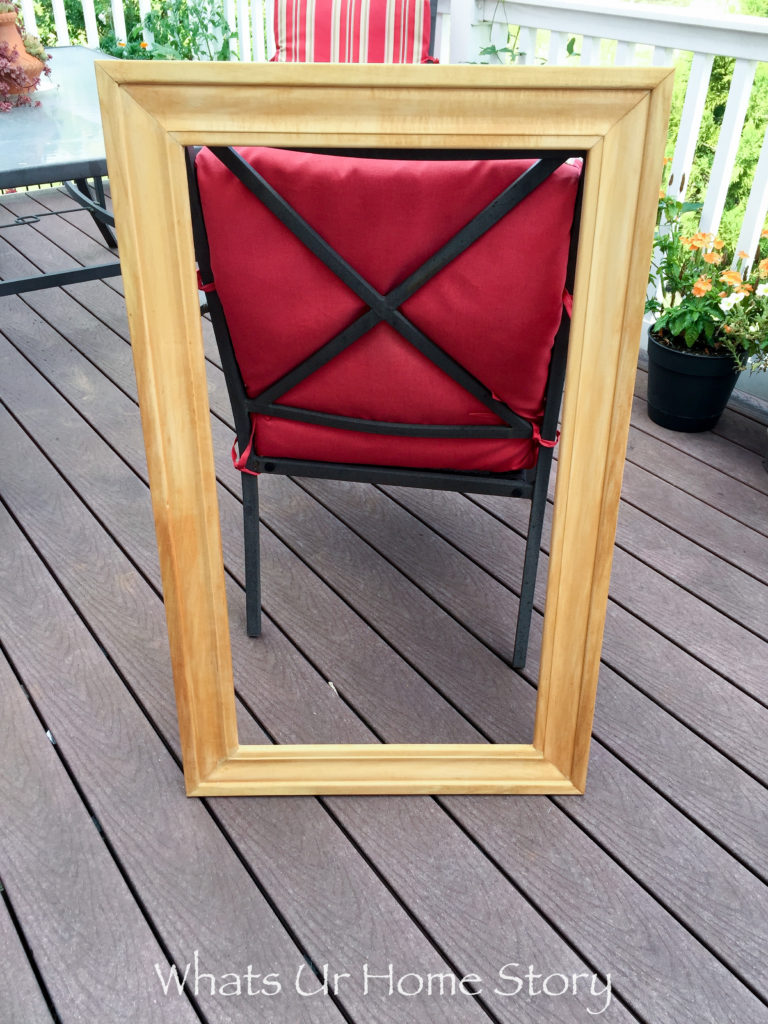
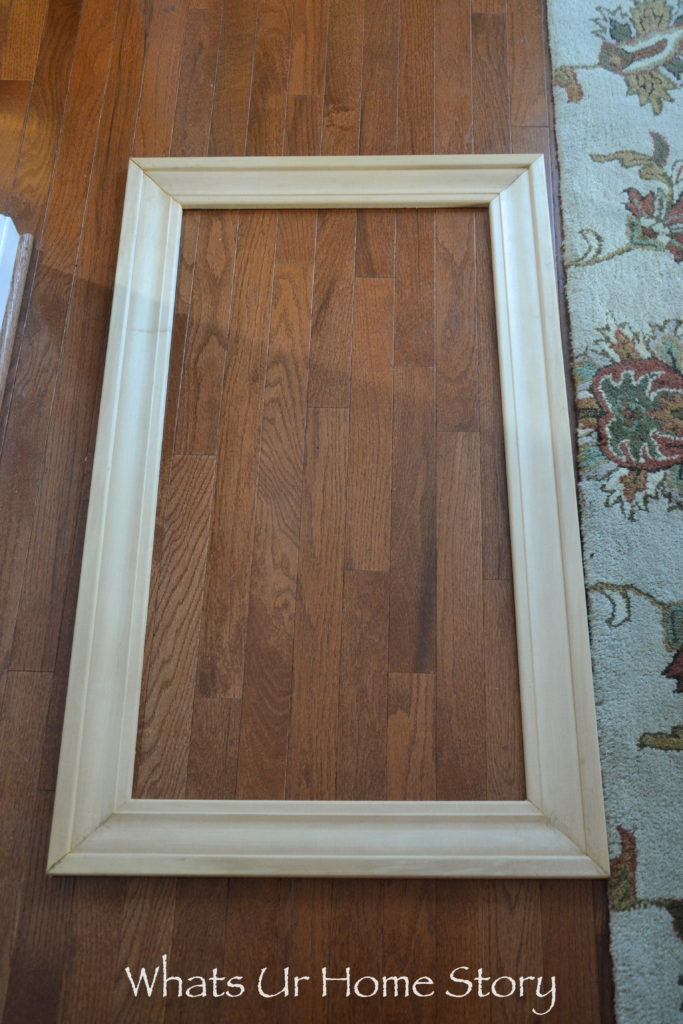
- Measure the art work and cut 2 pieces of the casing for each sides. Our painting is 20 x 22, so we cut two 20″ and two 22″ pieces.
- Using a Miter saw make a 45° cut on one end of each piece.
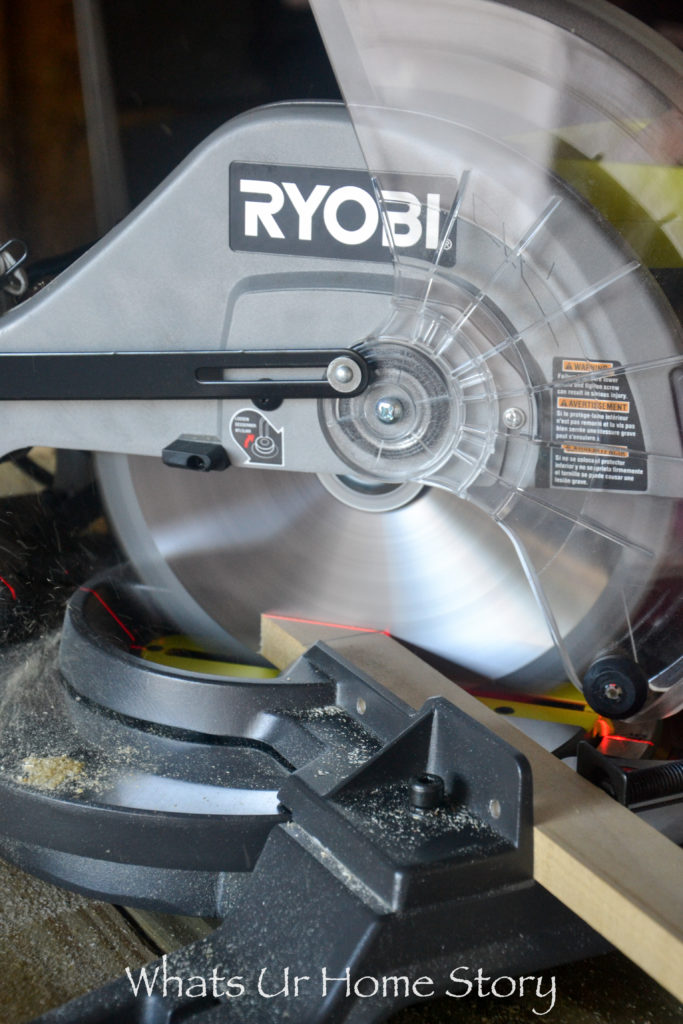
- Flip the piece over and carefully make another 45° cut on the other end making sure that the long end of the pieces still matches the art work’s border measurements.
- When laying the pieces on a flat surface the 45° cuts should match up against each other very well without any gaps.

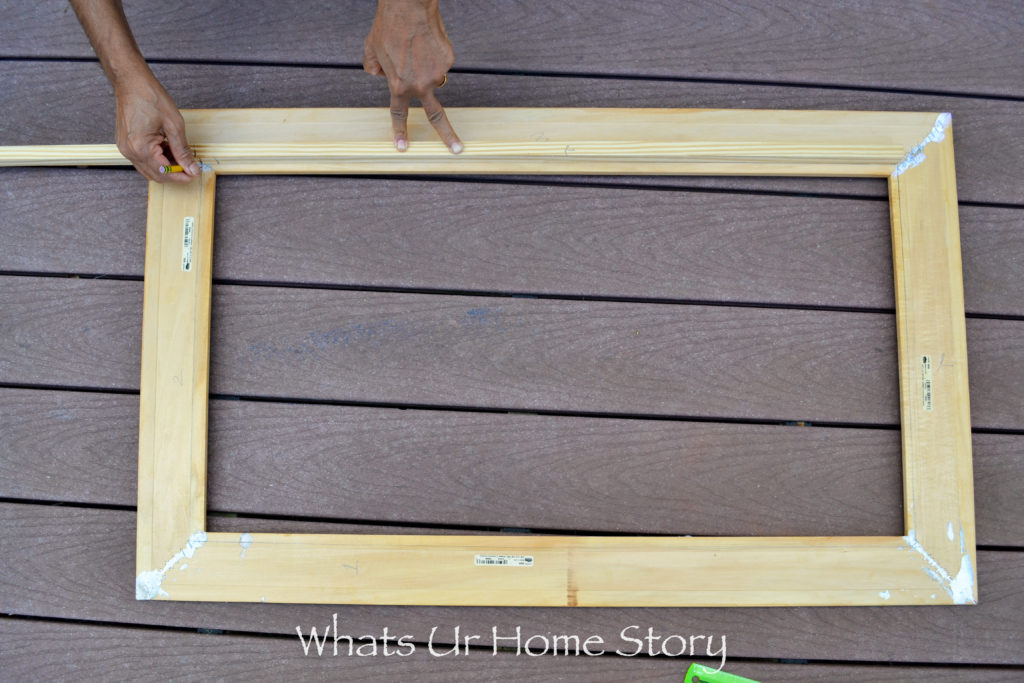
- Apply wood glue, wipe off any excess with a damp cloth or paper towel, and glue the corners, clamping till dry.
- Once the glue is dry you could staple the corners for extra safety. If the surface is uneven you can also lightly sand the area with a very fine grit sand paper.

- Repeat for all corners of the frame.
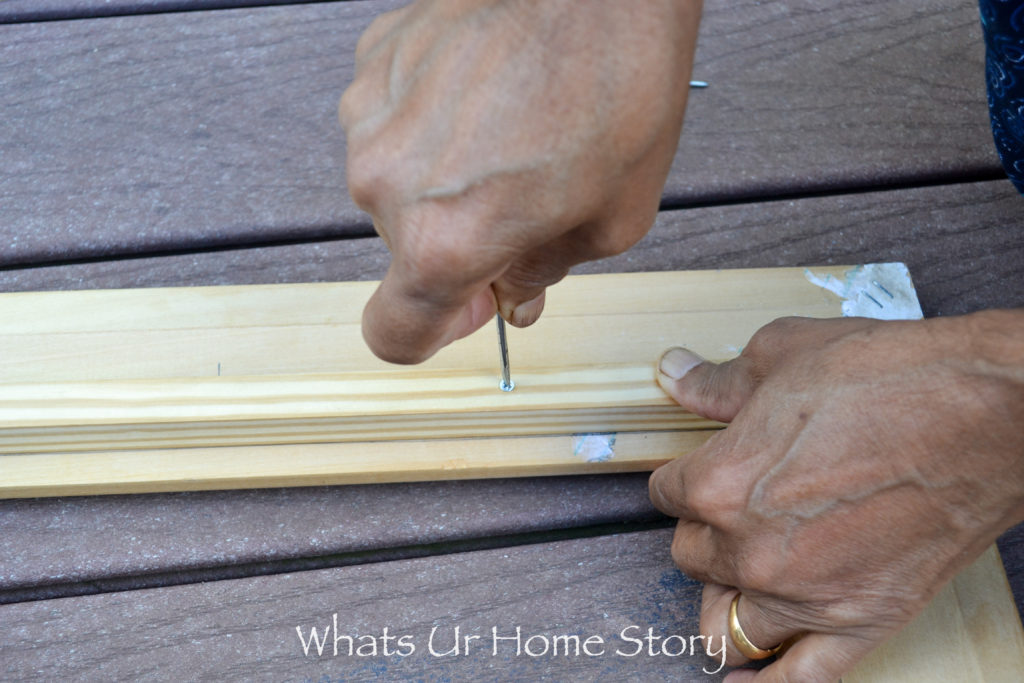
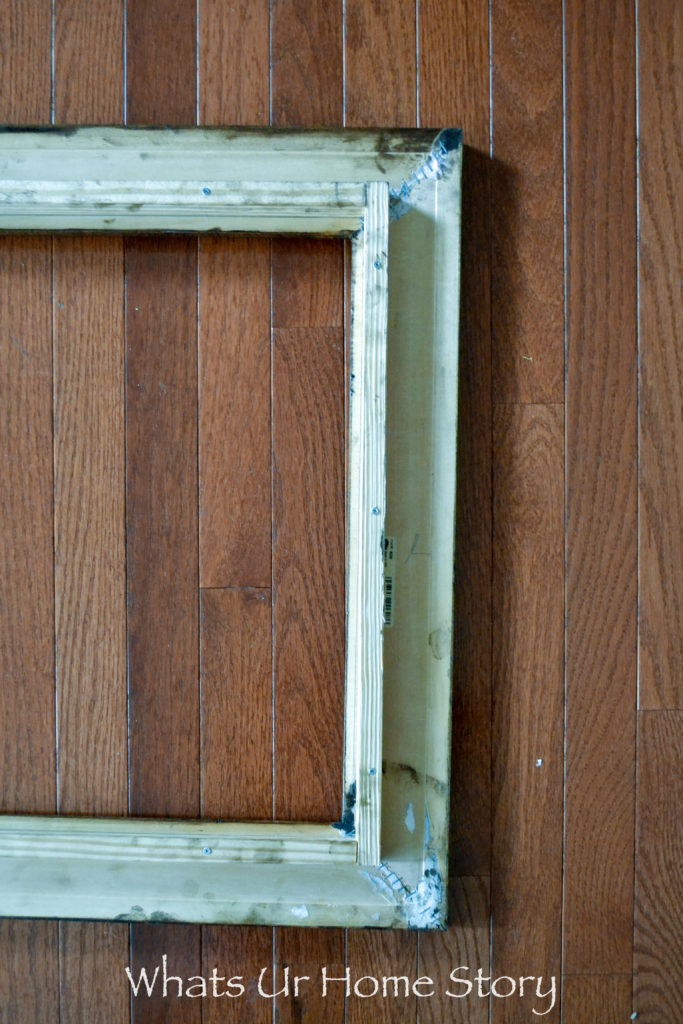
- To make the notch for the canvas to sit, turn the frame facing down on a clean work surface. Measure and mark a half inch rectangular outline from the inside edge of the frame.
- Place the furring strip board on the outline and measure how long you need to make each piece of the furring strip board.
- Cut the 4 pieces of the furring strip, 2 for each side like you did with the casing. No need to make the 45° cuts this time.
- Attach the furring strip to the frame with the tiny screws.
- The finished back side of the frame should look like this. The canvas will sit tightly in the notch we made with the furring strip.
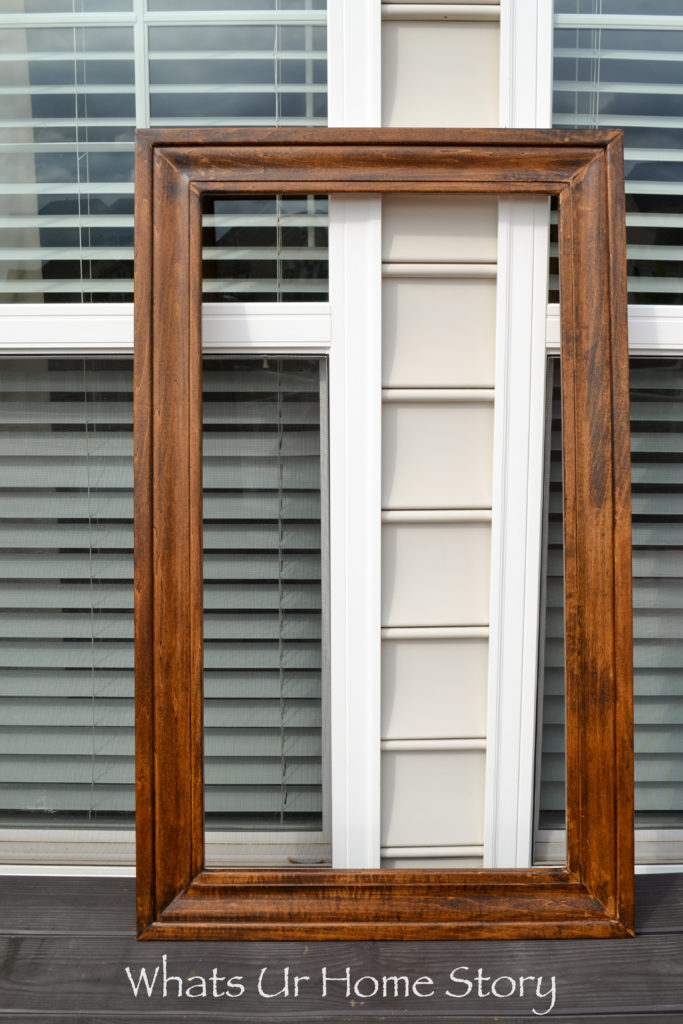
- Stain the frame in your favorite color to finish the look.
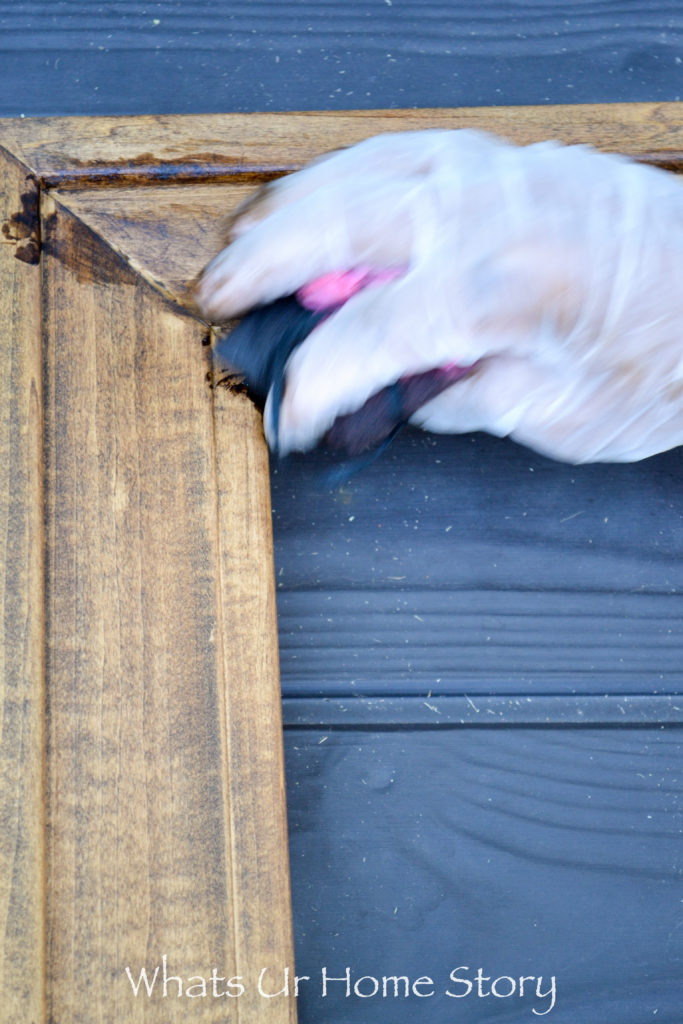
- I used 3 coats of left over Walnut stain from my breakfast table project.
Stay tuned for part 3 of the DIY picture frame tutorial where I show you how I applied gold leaf to the frame to make the gold borders.


Wonderful tutorial !