Remember the plate I messed up while experimenting with plate painting? I badly needed to salvage that one to fill up my plate wall but even after several attempts, removing the paint was a pain. Would have required a lot of nail grease, I know that is not a real word but that is the only thing close to elbow grease that I could think of. I even tried nail polish remover, the marker just wouldn’t budge.
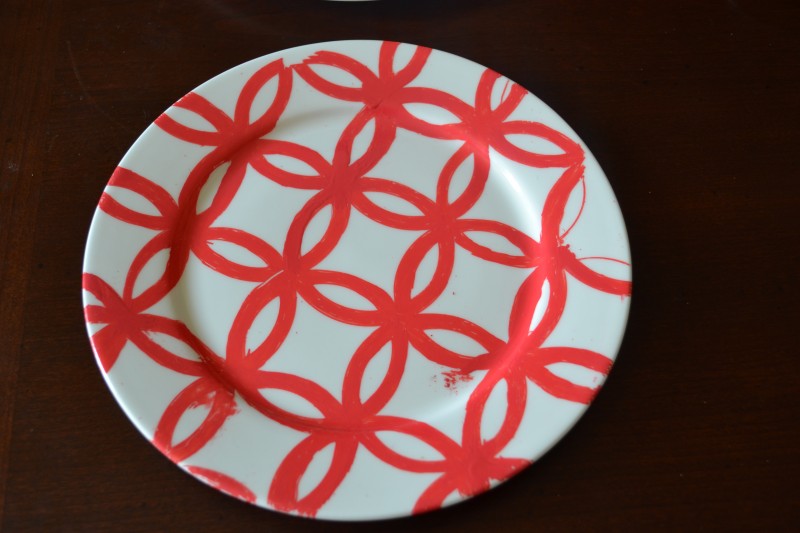
To refresh your memory, this is what I’m talking about.
The first thought that came to my mind was to cover up the mess with decoupage. I really liked how my previous decoupage project, the vintage newspaper decoupaged canvas, went. And voila.
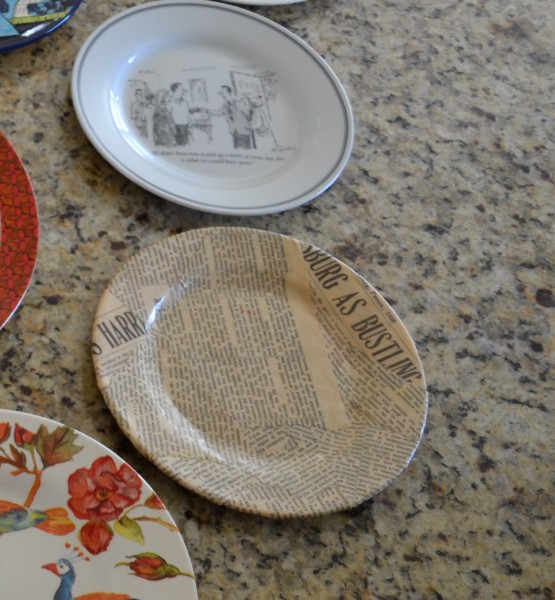
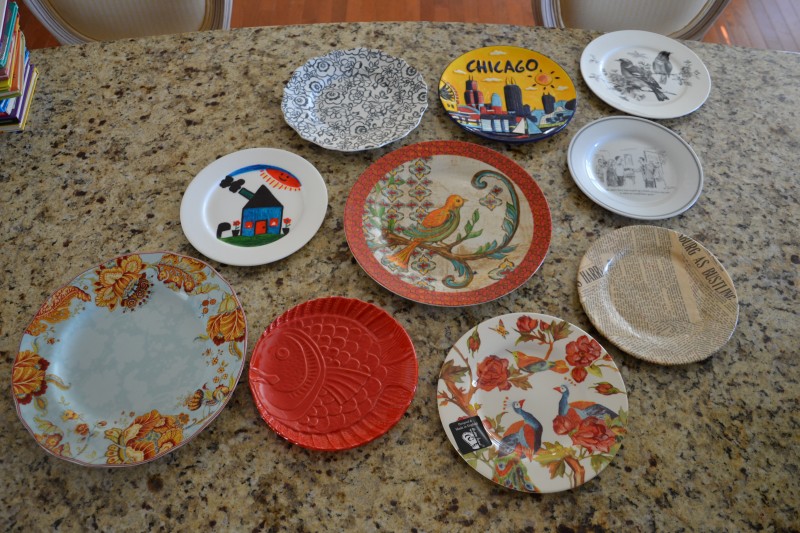
Sorry, totally forgot to take a pic of it separately in day light. So here is a sneak peak of my plate wall (still trying to figure out the right layout).
Now that we’re done with big reveal here’s how we go about it. You will need,
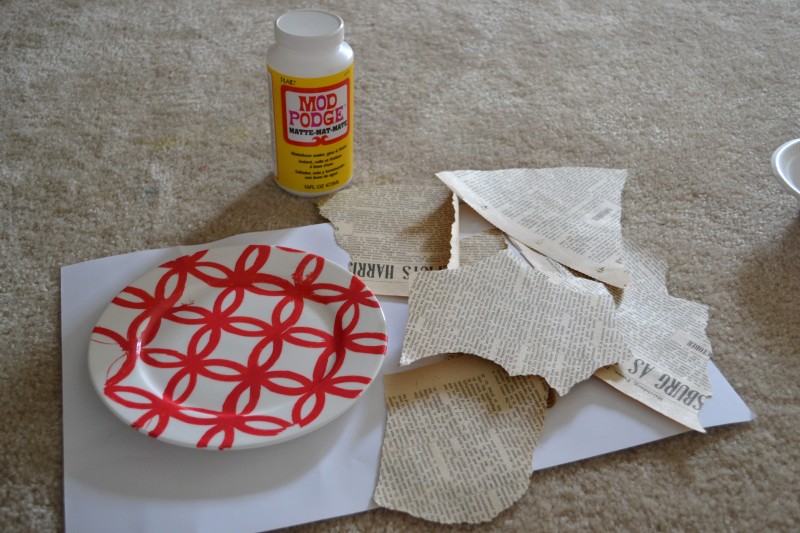
- Smother (for lack of a better word) the plate with mod podge. Rip newspaper pieces and glue them on. The used the left over vintage newspaper from here and here.
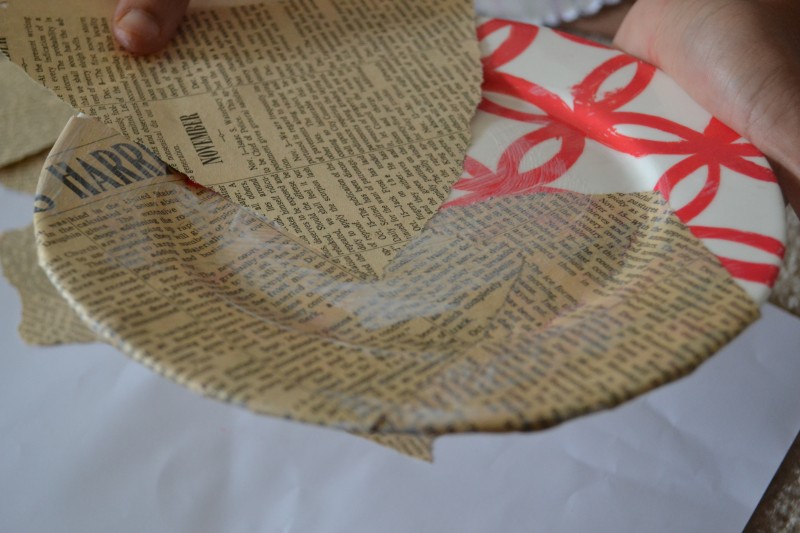
- Again cover with more mod podge, smoothing out any air bubbles. Once you are satisfied with the look you can stop.
- The red paint underneath was showing even after 2 coats. This is after 2 coats. Ignore the paisley. I had tried to see if a paisley pattern would work in the center, which B totally ruled out. But you can see the red paint peeking through.
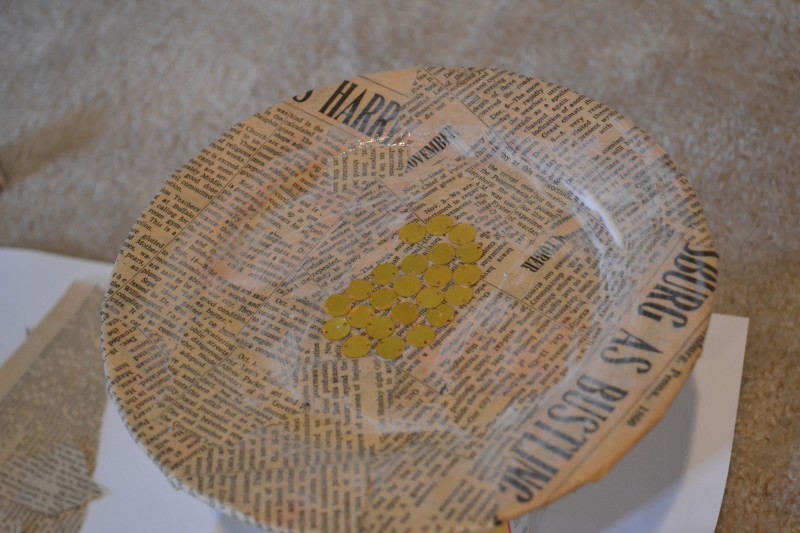
- We were good to go once I added another layer of paper.
That’s all there is to it!
I kinda feel that it is way too plain but B thinks it is just right. I have these stick on jewels (left over from another project yrs ago) that I want to use some how.
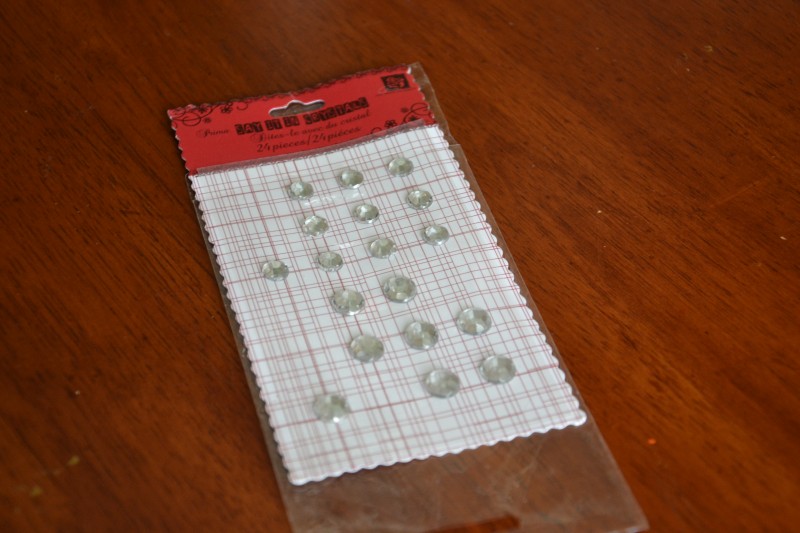
How about making an ‘N’ (for our family name, Nair) with those in the center of the plate? Oh, you’re wondering why my last name is different? 🙂 It is still my maiden name (long long story, will make for a post in itself).
Those stick on jewels might not be enough to make a good size N. Might need to get more but you get the idea? So how many yays for the rhinestone N? How many nays?


Vidya, this is a great idea! I love the way the way the vintage newsprint looks!
Thank you! So go plain? No rhinestones?
Vidya
I say you go with the rhinestones!
You have my YAY for the rhinestone N, Vidya. And the plates look great. By the way, what is the best way to put the plates up the wall so they don’t fall (superglue or something else)?? I know it’s a silly question, but please give some details if you don’t mind.
Amu
Thanks Amu. I think I ‘ll glue them and show to B. Maybe he’ll be convinced? 🙂 If not I can take them out easily. I had talked about hanging plates in this post;
https://www.whatsurhomestory.com/step-up-to-the-plate/
I’m leaning more towards the traditional hangers just because it is a heavy traffic area (not just traffic, kids fight zone). 🙂
Vidya
Yes to the Rhinestones. I might try but will use clear glass plates and decoupage on the back so I have the shine. Good job.