Here we are on the third part of our chair story. After all the un-stapling and painting now it is time to upholster. Do you have those moments where you have a set plan in your mind and then you see something that makes you go in a completely different direction? My moment came on Friday when I stepped into our local JoAnn’s just to do a final fabric check before I commit to the striped fabric from Fabric.com that I spoke about here.
If you missed the earlier posts on the chair makeover you can check them out here;
Chair Story – Part I Chair Story – Part III came away with these;
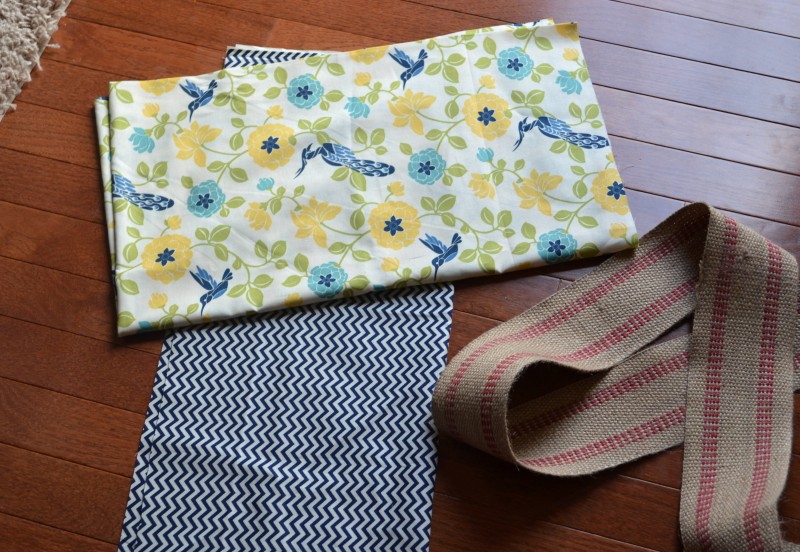
In my original plan I always felt that I needed something to tie in the beige, white, and the yellow colors in the room but had no clue what that was. As soon as I saw the bird fabric I knew that my magic ingredient would be navy! Perfecto, a splash of masculine color to offset all the flowers, birds, and delicateness of the stencil in the room!
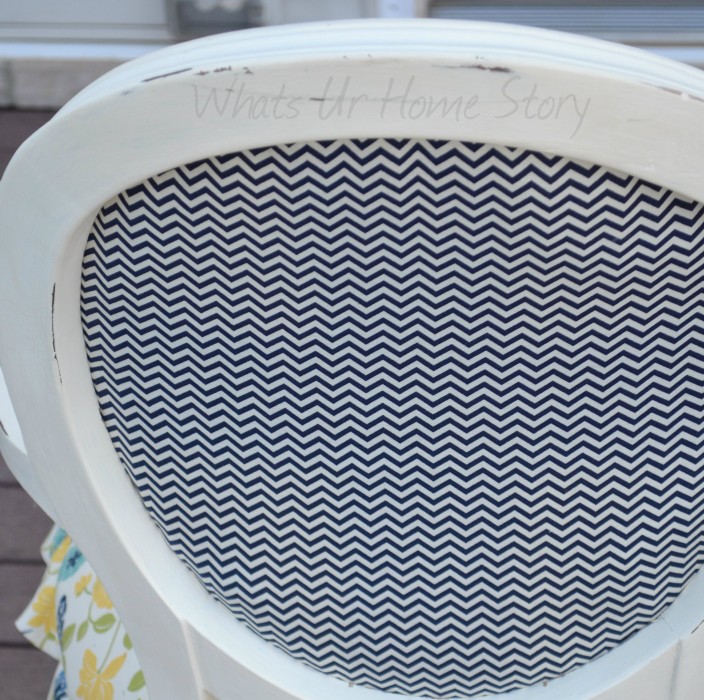
To pick up the navy on the birds I chose a chevron fabric for the back of the backrest. The bird fabric (yes, more birds….my home is turning into an aviary!) is for the front. The upholstery tape is for support for the back cushion. We started with the chevron fabric. Using the old upholstery as my template I cut the fabric. Make sure to cut around 2 inches more than your template. This will ensure that you have wiggle room to work.
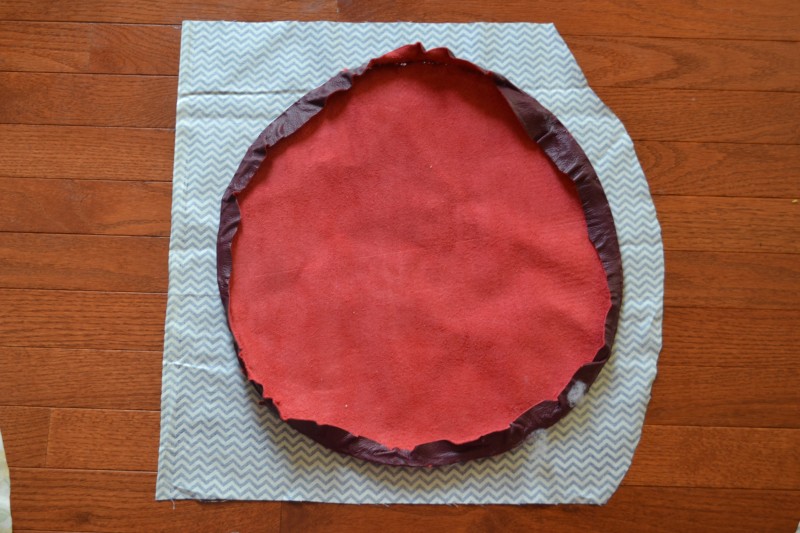
The stapling was not really fun. I don’t know maybe we didn’t have the correct staple size/ gun? The staples wouldn’t go all the way through the wood. We had to hammer them in. Having an extra pair of hands for assistance really helps. Thanks B! A key thing here is to make sure that your fabric is taunt.
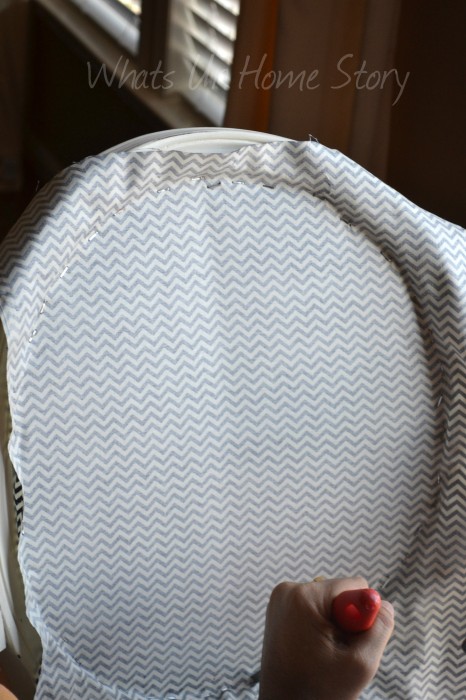
The bottom curve was the toughest. We ended up stapling over the wood (where it would be exposed) quite a few times. In the process wasted a lot of staples. 🙂 I’m guessing that a pneumatic staple gun, which is what pros use, would have done a better job. Anyways sloppy stapling means more touch up paint jobs for me later.
After the back fabric was all done we turned to the upholstery tape. It is nothing but a tightly woven thick jute ribbon. A simple cross pattern was enough for our chair because of the size. A tip with the upholstery tape: Cut only what you want. Cutting the excess tape once it is stapled to the chair is a pain!
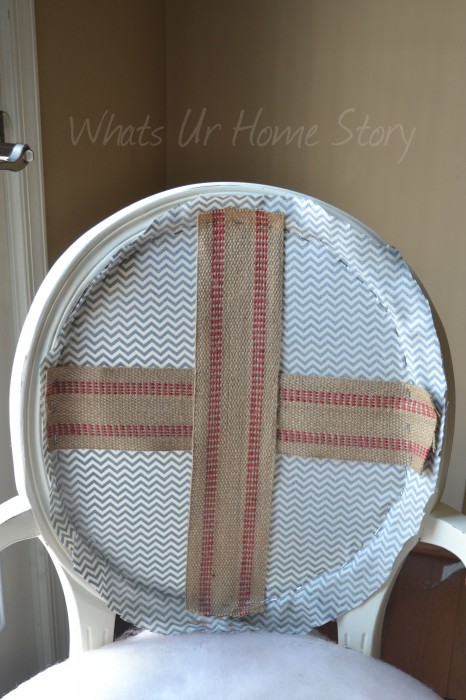
Trim all the extra fabric so that you are very close to the stapled edge. Place the back cushion/foam and any poly-fill (our chair already had both that we reused as they were in perfect condition) and the front fabric in place. Time for yet another stapling session. Again make sure that the fabric is taut.
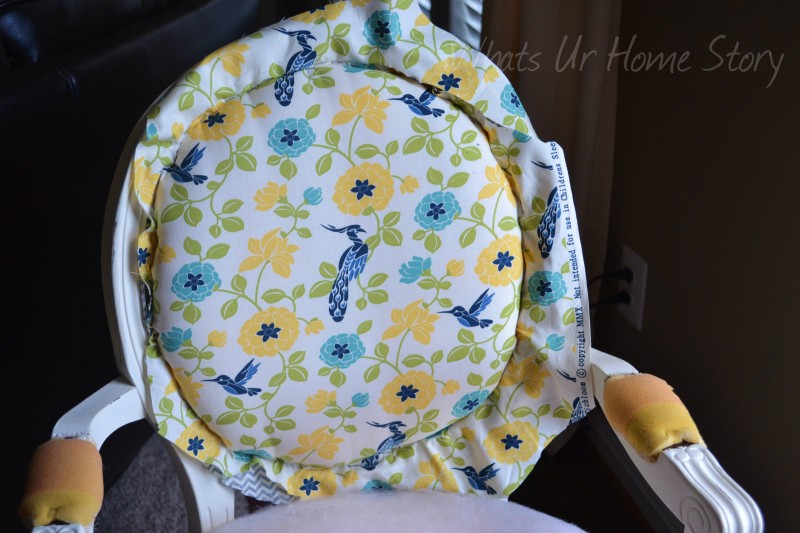
Once you trim the excess fabric you are all set with the back. Don’t worry about the staples, we’ll cover them up with cording.
Here is a look at the back.
With the seat cushion we ran into some unexpected issues which I’ll talk about in the next post (the reveal). As I mentioned earlier I’ve also got to fix all the paint scratches from our amateur stapling job. Oh by the way I did the arm rest too in the chevron fabric. This is where we are now;
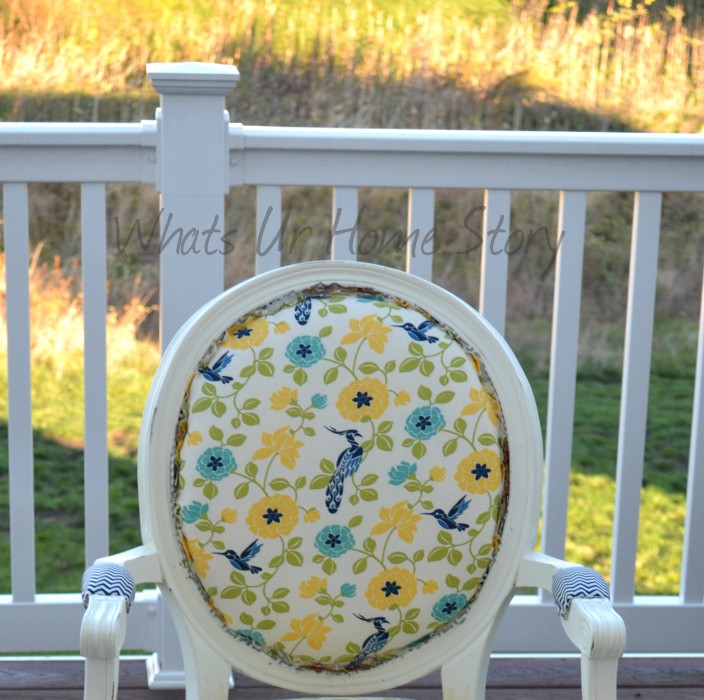
So what do you think?
Update: Here is the finished chair.


So Far So Good…pretty good infact!
Thanks Roopa!
Vidya,
It looks very beautiful. Great job on the fabric choices.
Thanks Sree. Got the rest of the supplies today. Hopefully will wrap it up this weekend.
Vidya
I love a chair makeover. Yours looks awesome at this stage and can’t wait to see the final reveal. Good luck with the finishing touches 🙂
Thanks Erika. Hoping to use cord to finish off. Let us see how it goes.
Vidya
It’s looking good! I have an armless chair like this that needs reupholstering.
Thanks Jae. After this one, I’m not sure if I would attempt redoing a chair with a curved back. The seat cushion was very easy compared to the back. Good luck with your chair.
Vidya
Your so inspirational. I do like the fabric with the stately blue bird and I like the arm upholstery and am anxious to see the finishing touches.
Aww… that’s really sweet of you. Thank U!
Vidya