The first time we installed IKEA LACK floating shelves, in our family room, we had hired help but with the ones in my son’s room we decided to tackle it ourselves. Not too bad for two folks who end up in a fight every time we try to hang even a simple pic frame?

We used IKEA lack shelves here (and in the family room). IKEA seems to have the best price, selection, and reviews when it comes to floating shelves.
Once you decide on how you want to arrange them measure the length of the shelf and the distance from one end of the shelf to the start of the railing. The railing that attaches to the wall is set in the middle of the shelf. So you need to find out the center of the shelf and mark you nail holes from the center. We used a laser level that we already had, which ended up saving us a lot of time.

Fixing the shelf to the railing is pretty simple, through a groove locking mechanism. Then you need to screw the nails that came with the shelf into it from the bottom.
Contrary to what we had expected we had the toughest time with the small shelf. The hanging mechanism of the smallest Lack looked like the usual pic frame type with two hooks on the end. Thanks to Pinterest I found an easy way to measure the length and mark the nail holes, painters tape.

Peel back the tape from the shelf and stick to the wall making sure that it is level. Drill holes for your nails on the marks.

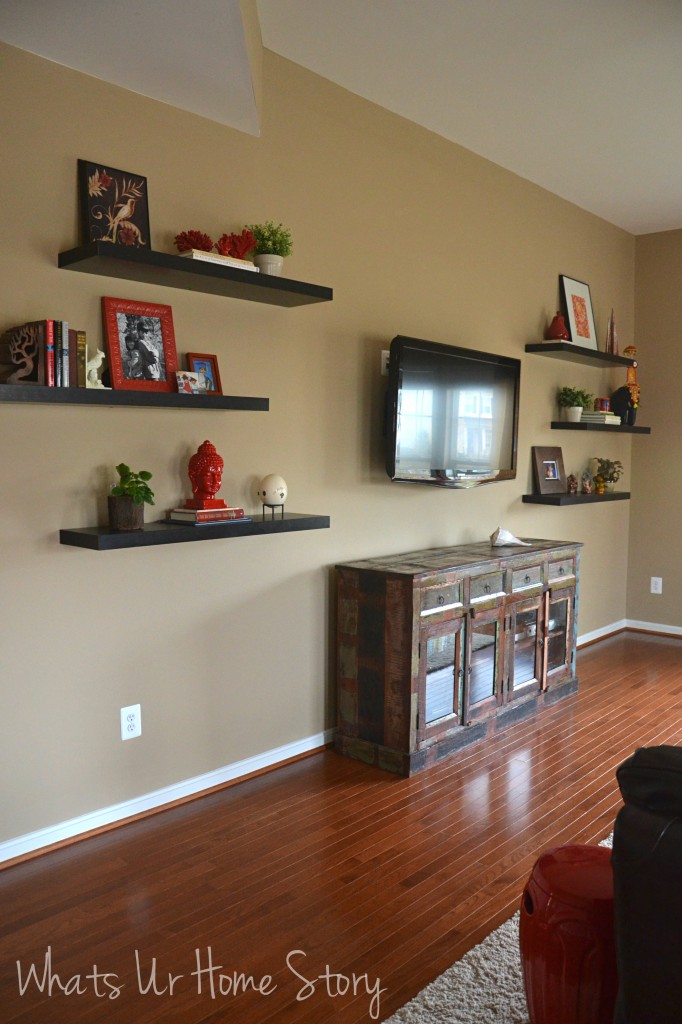
A zoomed out shot of the same wall;

Strangely enough the whole ordeal was not bad. The key thing to remember is measure, measure, measure. Can’t stress enough on how important this is! We were about half an inch off; that’s why the shelves are not flush against the wall. We realized this after we hung the first one but then we kinda liked the look and did the same thing with the rest.

Any other floating shelf fans out there? How did you install go?
PS: You might also want to check out the floating shelves in our family room.


I’ve always been a big fan of floating shelves but never been brave enough to try it out. This is really inspiring…so maybe I can give it a try…after my vacation!
Once you are back we can tackle this one. 🙂
Thank you for the tutorial. I bought some Lack shelves on clearance, without instructions, and I am trying to hang them properly without any instructions. Would you be able to describe the screws which are used to secure the shelf to the railing on the bottom of the shelf? Thanks!
Lindsay,
I think we used the screws that came with it. Don’t really remember. If it is any help, you can download the instruction manual from here;
http://www.ikea.com/ms/en_US/customer_service/assembly_instructions.html#1
Hope that helps.
Vidya
Hi again. Just wondering…”Fixing the shelf to the railing is pretty simple, through a groove locking mechanism.” Is that mechanism separate from the long railing piece?
Thanks for any answer you can give. I guess it wasn’t such a great idea to buy these on clearance…
Lindsay,
The grove is basically that part that juts out on the long railing piece. Hoping that the instruction manual from the earlier link works. Go to L and click on the Lack wall shelf.
Hello, What screws did you use for the small lack shelf. Can you point to it? How did you hang it without sagging? the one where you used the painters tape?