
Remember the vintage dish towels that I used make the sequined pillow? They came in a pack of three, 2 of which I used to make my pillow. So what to do with the lone dish towel I was left with? Make a DIY pillow of course! Luckily it was long enough to make a 12 x 16 pillow that is…if I fold it in half. But a plain pillow? Nah…it needed to make it special.
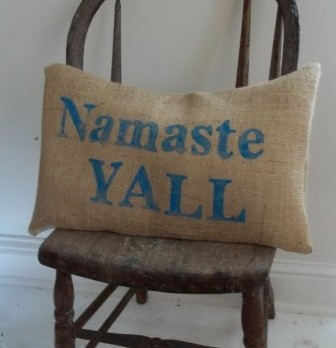
I had seen this burlap pillow on Etsy a few months ago. Really liked the ‘Namaste’ quote and pinned it onto my Fabrics board on Pinterest. So I guess, you could call this a Pinspiration project. My take on the same thing, with iron on letters (way easier than stamping them).

Materials
Iron on Letters- $2.99 – Micheals Pillow insert (12×16) – $4.99 – JoAnn (was $8.99, I used a 50% off coupon) Dish Towel – $1.80 – ($5.39 for 3 from JoAnn after a 40% off coupon, left over from this project) Total – $9.78DIY Pillow Tutorial
It is the usual envelope pillow. The towel was 18 x 28, my pillow form 12x 16. Folding the towel in half would give me a size of 18 x 14.

I know that is a bit tight on the 12″ side where we usually have an extra 8″ for the envelope. Since I had planned on using the sewing machine, I could go with the minimum seam allowance, 0.5″.
- Cut your front piece, 18 x 13 (0.5″ seam allowance on the shorter side and 1″ on the longer side)
- Your second piece would be 18 x 15. Now cut this in half along the shorter side so you end up with 2, 18 x 7.5 pieces.
- Use the piece with the already existing seam as your outer overlapping piece.
- Sew the outer seam on one side of the other 18 x 7.5 piece.

- Now place the first piece good side up. Lay the first half of your back cover (with the pre-stitched seam), good side down.

- Place the second half of your back cover on top face down so that the newly stitched seam is on the same side as your pre-stitched seam on the other piece.
- I am not a big pinner. I just draw a straight line on my fabric outlining my pillow form measurements (12 x 16) so I know exactly where to stitch. Helps me keep a straight line too.
- Sew away along your line. Where the two back pieces overlap, I usually go back once more (just a safety measure so that it doesn’t some apart with the extra pressure).

- Once done, Turn the pillow inside out, straighten the corners and iron the pillow cover.
- I used iron-on letters in red that I found at Micheals.

- Cut your letters out as close to the actual letter size as possible (helps to get the spacing right).

- Draw a line lightly with a pencil in the middle of the front side of the pillow to anchor your letters. Arrange the letters on the line (so that the line passes through the middle of each letter) face down.

- Follow the instructions on your iron-on letters. Mine said to iron the fabric for a few seconds before placing the letters on them, place a cotton fabric over the letters and heat set for a few minutes. Turn the fabric on the side and heat set from the back for a few minutes.
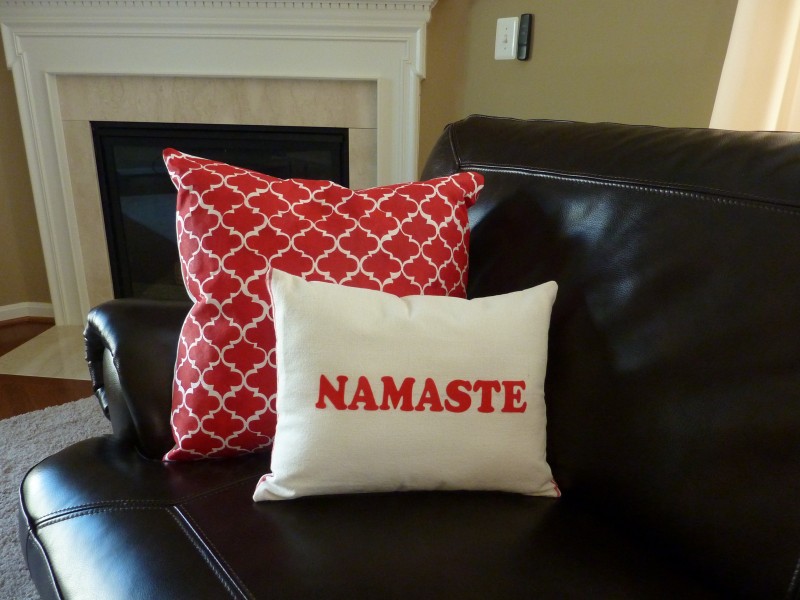
- Once it is completely cooled down peel the backing off. Ta da…

Quiz of the day: Did you notice something’s amiss?
After I downloaded the pics to my PC, I realized that I had placed the ‘N’ upside down. So, pay close attention to your letters when you lay them upside down.
PS: By the way the moorish beauty in the back is another one that I made. More on that here.


super cool !! simple yet trendy…..both the pillows look like a set bought from a designer store……great job…keep getting inspired, it inspires all of us who follow u r blog….
Thanks so much for the kind words, Bindu.
Your pillow turned out great. I didn’t even notice the upside down “N” until you mentioned it.
Thanks for stopping by my blog. I appreciate your comment on my dining room chairs. I purchased the chevron fabric from fabrics.com here’s the link-
http://www.fabric.com/ProductDetail.aspx?ProductID=78d2951c-5067-4e7d-b9f1-dfe2b56b1116
Hope that helps.
Thank you Brandi! For the link too. I’m going nuts over that yellow chevron fabric, now need to find a way to use it. 🙂
Vidya
Found u through Young House Love! I went right out today to Joanns (with coupon in hand) to make your Namaste pillow. I have some acrylic paints and some stencils so I will go that route. I’ll let you know how it turns out! {gulp} Can’t wait to check up on the rest of your blog!
Thanks Amy for dropping by and taking the time to comment. Stencils would add a special touch to the pillow. Can’t wait to see how it turns out. Please do share it when you’re done.
Vidya
As a lifelong Texan Hindu, I love the Namaste, Ya’ll pillow, and your take on it! I’m your newest follower!
Thank Palak. So glad to have found your blog too. Going through it now.
Vidya