Now that you’ve all seen my newly made over breakfast table (one more shot for the newbies),

let’s get into the nitty gritty of staining furniture. Before you stain wood, you need to remove any existing finish from the surface by sanding. You can read more about that here. One thing you need to keep in mind is when sanding please try to keep an even finish. You’ll see why later on.
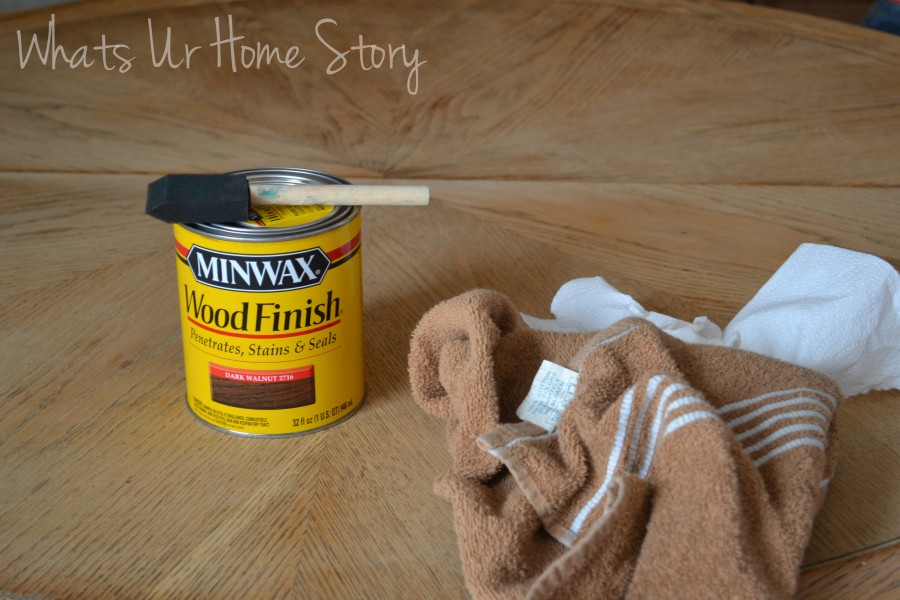
I used Minwax Dark Walnut stain, a foam brush, and a rag. I had to apply 5 coats of the stain to get the color I had in mind. Had I sanded evenly and waited for the time mentioned on the stain can it would have taken me only 3 coats.
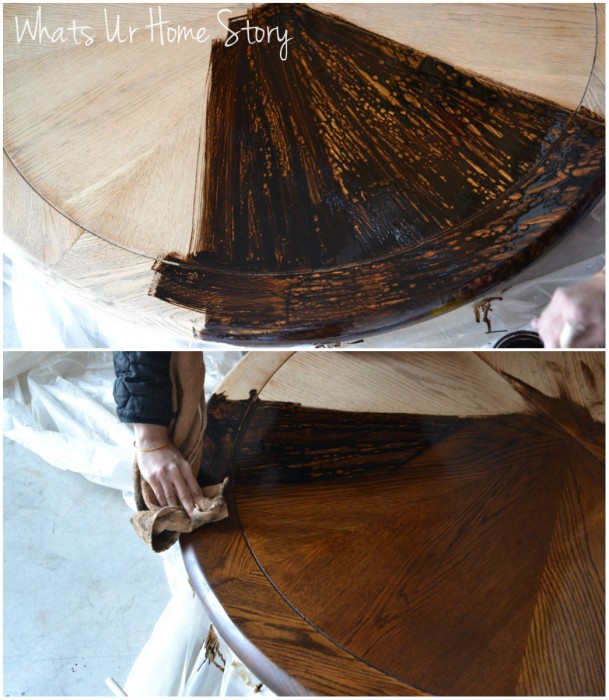
First apply a thin coat of stain. The pic below shows how I brushed on the stain for the very first time. As you can see it was not a thin coat. I learnt my lesson, that you need only a thin coat, after I wiped almost all of it off. Wait for the stain to be absorbed into the wood as per the directions on the stain can. Mine said to wait for 5-15 min. I was way too impatient and wiped it off in maybe 2-3 min.
After coat #1, we were here;
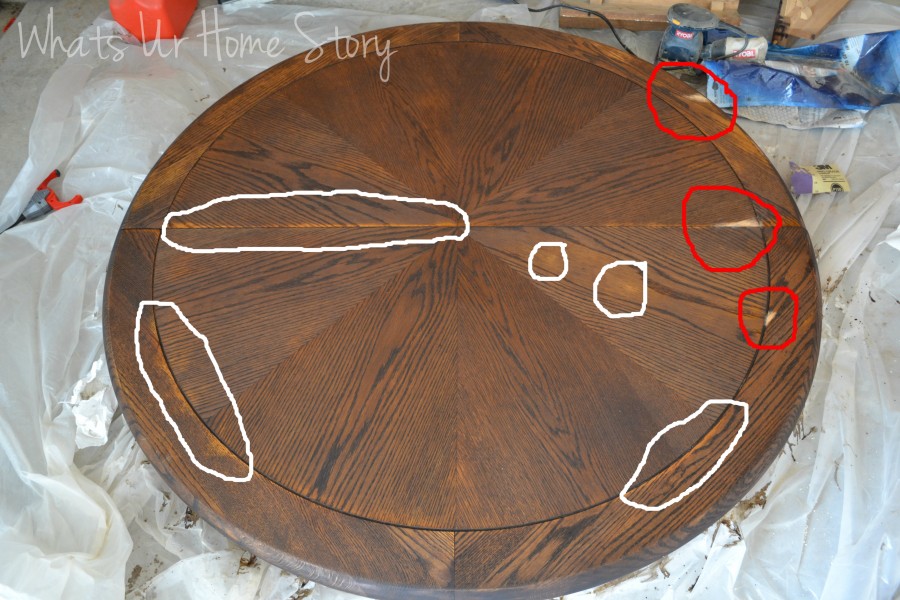
See all the yellow spots (white circles)? That’s where the sanding was uneven. So I tried spot sanding them (red circles). This might be a big no no for the pros but if you are patient I can tell you it works. You spot sand, spot stain the areas that you sanded till the color is even with the rest of the areas and then coat the whole thing in stain again. That is the only way spot staining will work.
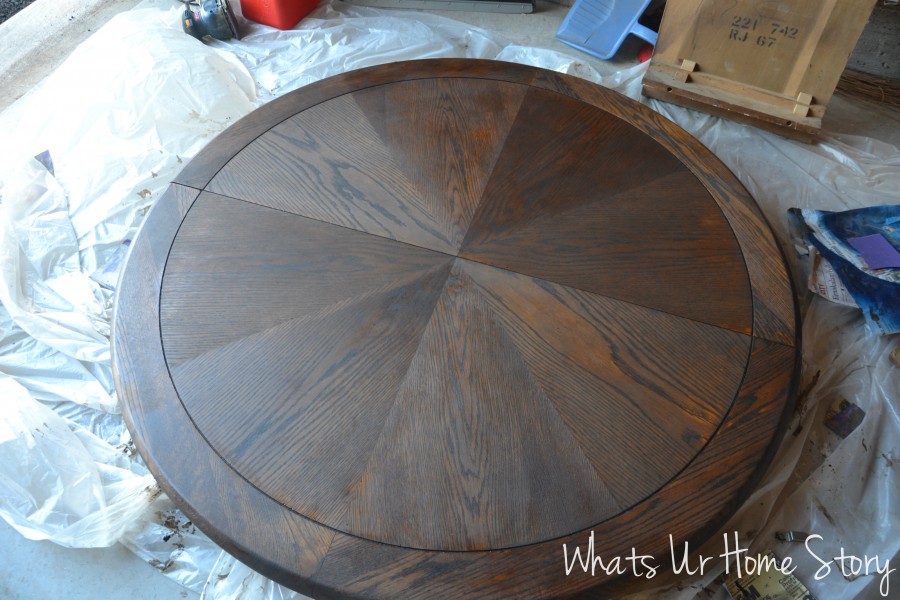
After coat #3,
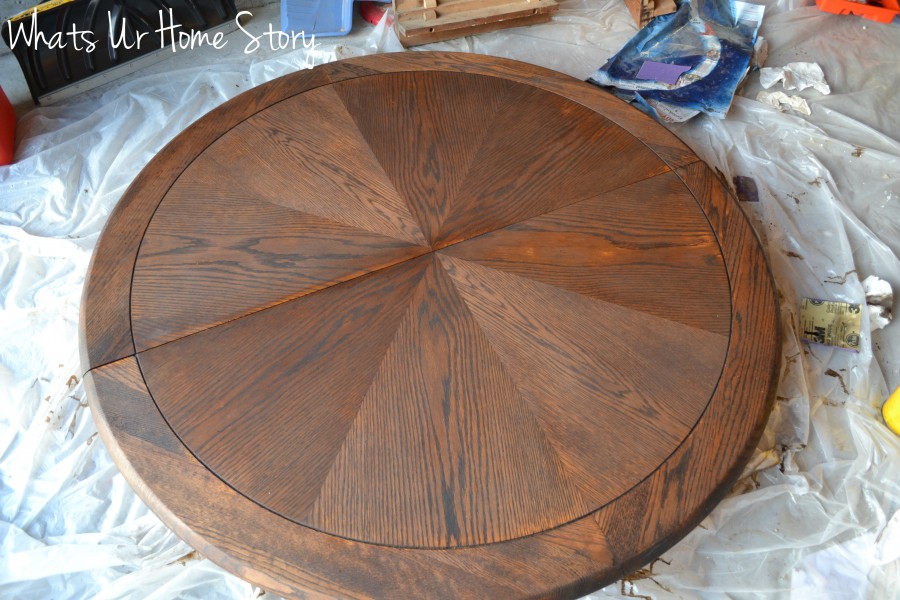 You can see a lot of the yellow spots have been fixed. Coat #5 and now we’re talking.
After a day of curing I applied a coat of minwax fast drying polyurethane in clear satin this time with a Purdy brush.
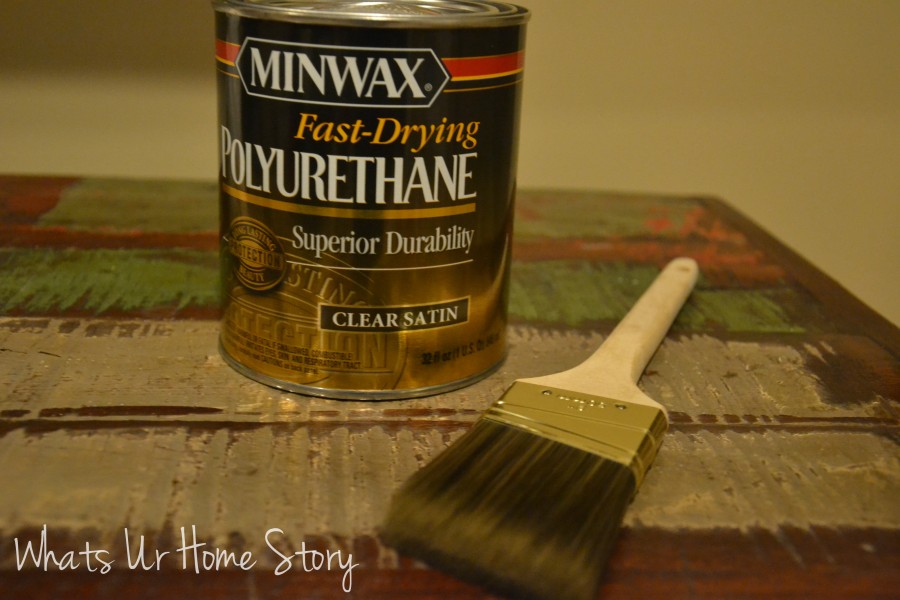
Again, a little goes a long way. Apply only a thin coat otherwise it will not dry. All the research I’ve done online suggest that you need to sand with a 220 grit paper after your first coat of poly (to even out any air bubbles from the poly). I followed this advice even though I didn’t have any air bubbles. Sorry no pics. You have to be extremely gentle with this sanding or else the marks will show through your next coat. You can see some of ours on close examination. After a second coat and 48 hrs of drying you can use your table.

Have you sanded and stained furniture? Do you have any tips or short cuts?


I have found that for tables I do a minimum of 6 coats of poly, sanding in between coats with 220, but on the final coat, I sand with 220, 400 (don’t freak at the dull mat look, keep going) 600 (wet sand paper used with water that can be found at autozone) 800 (again wet sand paper), 1000 (wet sand paper). Lastly, I use wax and buff. I have used furniture wax or car wax. This gives you a top coat that is smooth as glass. Good luck.
I just stained a table for the first time. After staining it and it drying, there is a very noticeable scratch (?) across half the table where the stain won’t adhere to. What can I do to fix it?
Hi Kari,
I think sanding it again to even out the scratch and re-staining might help.