
We are kicking off the week with the low down on all the laundry room projects, one at a time.

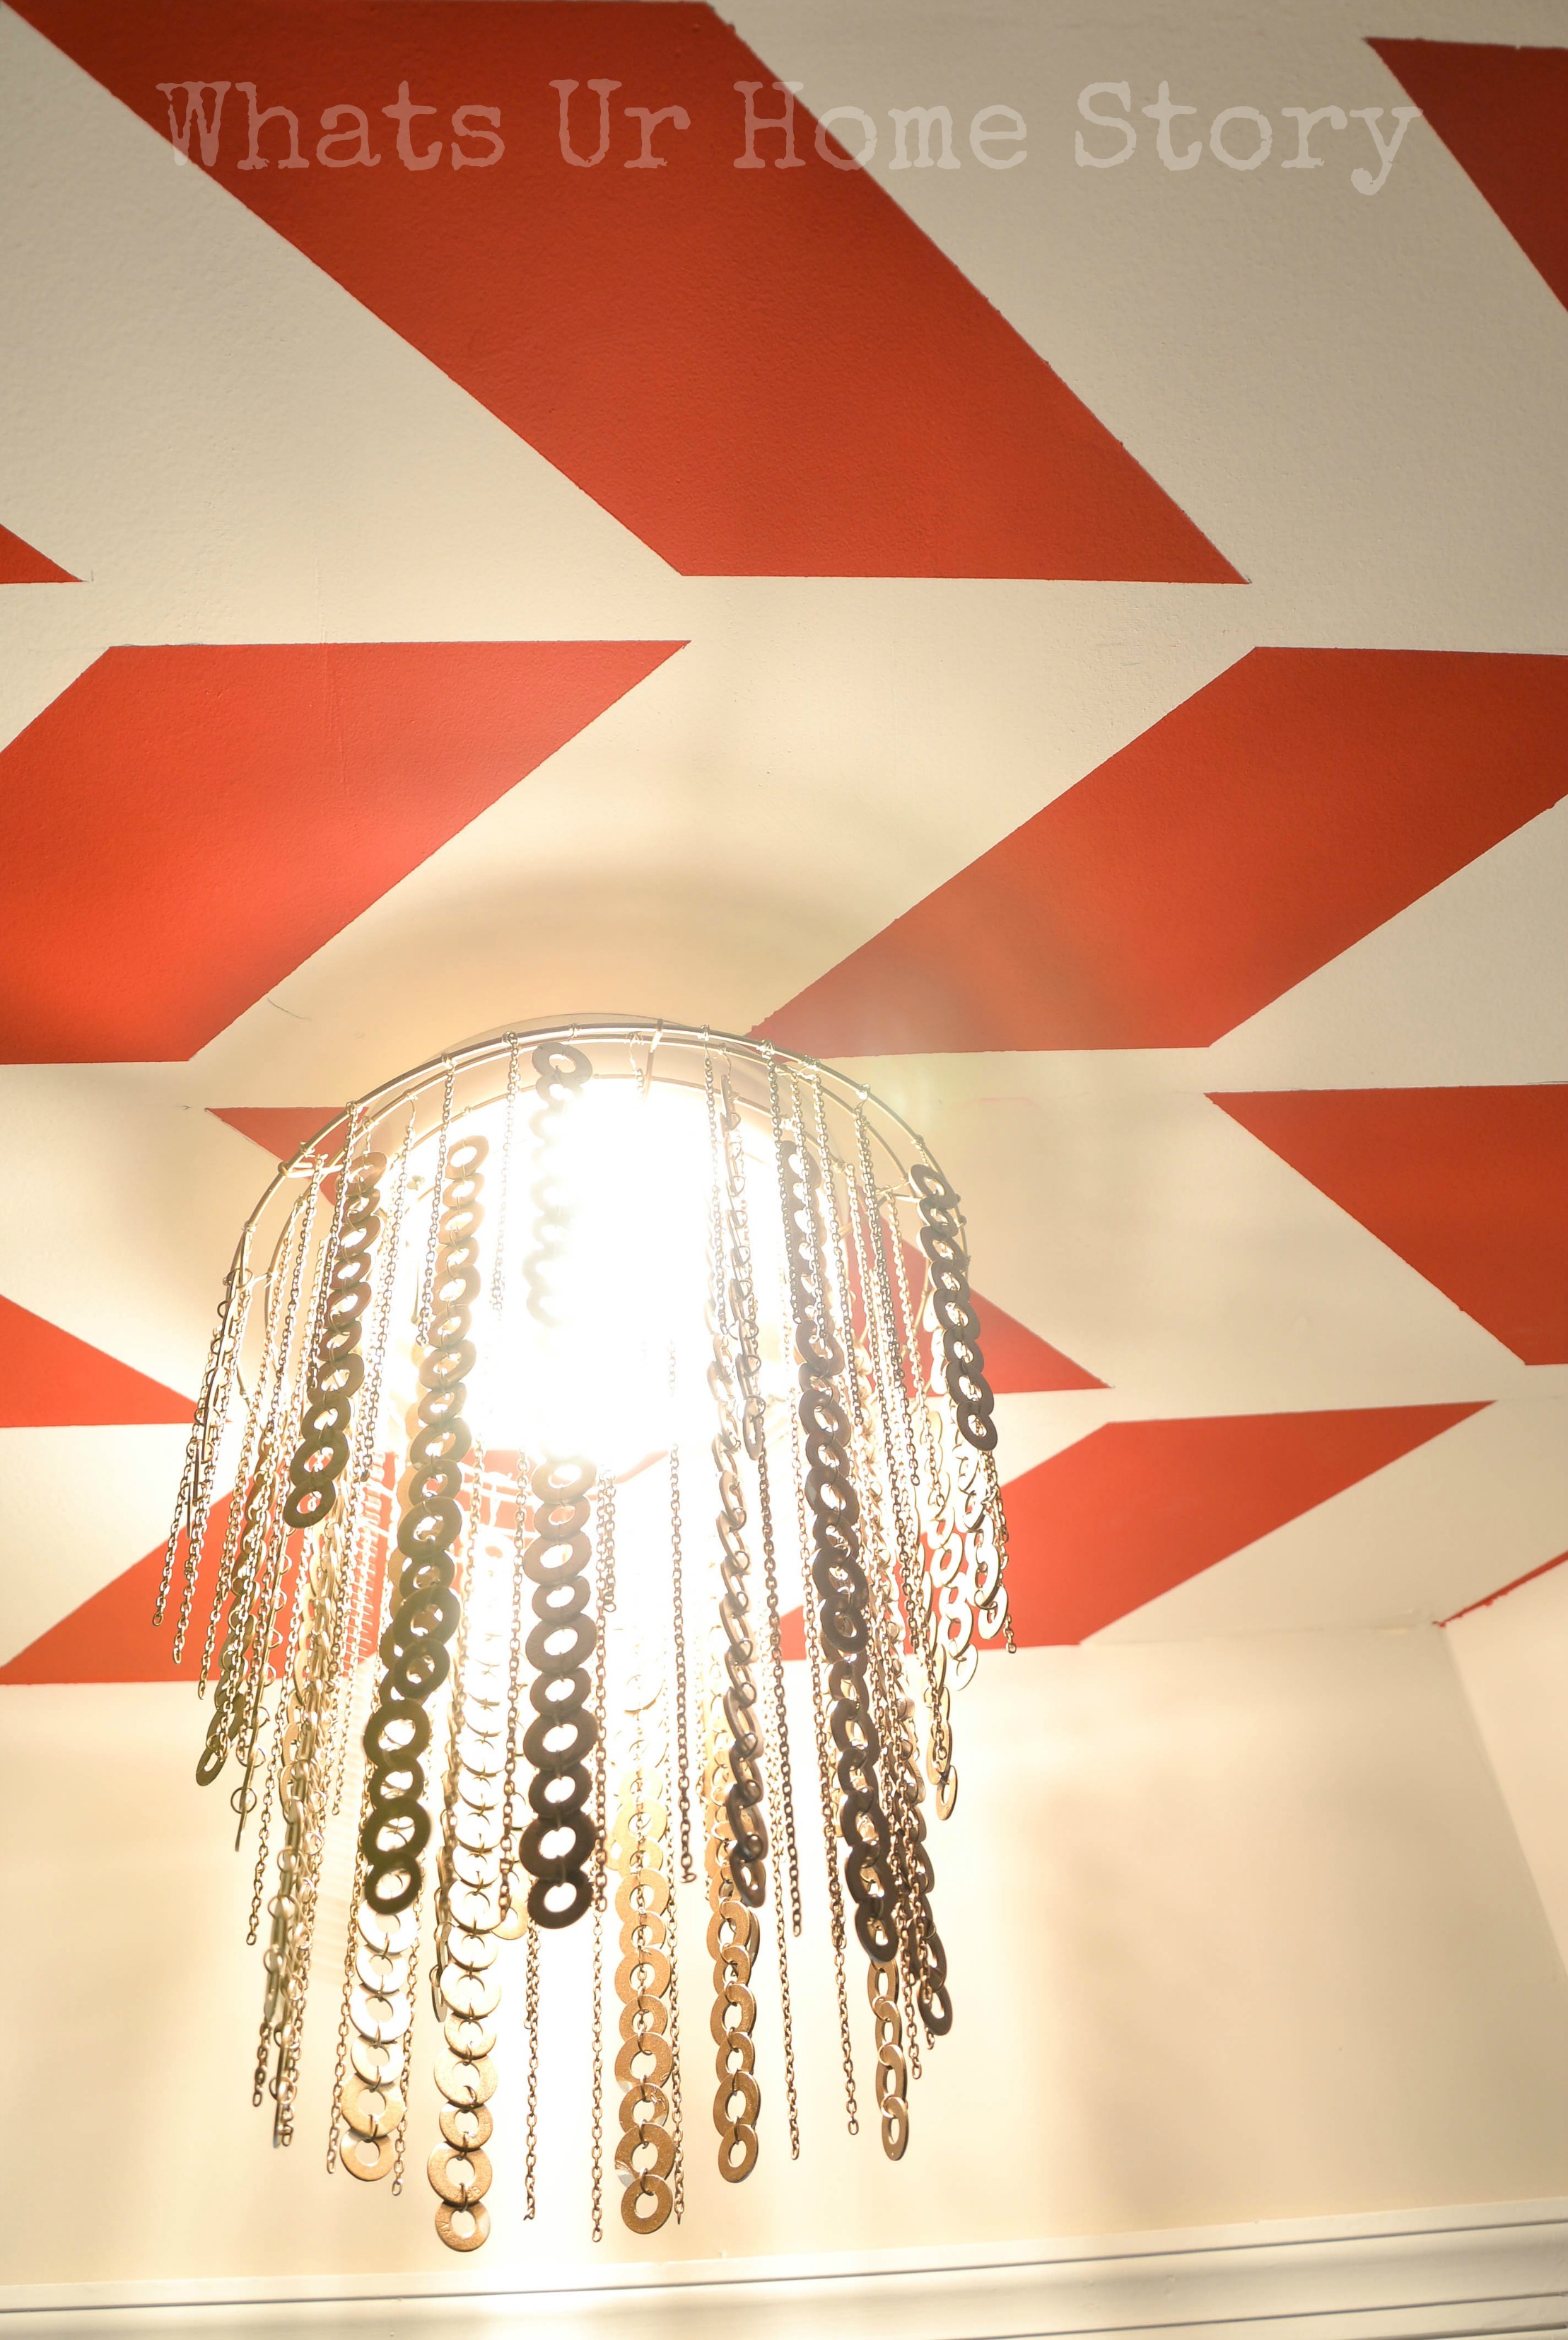
Ever wondered how a thing of beauty like this chandelier can be made from one of the most mundane hardware store objects, flat washers?
The answer my friends is a lot of patience and some more! This was one project where I miscalculated the effort and $ big time. Thought it would be a piece of cake to string this one together but boy, was I in for a surprise? How much ever washer strings I added it just wouldn’t cover up the wreath frame! However seeing how it transformed my laundry room, I admit I’m super happy that all the hard work was worth it. In that same breath, would I do it again? No.
But if you are nuts like me and want a one of a kind hardware store born chandy in your home here is the tutorial.
Materials
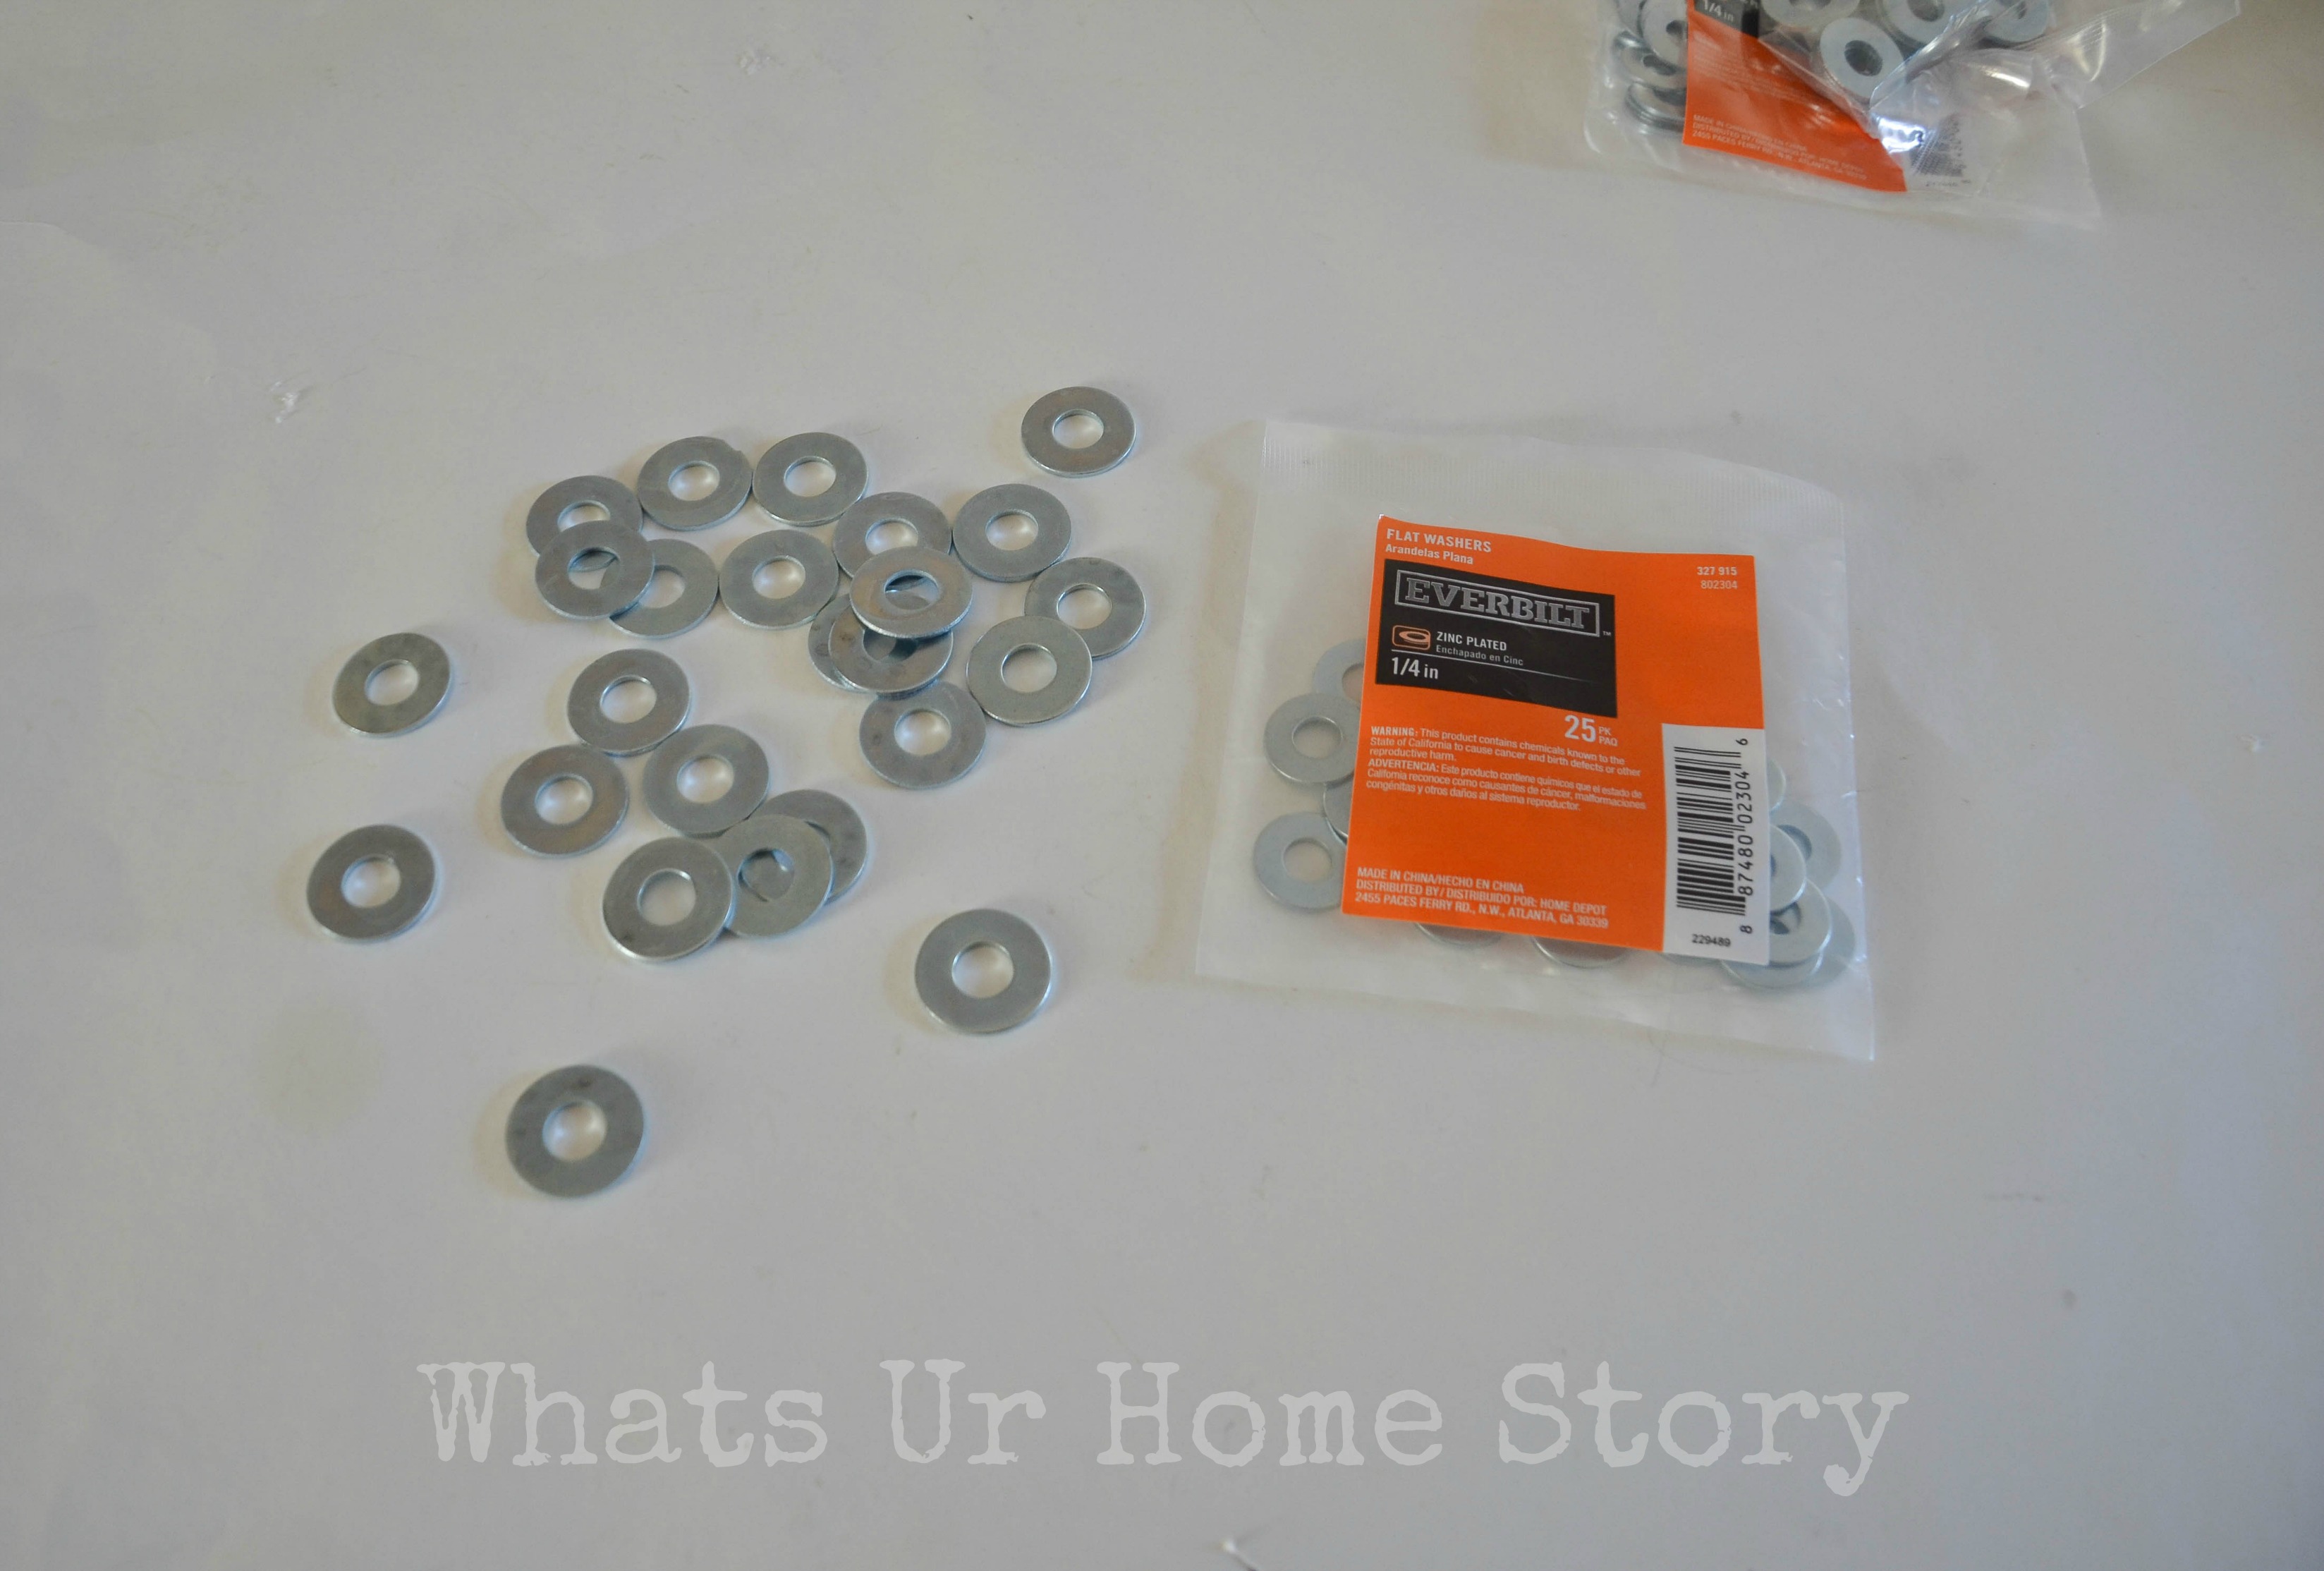
12″ Wire wreath frame – Micheals Spray Primer – I used Valspar Paint + Primer that I already had from a previous project Rust-oleum Antique Brass Metallic Spray paint – 2 cans from Home Depot 10mm Jump Rings – Micheals (in the jewelry section) forgot how many packs I got 1/4 inch Zinc plated washer – 204 I bought packs of 25 at Home Depot but you are better off buying the pack of 100. 5/16 inch Zinc plated washer – 204 (same as above) Jewelry pliers Craft link chain – Jewelry section of Micheals (not shown) Craft wire to attach the strings to the frame (not shown)
Tutorial
As you can see, the wire frame is made of 4 concentric circles divided into 6 sections. This is how I divvied up the washer strings.
Outer most circle – 12 strings of 18 washers each i.e 2 strings per section. For each string I alternated between the 5/16″ and 1/4″ washer. 2nd circle from the outside – 6 strings of 14 washers each, which means one string per section. 3rd circle from the outside – 6 strings of 10 washers each, i.e 1 string per section. Inner most circle – 6 strings of 8 washers each. When I finally attached the strings I made sure that none of them overlapped each other.- Start by stringing the washers alternating the size using the jump rings.
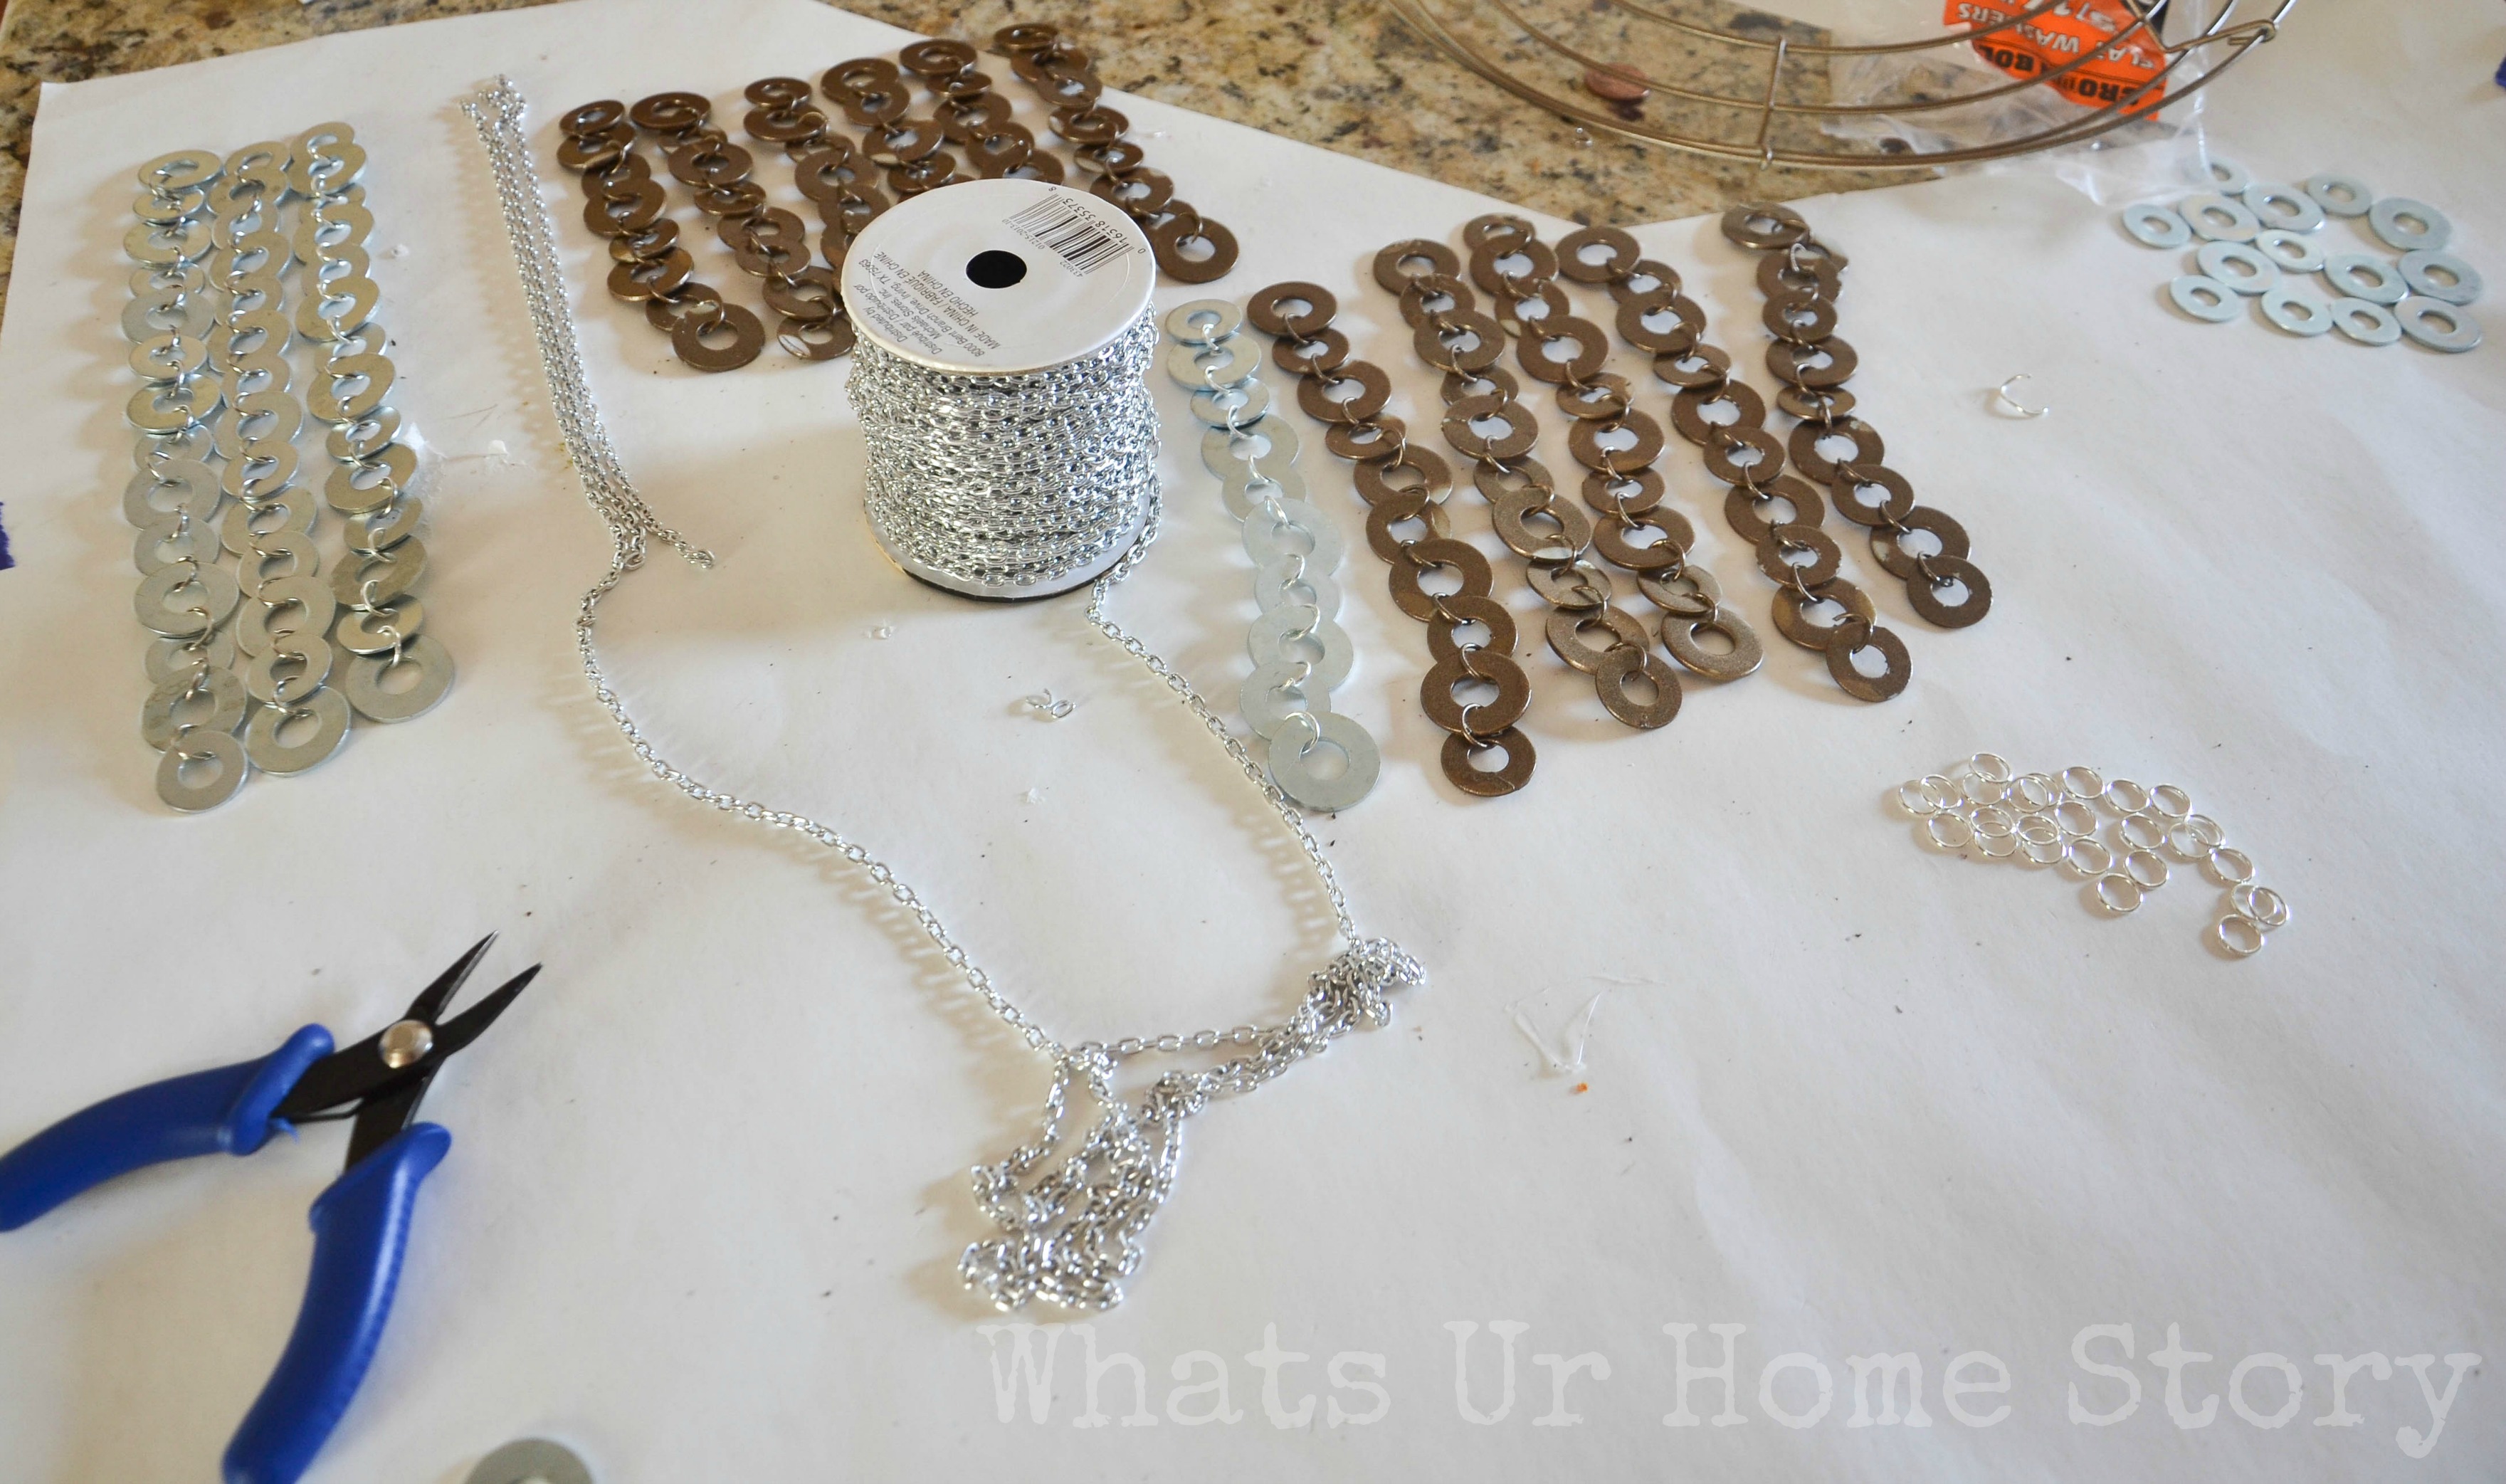
- Prime and paint the washer strings and the wire frame.
- Measure and cut the chains to match the lengths of the washer strings in each circle. I added 4 chains for the inner most and the next circle, 3 for the 2nd circle from the outside, and 2 for the outermost circle per section.
- Spray paint the chains. I found it easier to hang the chains on a string in the garage to paint them.
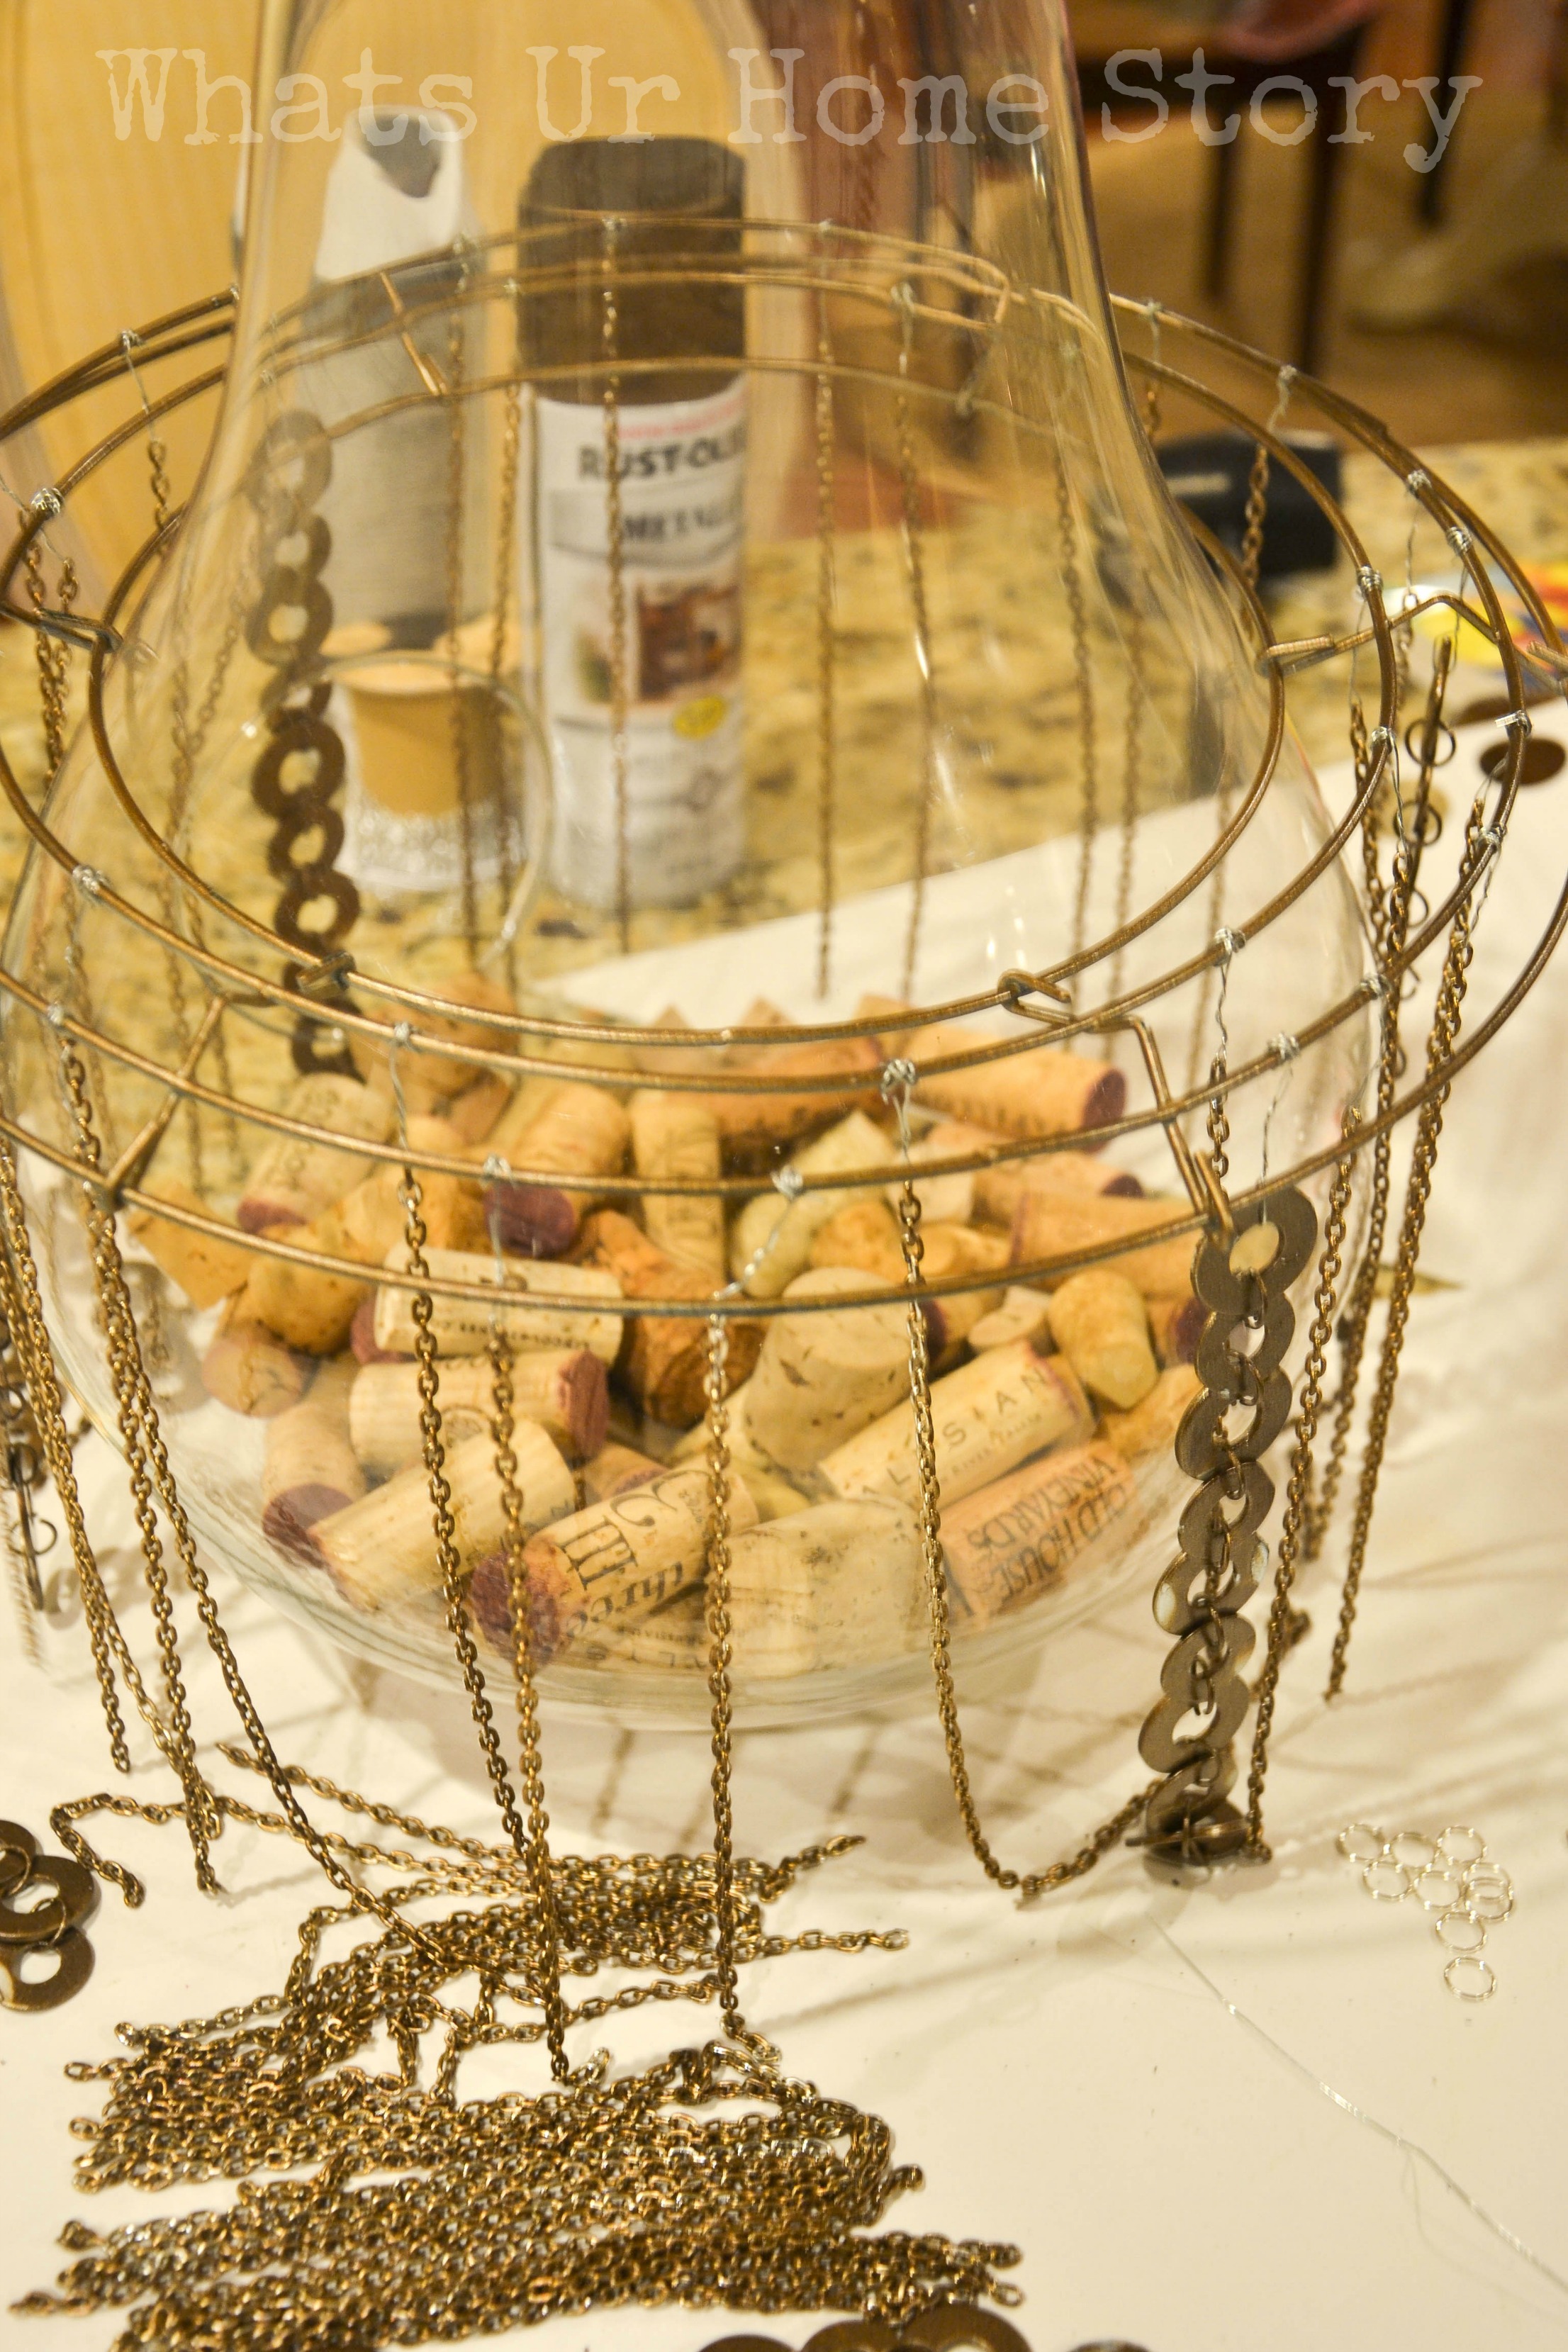
- Keep your wreath frame on a tall circular stand (in my case my pear glass vase) and attach the strings and chains with craft wire.
- Once you have attached everything take the fixture to your garage and hang it on your bike rack and give a good dose of spray paint. If you are pretty patient you could hang it under the deck or a flag pole. By then I was reaching my break point so I just hung it up on the first thing I saw in my garage.
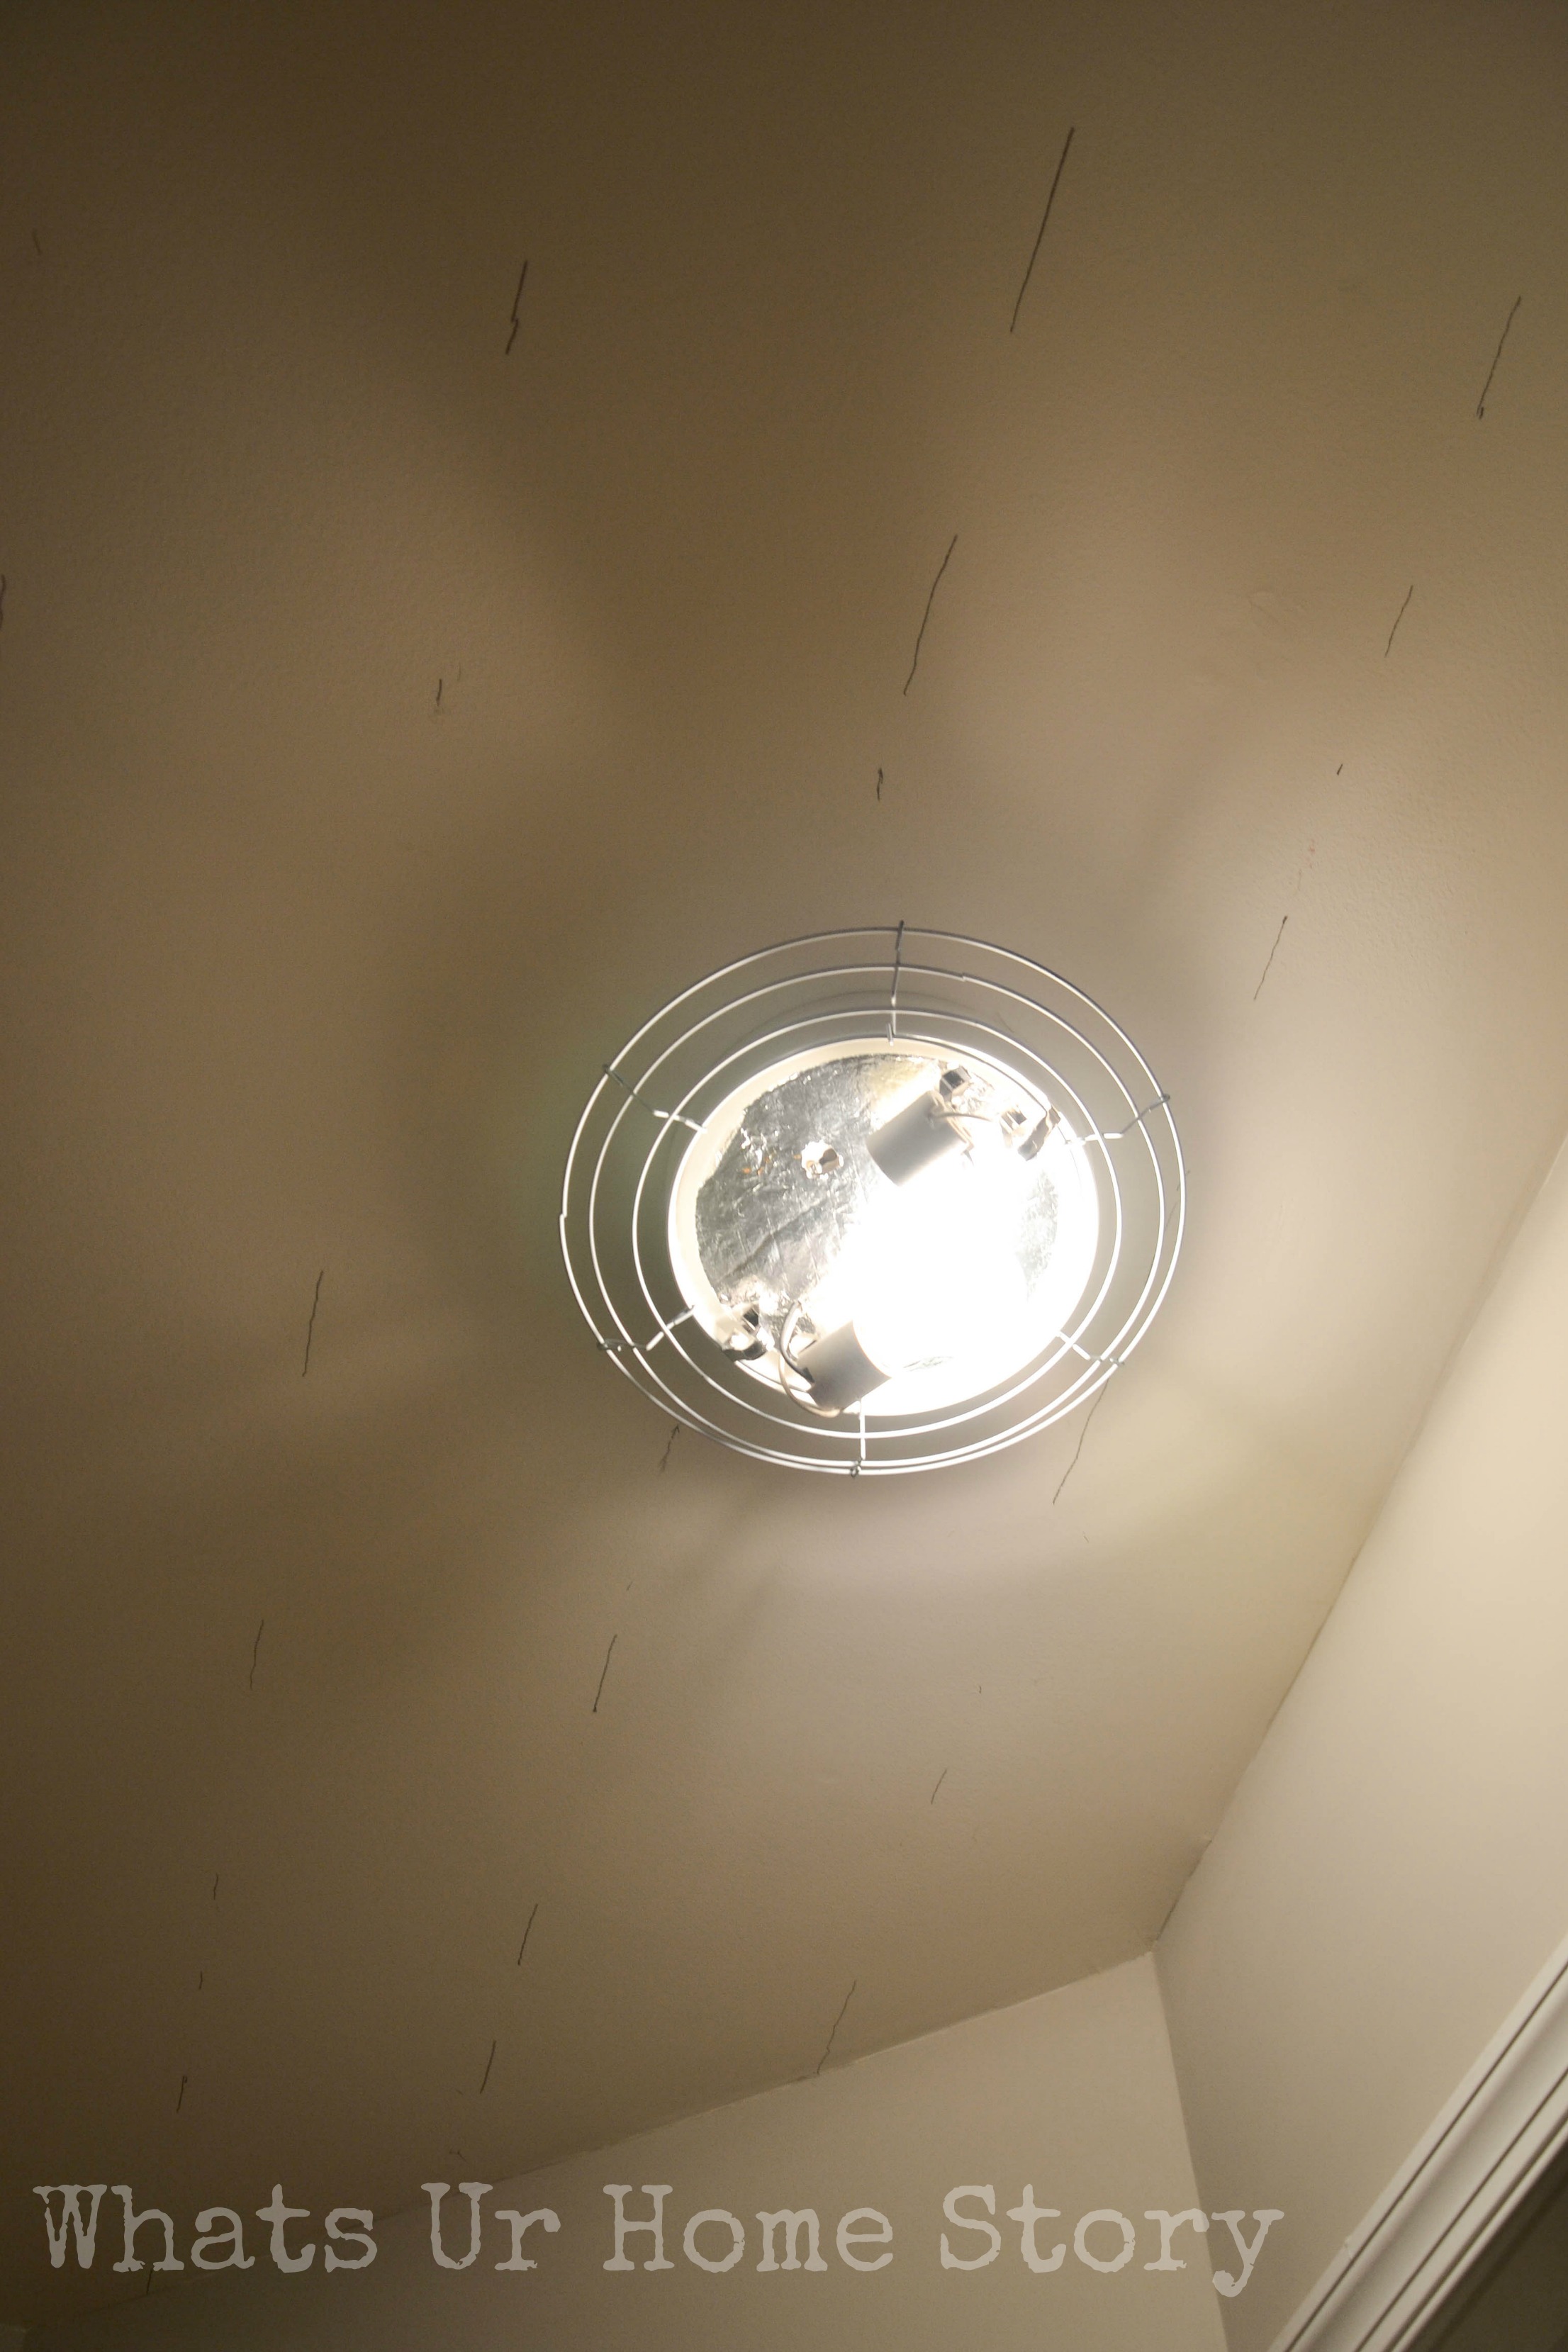
- When dry fix it to your ceiling fixture. We just removed our old light cover and the wreath frame fit right on top. Here’s a picture of frame on the light base;
And that’s the story behind my flat washer chandelier!

Oh and it is pretty heavy. All that metal weight adds up!
I’m glad that after my initial DIY chandelier fiasco this attempt turned out great. Have you DIY’d a light before? How did it go?
Linking up to;


Vidya, what a fun and creative project!! And are the washers gold? I can’t tell 😉 Way to think outside the design box, I love it!
Thanks Jane. No the washers were a steel colored. I spray painted them.
Cool project! I’ve been wanting to try a washer project for the longest time. Your tutorial is so well done. I love your style and projects!